You will need…


Enter the search term and press "ENTER" .
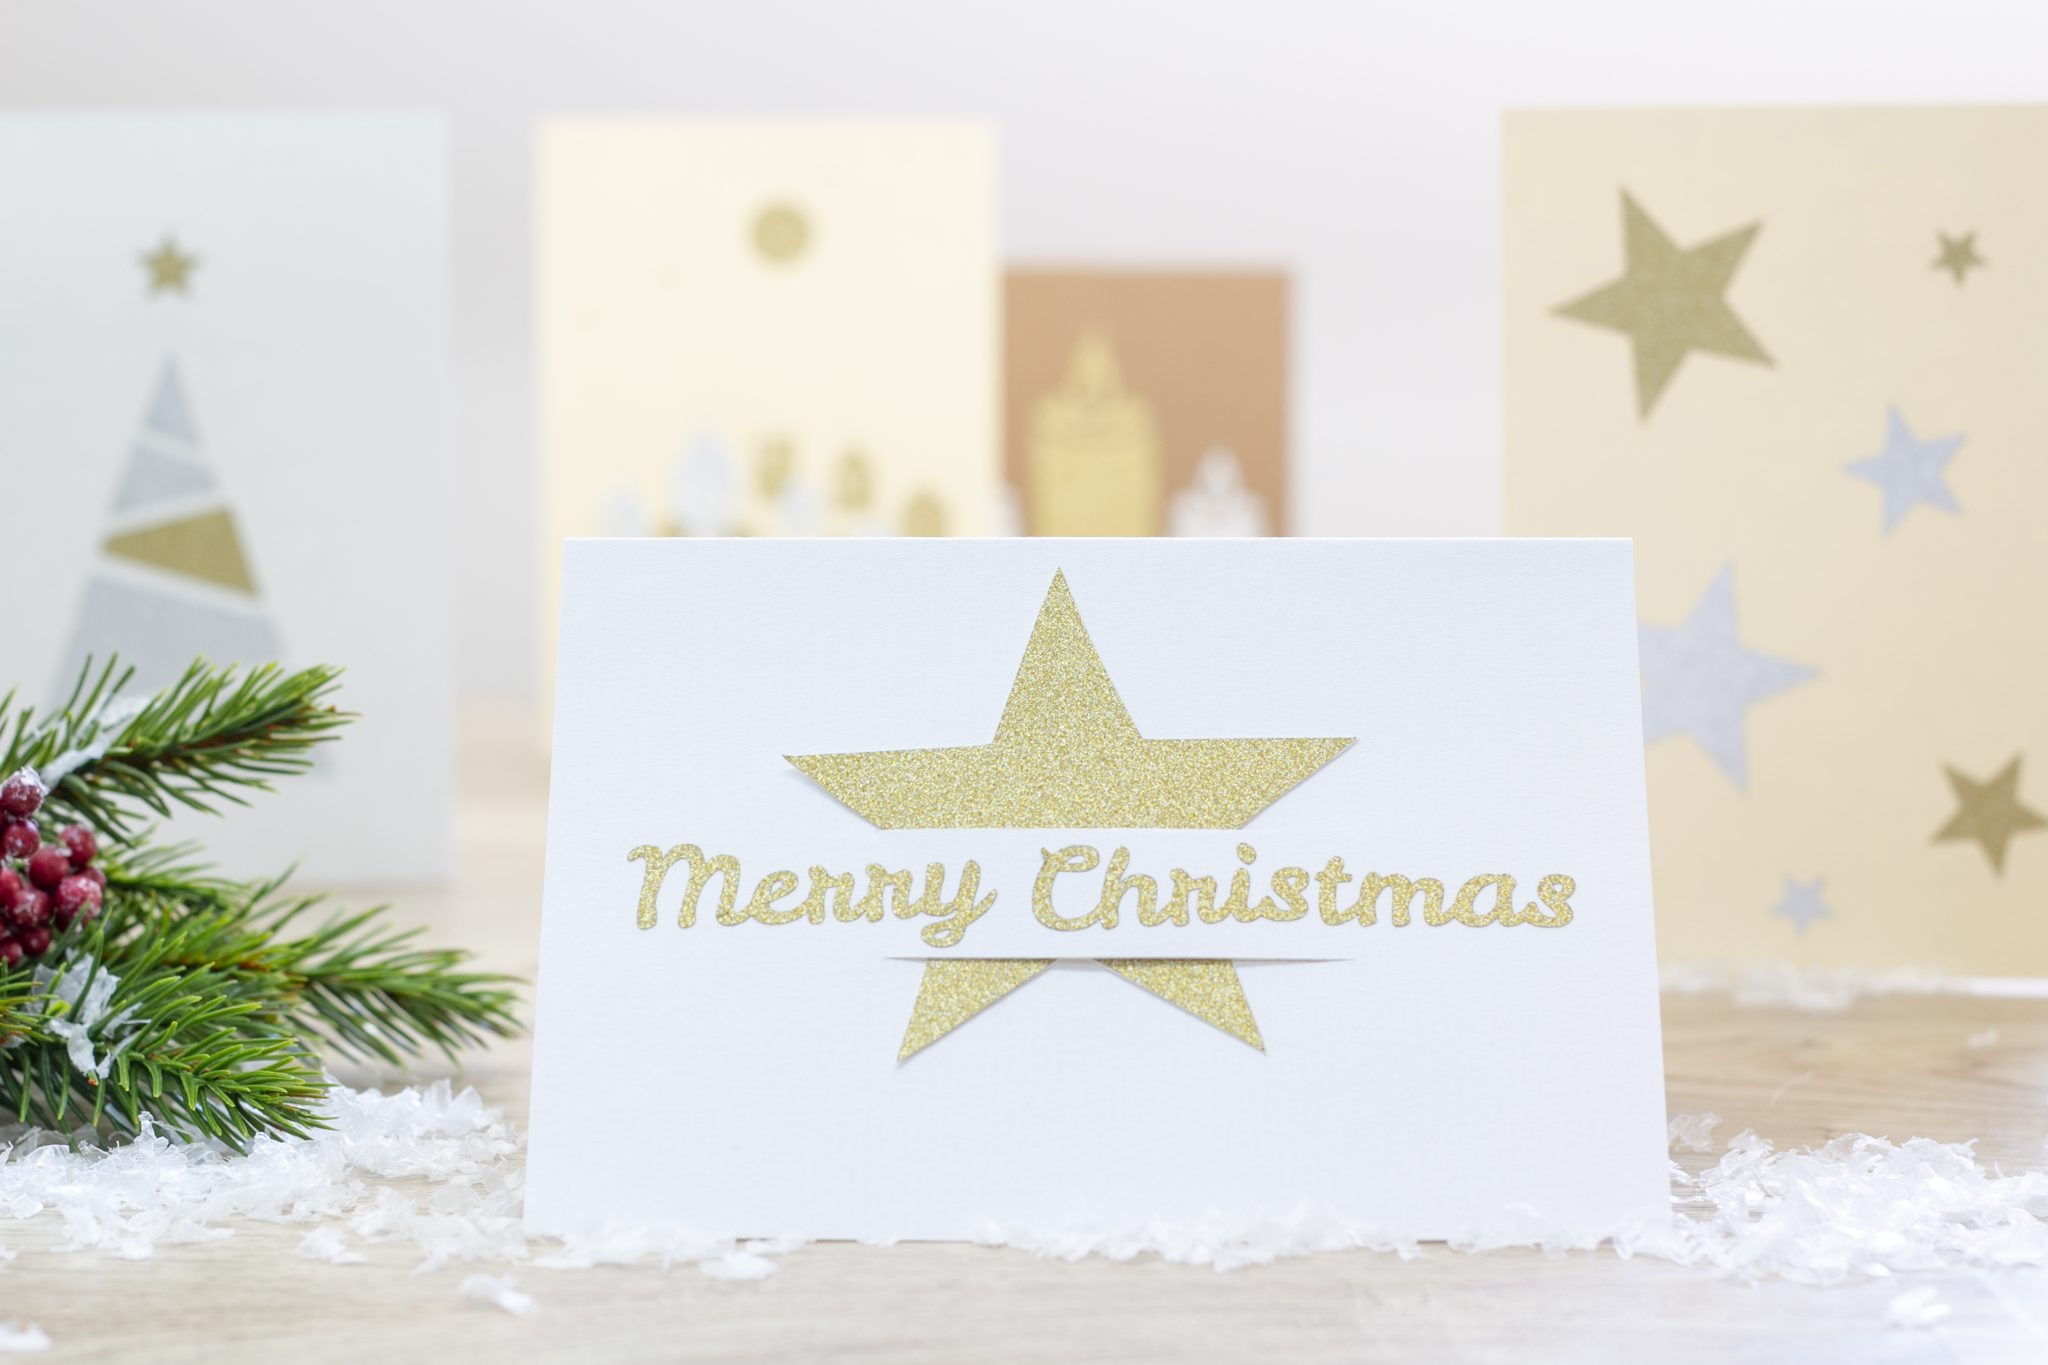
Christmas DIY: Create unique Christmas cards for your loved ones!
Project from Chris - 0 CommentsShow that you’re thinking about someone you love. Extend a special message to your favorite person at Christmas. Surprise friends with real “food” for the mailbox: The best way to do this is with a self-designed Christmas card. A unique, glittering card full of your loving attention. The stunning d-c-fix® metallic foils with glitter in festive colors let you get truly creative for Christmas: Have fun affixing, crafting, decorating & writing!
- Folded cards
- Paper
- Pencil
- Measuring tape
- Cutter knife
- Smoothing blade
- d-c-fix® metallic foil glitter red
- d-c-fix® metallic foil glitter green
- d-c-fix® metallic foil glitter silver
- d-c-fix® metallic foil glitter gold
Let’s go
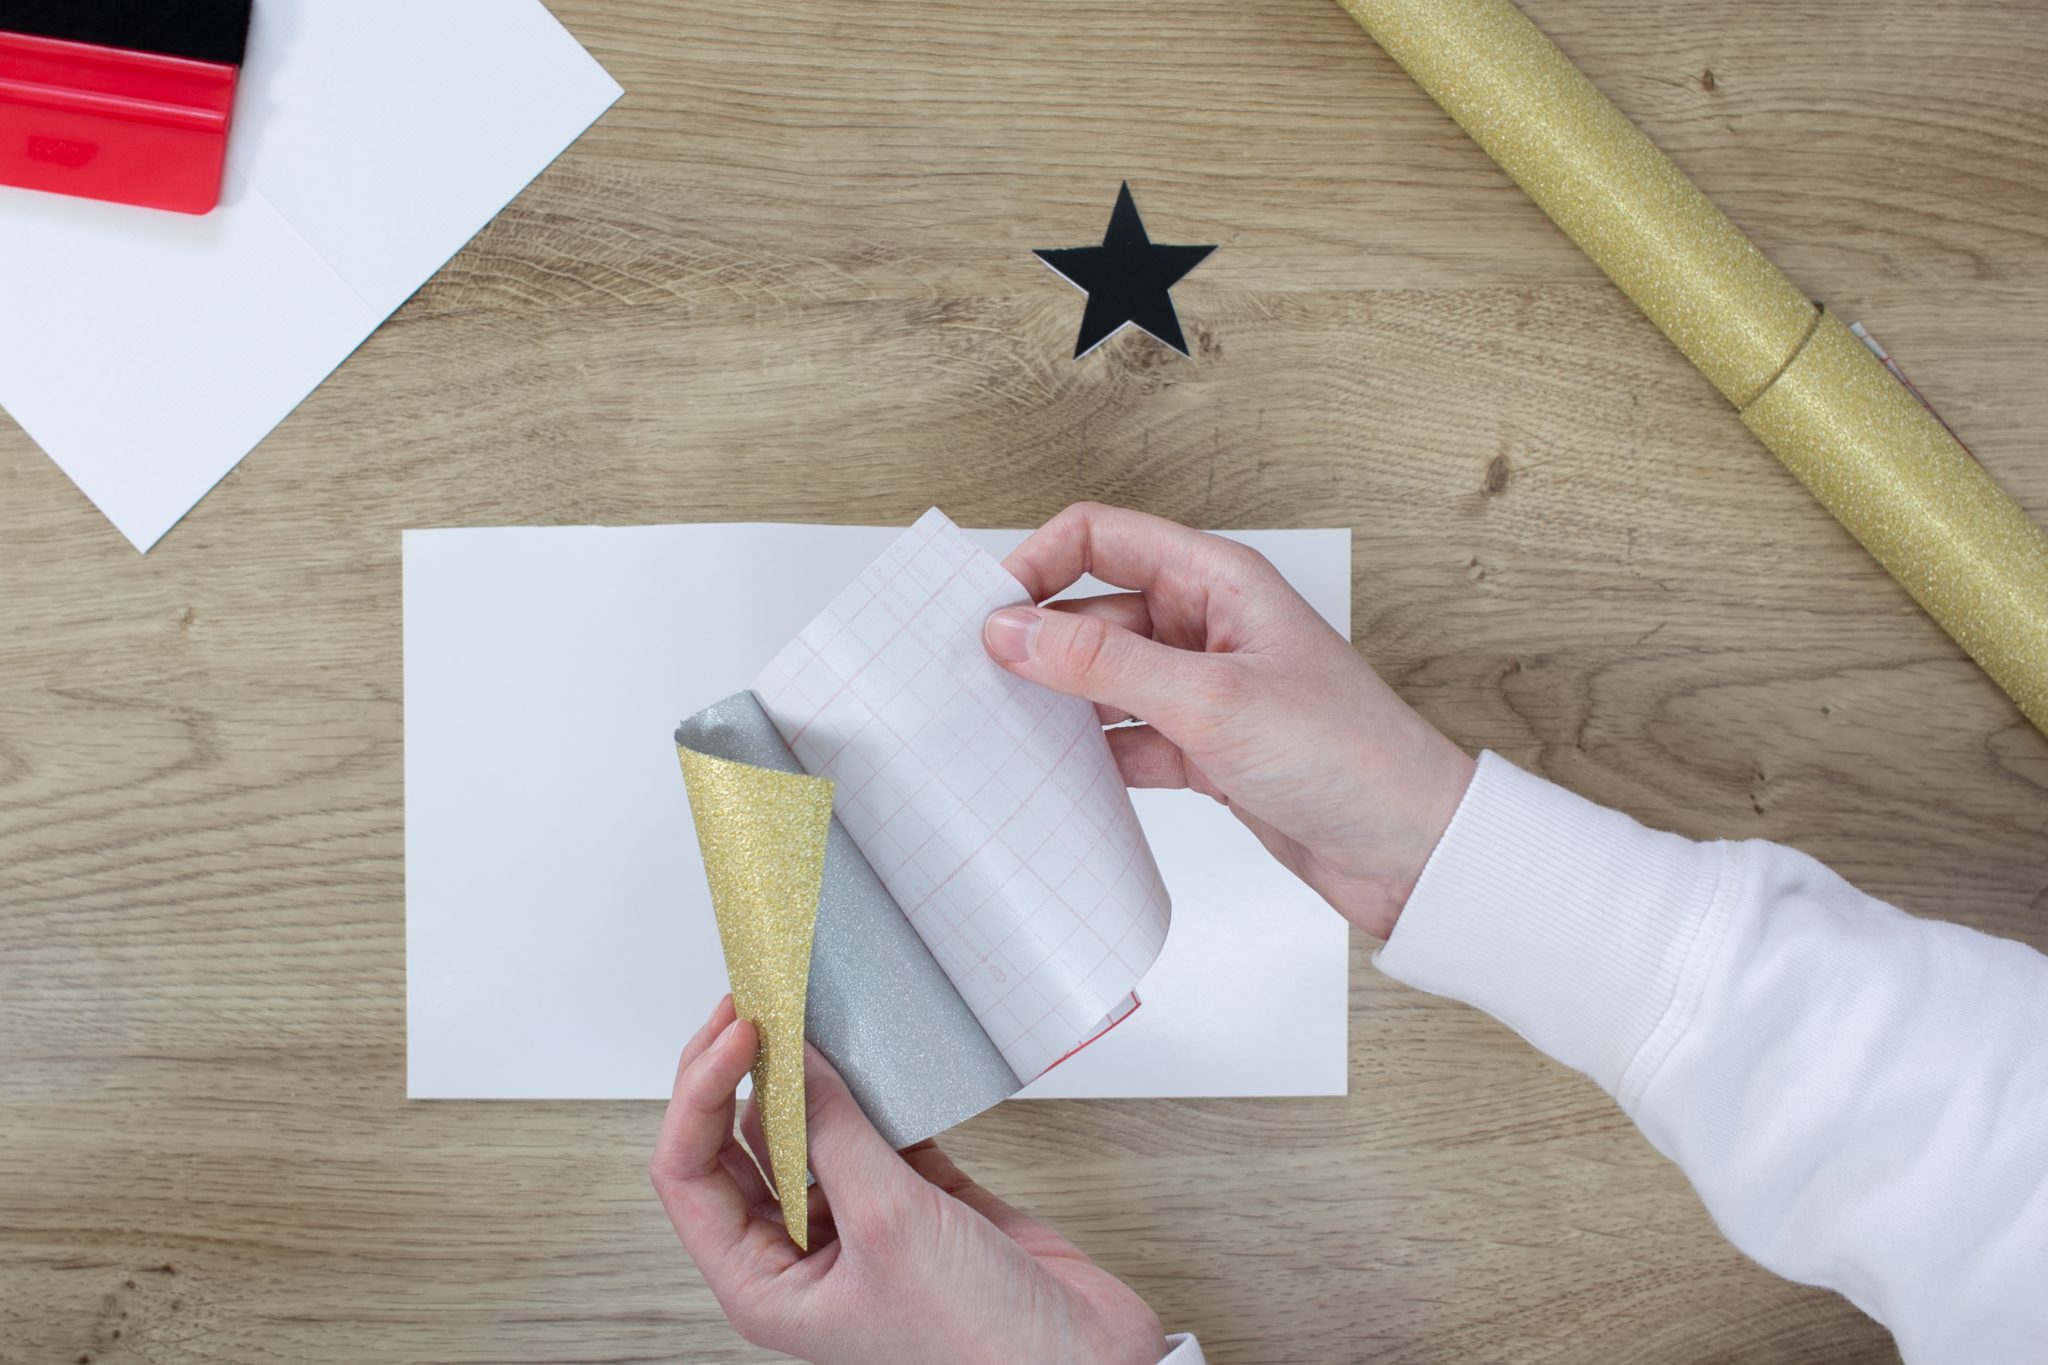 Step 1
Select the first metallic foil in the color of your choice, e.g. gold, cut a rectangle from it and remove the backing paper.
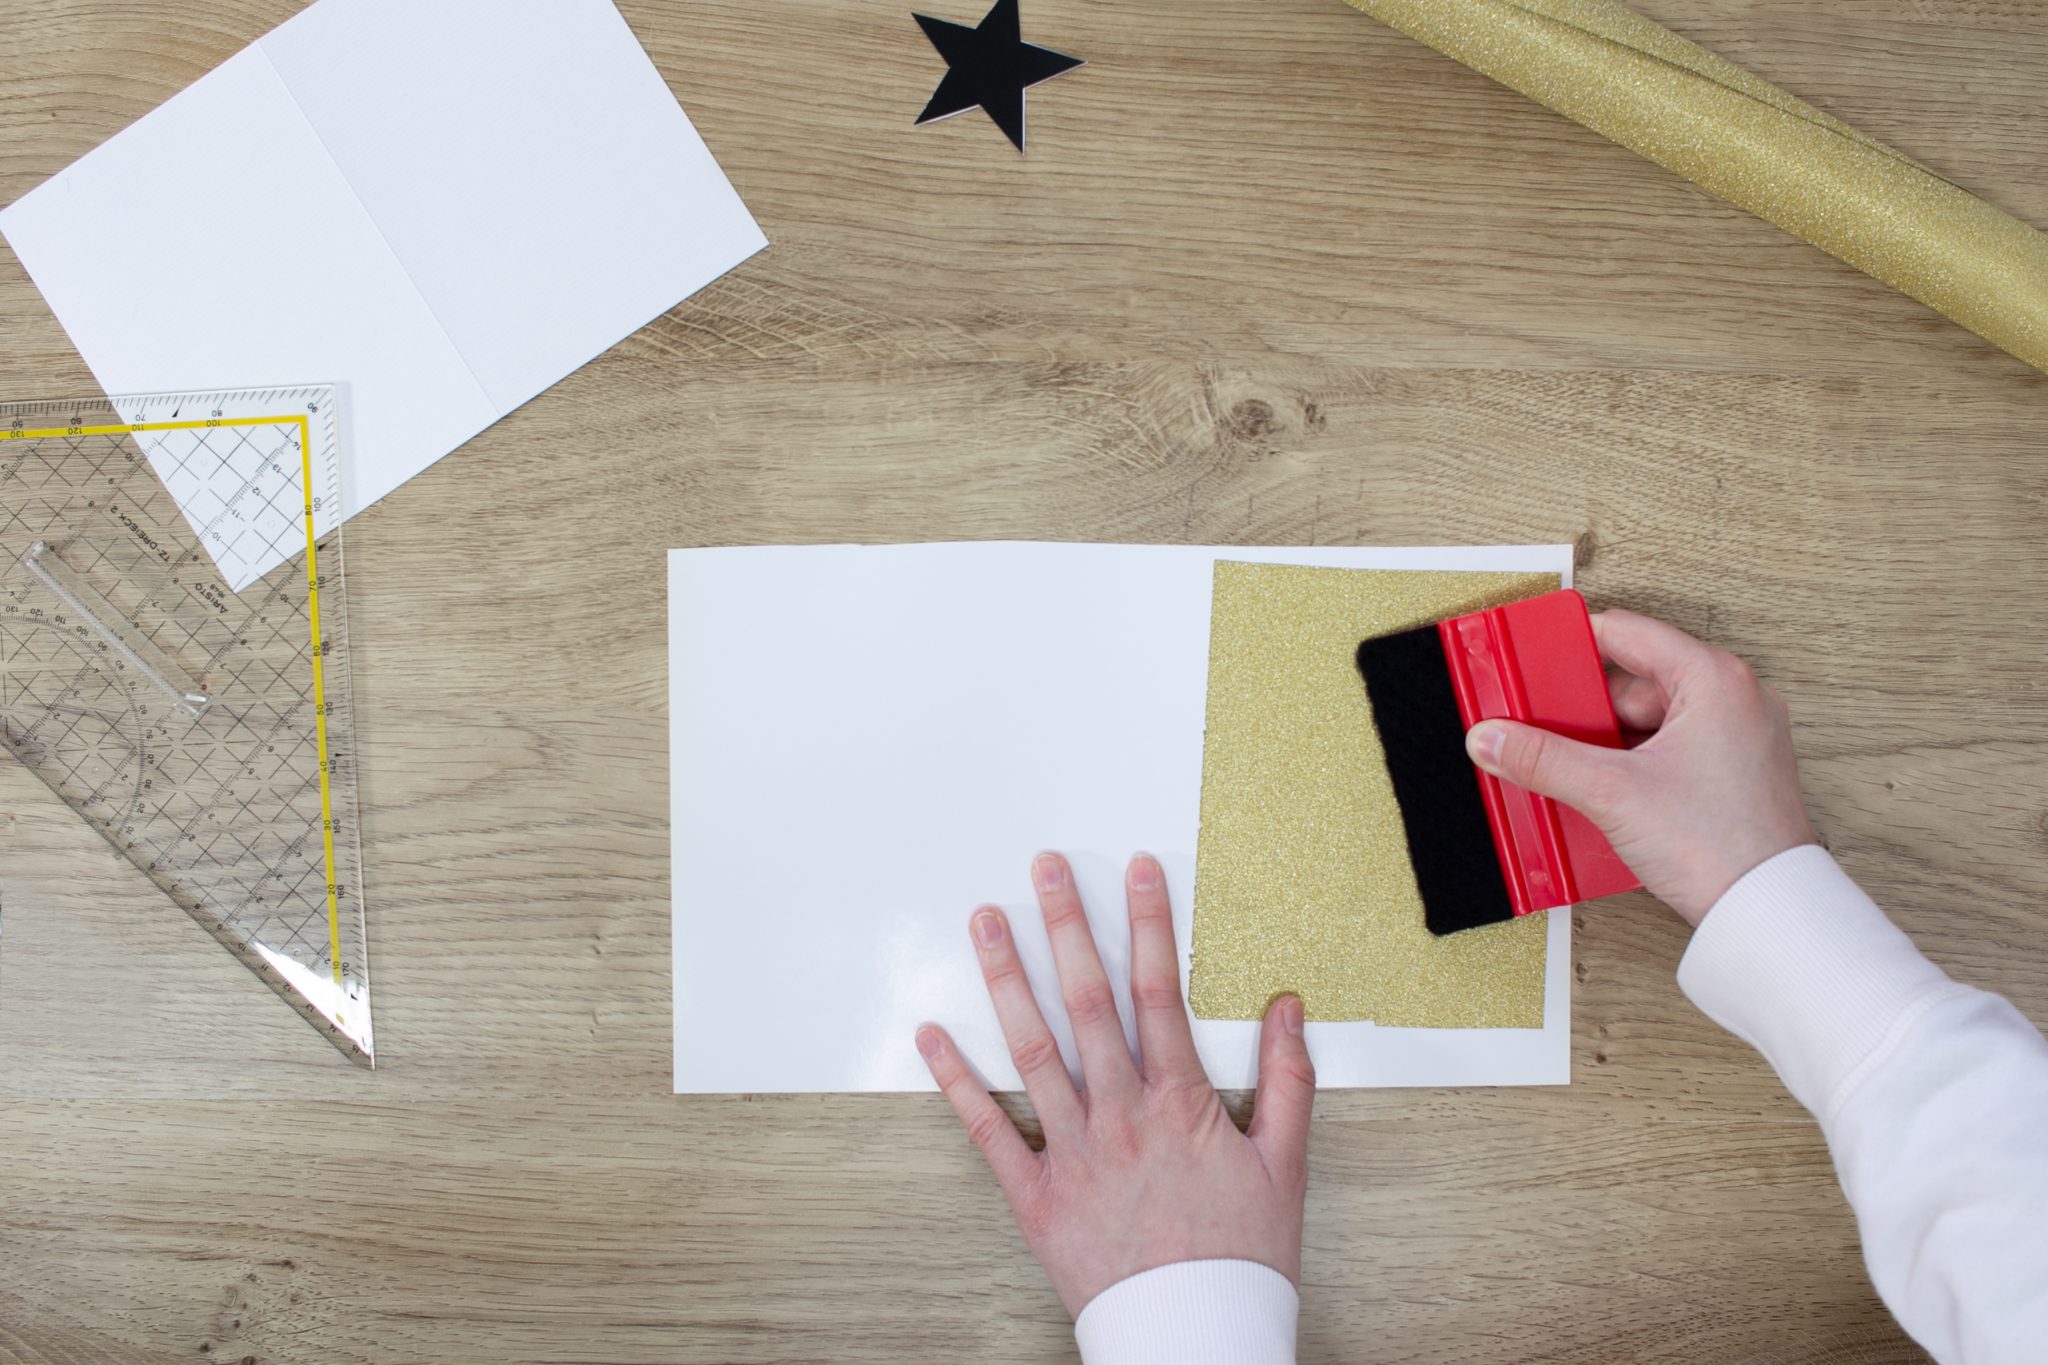 Step 2
Next, affix the metallic foil onto a piece of paper with the help of your smoothing blade – you now have a “glitter base” for cutting out your individual decorative elements.
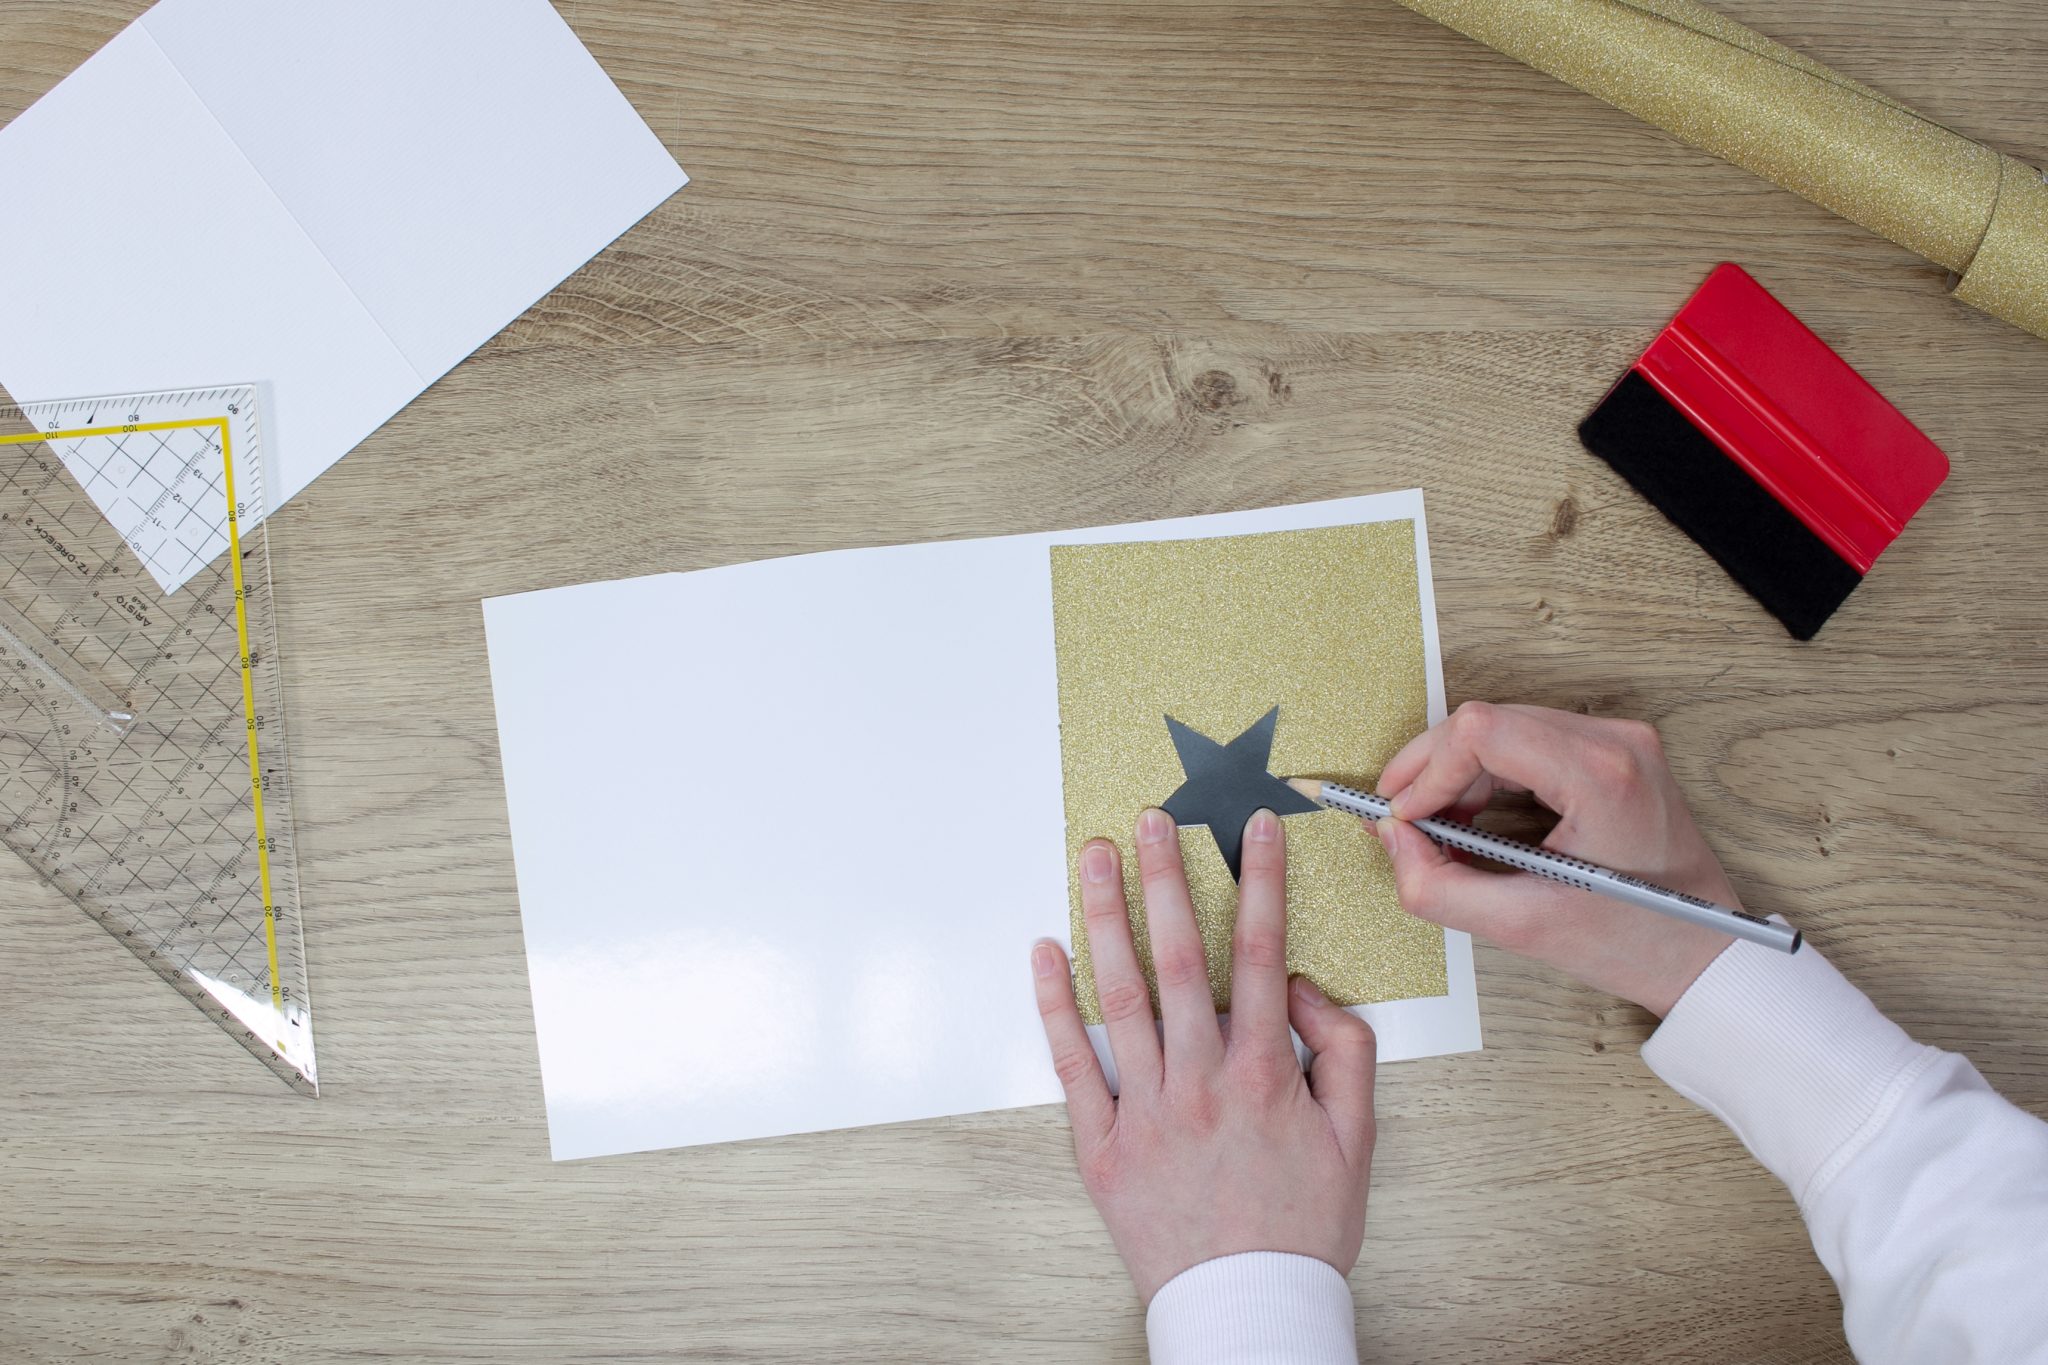 Step 3
Now you can get creative by drawing Christmas motifs onto your “glitter base” in pencil with the aid of cardboard templates or round objects.
 Step 4
Cut out your decorative elements and shapes, e.g. a star.
 Step 5
To design the front of your card, it helps if you sketch out fine lines in pencil, over which you can then write your text using a glitter pen…
 Step 6
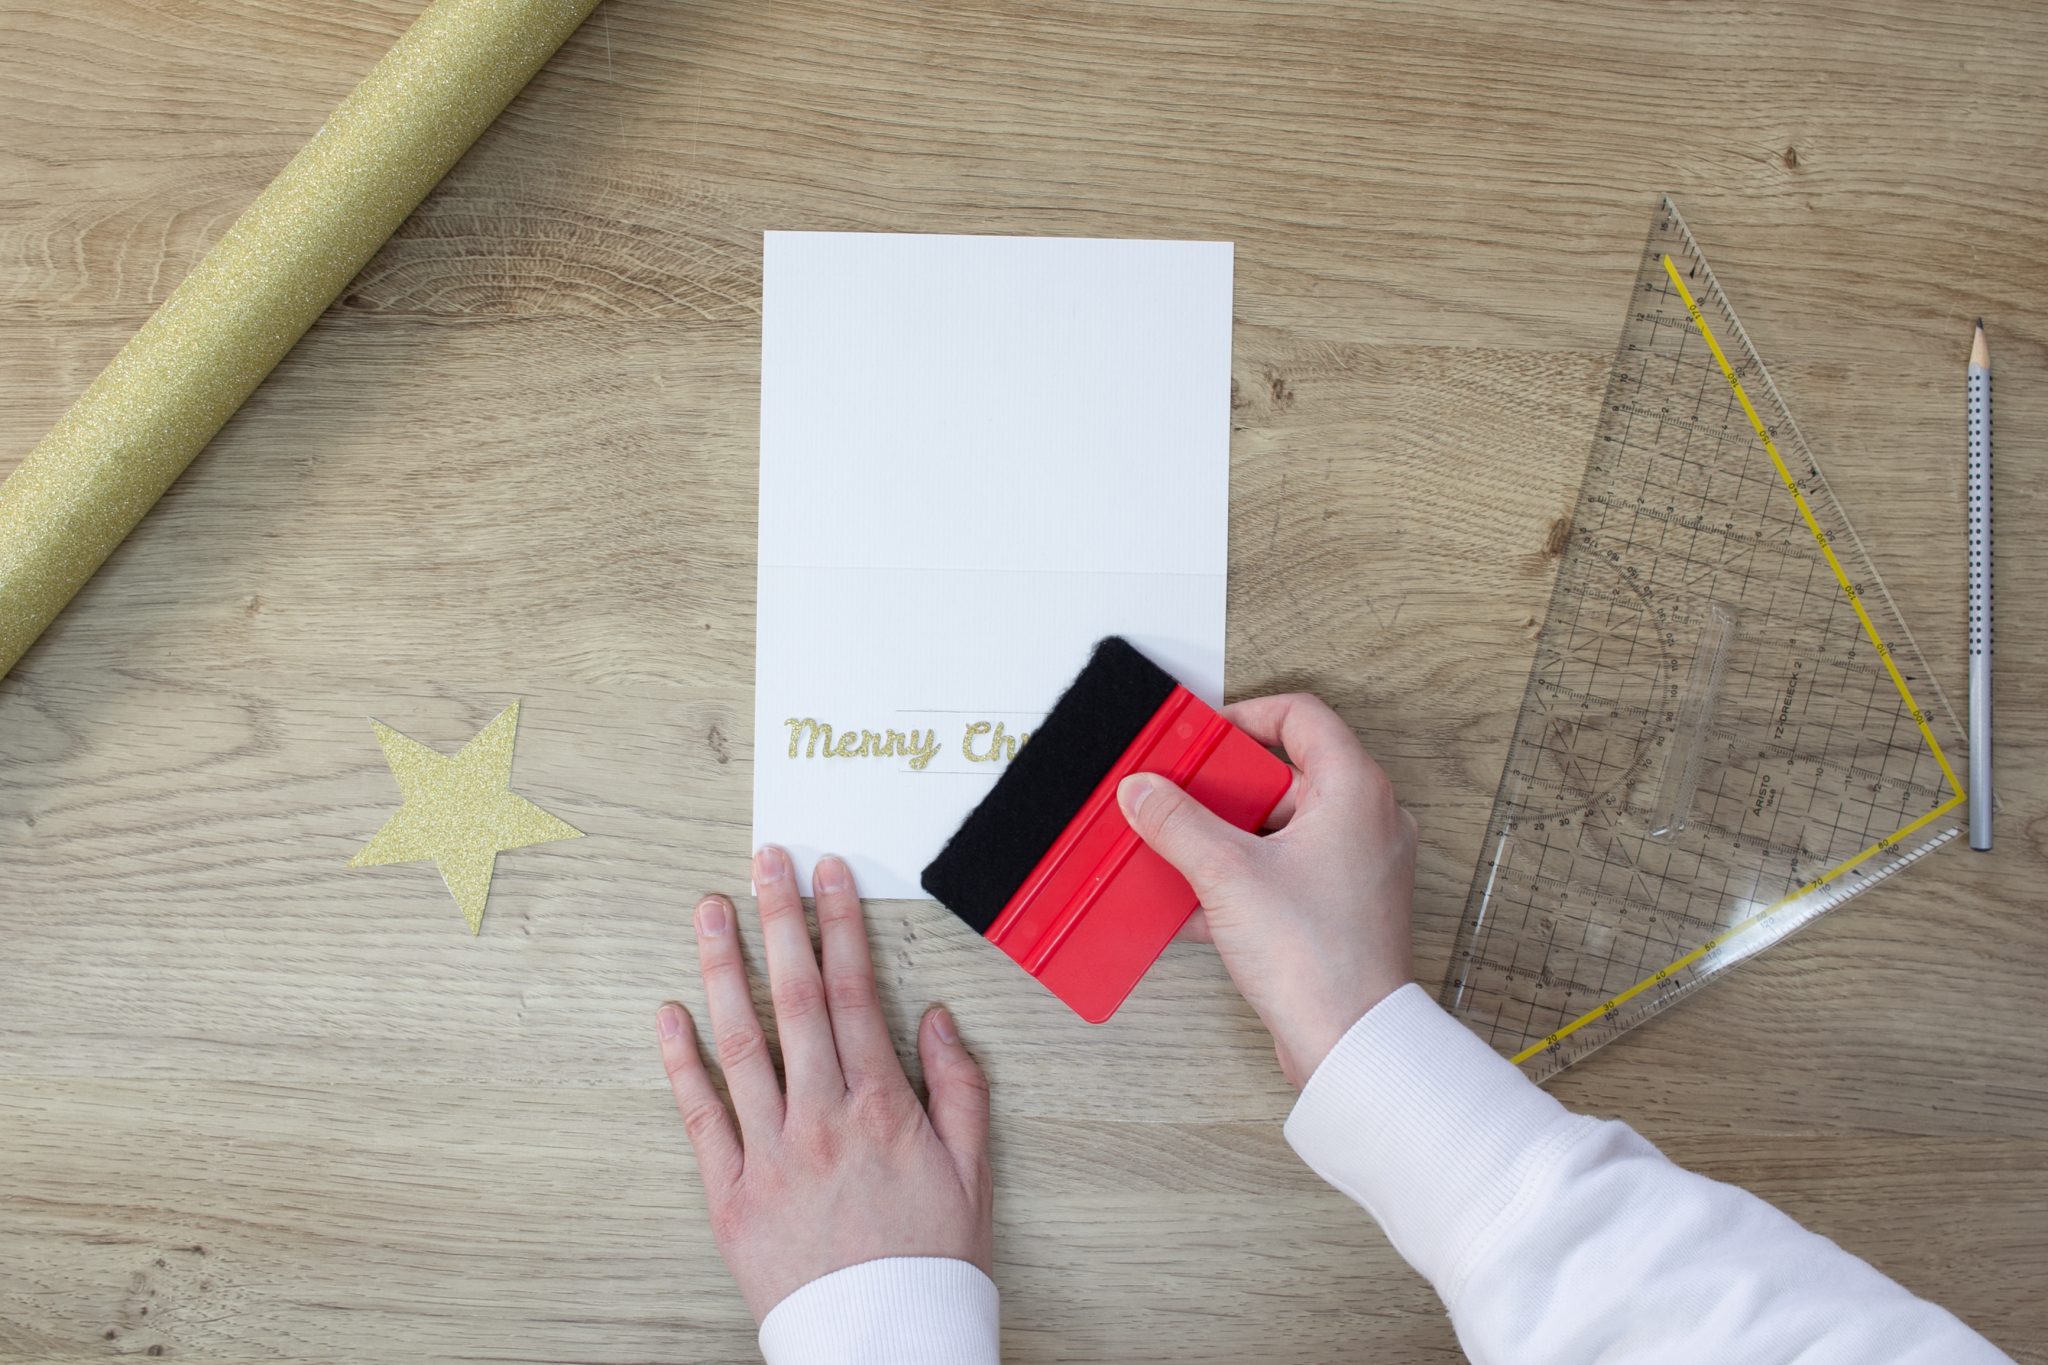
… or for an even greater wow effect, affix your Christmas greetings in glitter letters. To do so, carefully apply your metallic foil lettering onto the front of your card using the smoothing blade.
 Step 7
To finish, place your ruler just above the lettering and carefully cut a slit into the card along the ruler using a cutter knife. Repeat the procedure under the lettering. Finally, insert the glitter element you crafted into the slits: Your beautiful Christmas card is ready!
You’re done!

Post A Comment
EXPERT ADVICE
Want to bring some more color to your masterpiece? Then choose one of the blank folding cards in beige, pink, red, green or anthracite. Just go with your preferred style: fun and colorful or sober and classical. The cards are also perfect for gift vouchers at Christmas!
Preparation time
15 min
Execution
30 min
Difficulty level
Beginner
Costs
low
Projects you might like


No Comments