You will need…


Enter the search term and press "ENTER" .
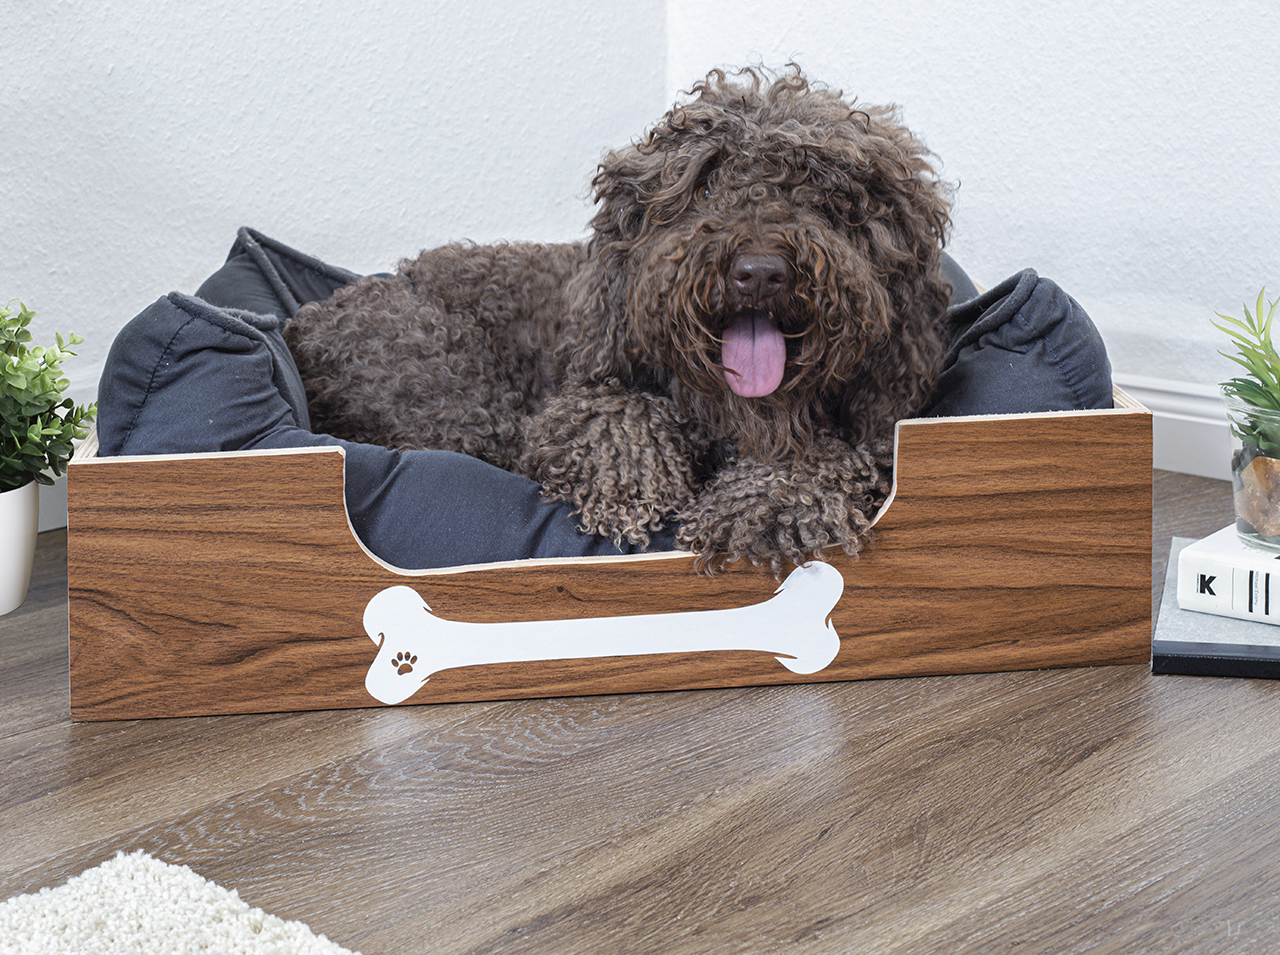
Wow! This DIY dog bed is a hit!
Project from Chris - 0 CommentsYou and your four-legged friend are inseparable – a great team, even at home. And because you like to make it nice and cozy, you want only the best and the most beautiful things for your dog at home. We now have some great DIY ideas for you: A dog bed in a modern wood look for your darling – it isn’t just somewhere comfortable to sleep and rest, it’s also a new feature that looks great! Ready to give you and your darling dog lots of joy?
- A roll of d-c-fix® Missouri Walnut
- A roll of plain Uni matt d-c-fix®, white
- d-c-fix® tool kit with scraper and cutting knife
- Pencil
- Scissors
- Measuring tape
Let’s go
 Step 1
First, get your tape measure out and check the dimensions of the sides of the dog bed and make a note of them.
 Step 2
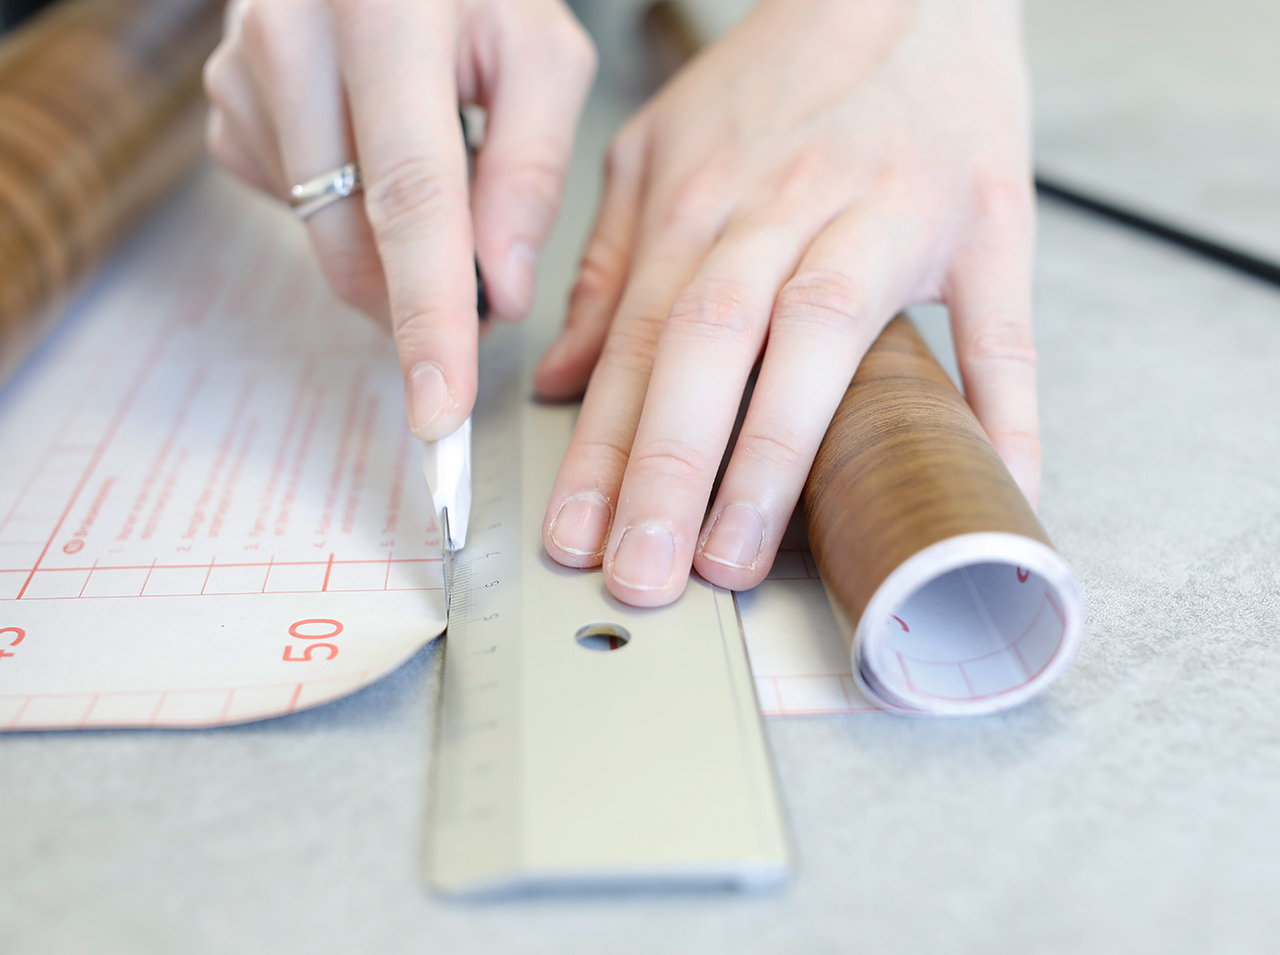
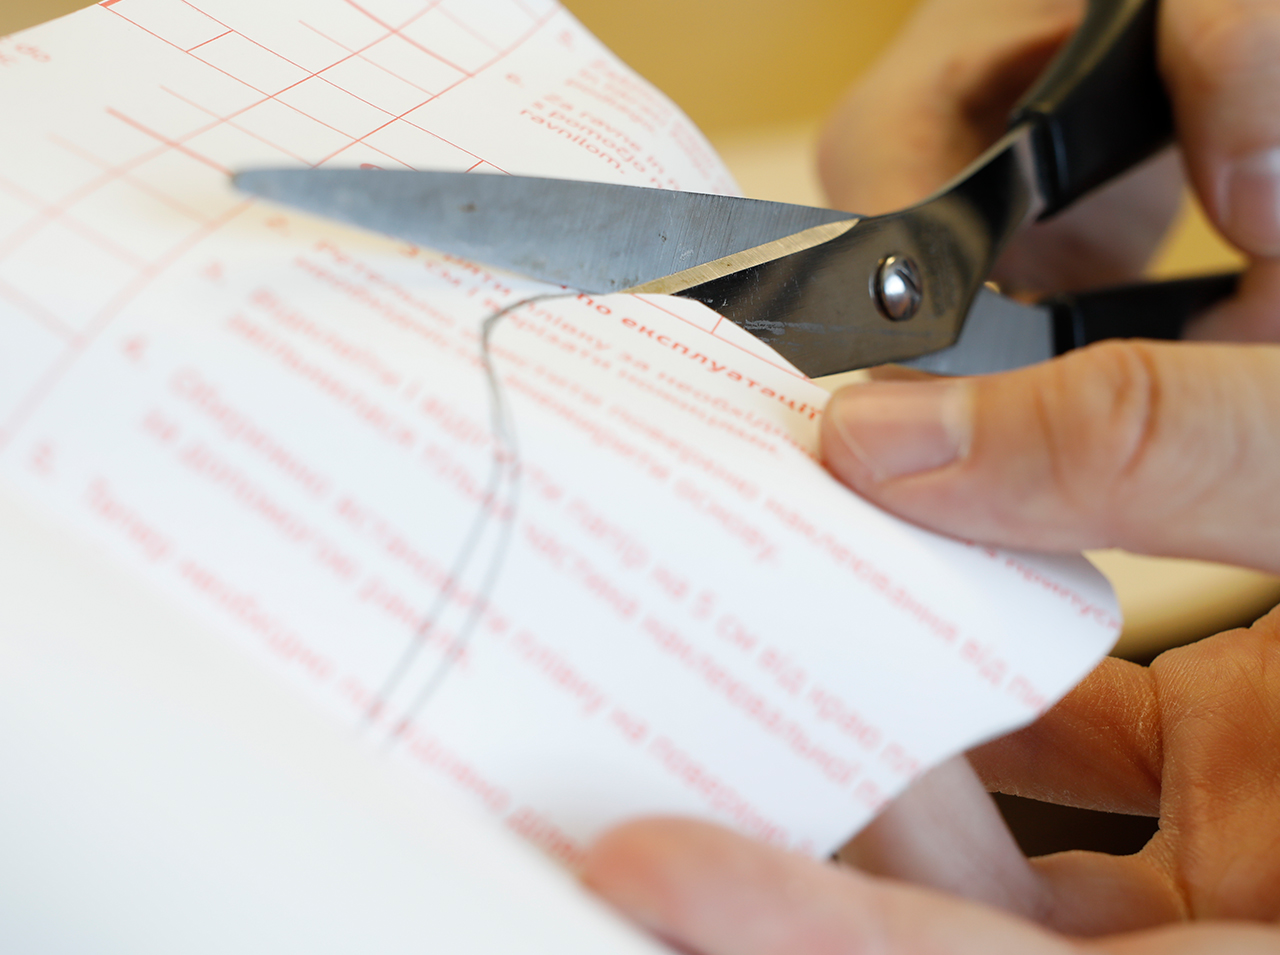
Then cut the required adhesive foil pieces leaving a little extra for the edges on all sides. The excess will help you to glue the edges neatly.
 Step 3
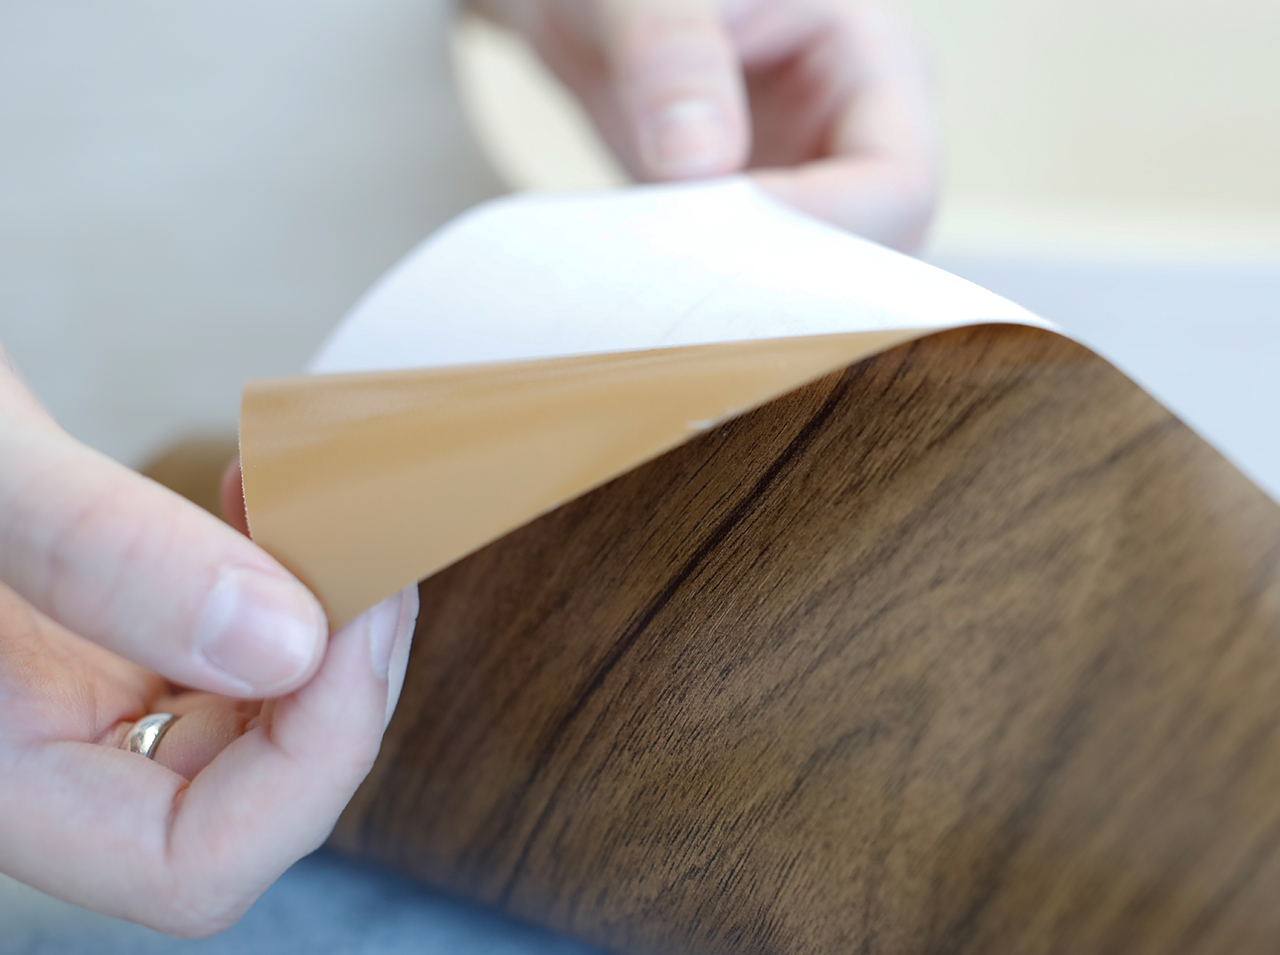
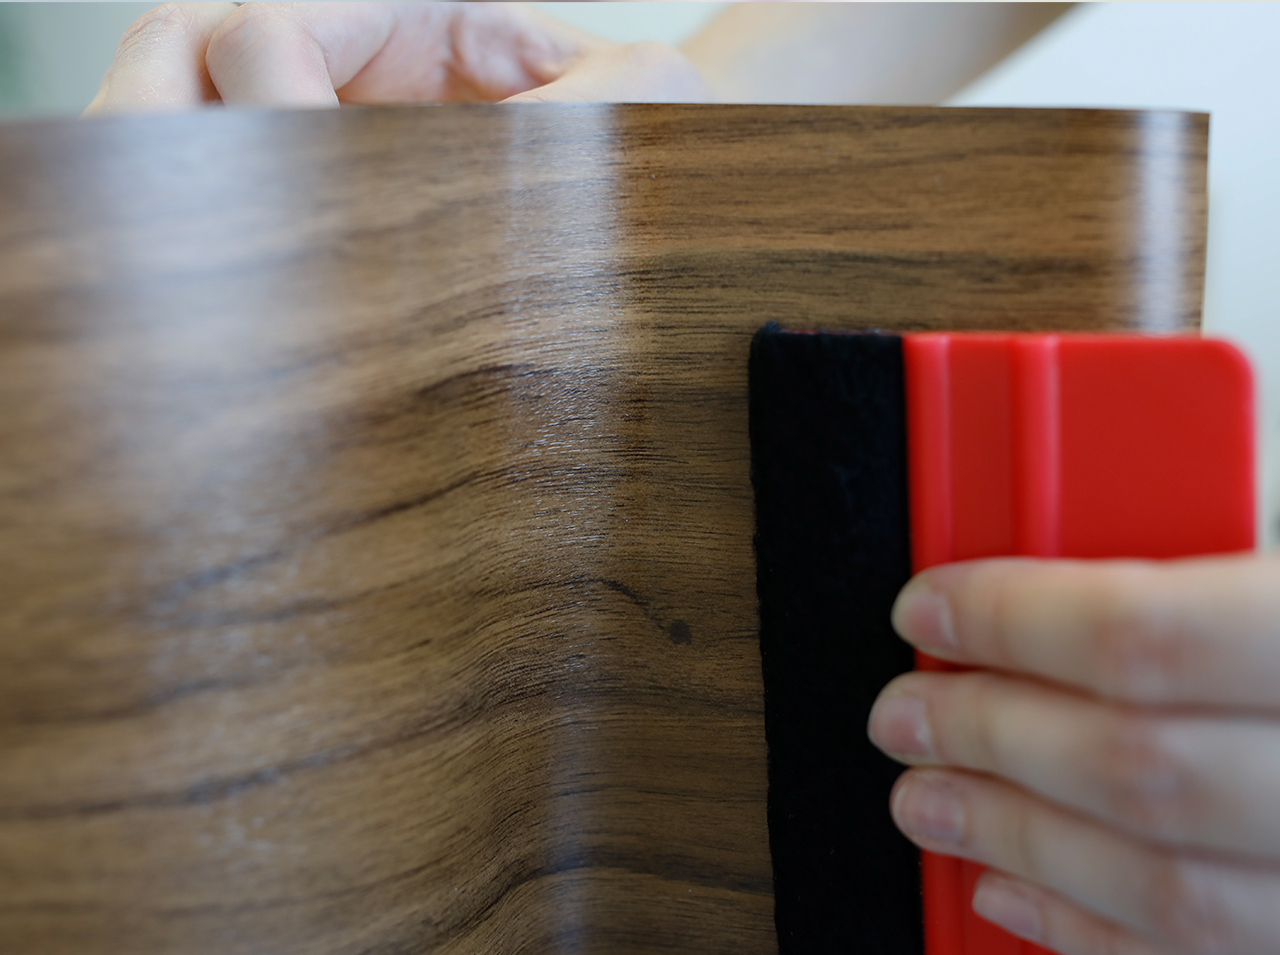
Now remove just a bit of the backing paper and apply the adhesive foil to the first wooden side of the dog bed. Then, smooth down the adhesive film over the entire wood surface thoroughly, using the scraper.
 Step 4
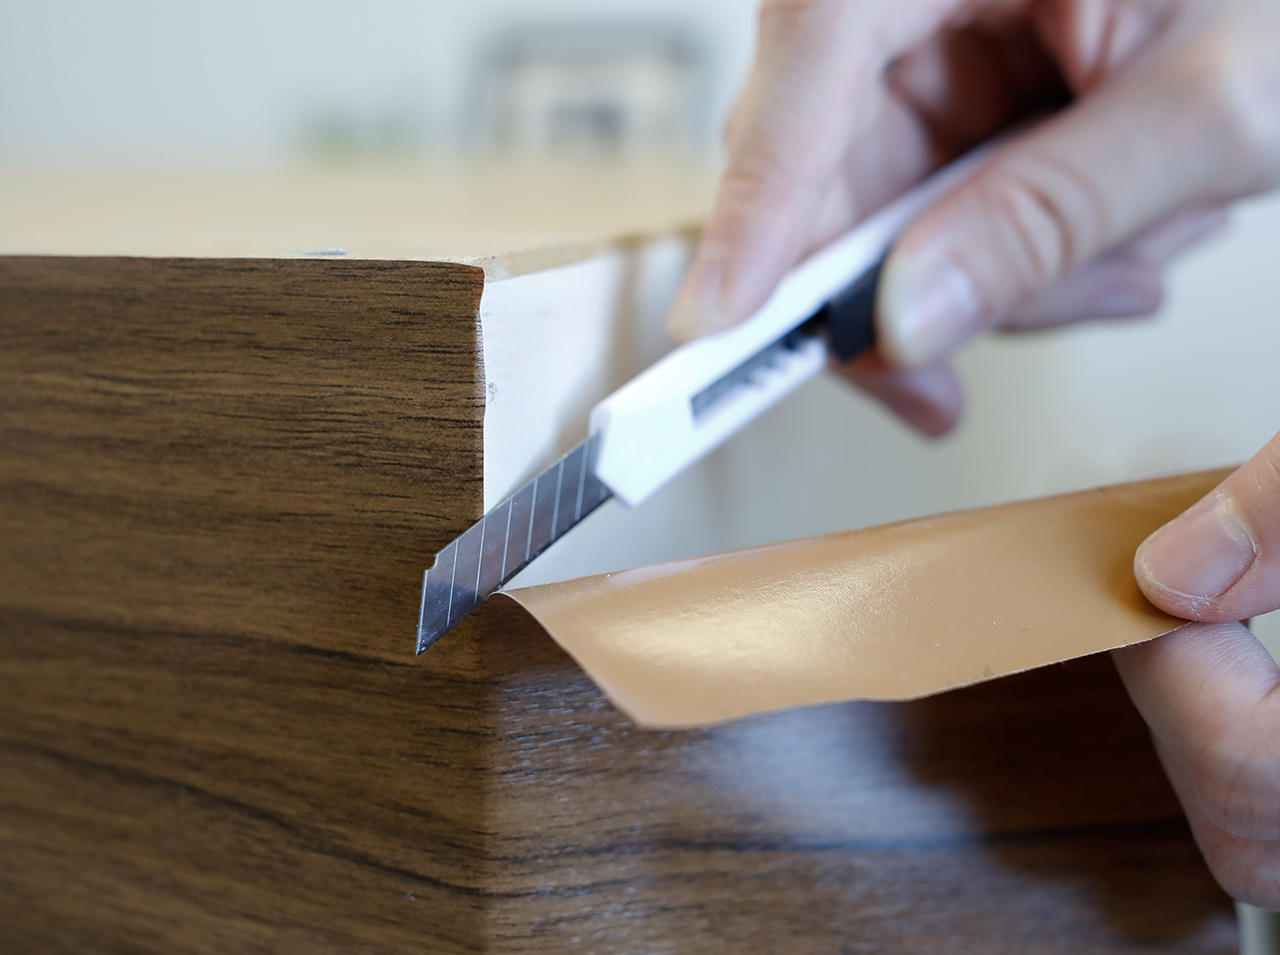
You can smooth down the excess film around the edges or remove it with the cutter. Make sure you smooth down the foil along the edges extra firmly with the scraper.
 Step 5
Now cover all the panels of the dog bed with the adhesive foil, one by one, to give it a modern wood look.
 Step 6
Now it’s time for a Deco-finish: cut out the shape of a bone from the white adhesive film and use it to create a charming highlight on the front of the dog bed – or you could even use several of them, with or without lettering. Let your creativity run wild!
You’re done!

Post A Comment
EXPERT ADVICE
Use a fine needle to easily puncture any annoying air bubbles that appear when covering larger surfaces and then gently push out the air with your scraper.
Preparation time
5 min
Execution
15 min
Difficulty level
Beginner
Costs
low
Projects you might like

No Comments