You will need…


Enter the search term and press "ENTER" .
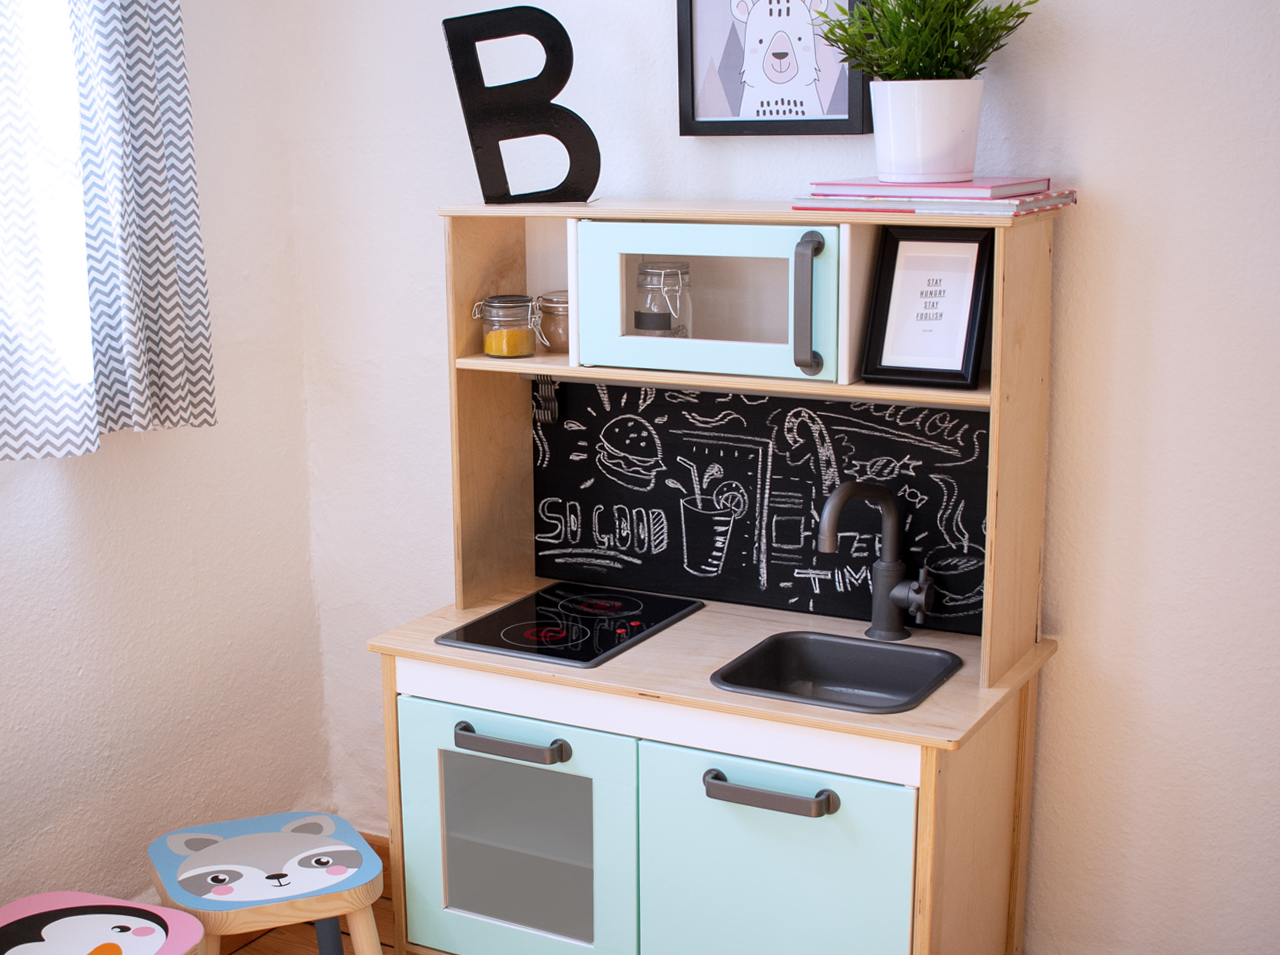
This DIY kids’ kitchen will brighten their day
Project from Eva - 0 CommentsThere’s big round of applause coming from the kids’ room! Small chefs and master bakers are finally getting what they deserve: A great DIY kids’ kitchen that makes playing and cooking even more fun! The DIY play kitchen has copied the best of real kitchens and current living trends, and therefore comes in fresh mint. Combined with a cool blackboard film, it is a unique piece, where hardworking overtime at the stove and creative baking adventures in the afternoon become a new favourite pastime. Mums: Don’t be jealous!
- One roll of d-c-fix® blackboard film
- One roll of d-c-fix® Uni mint paint
- d-c-fix® tool kit with doctor blade and cutting knife
- MDF slab 68 x 33 cm, thickness of 3 mm
- Nails
- Hammer
- Scissors
- Pencil
- Measuring tape
Let’s go!
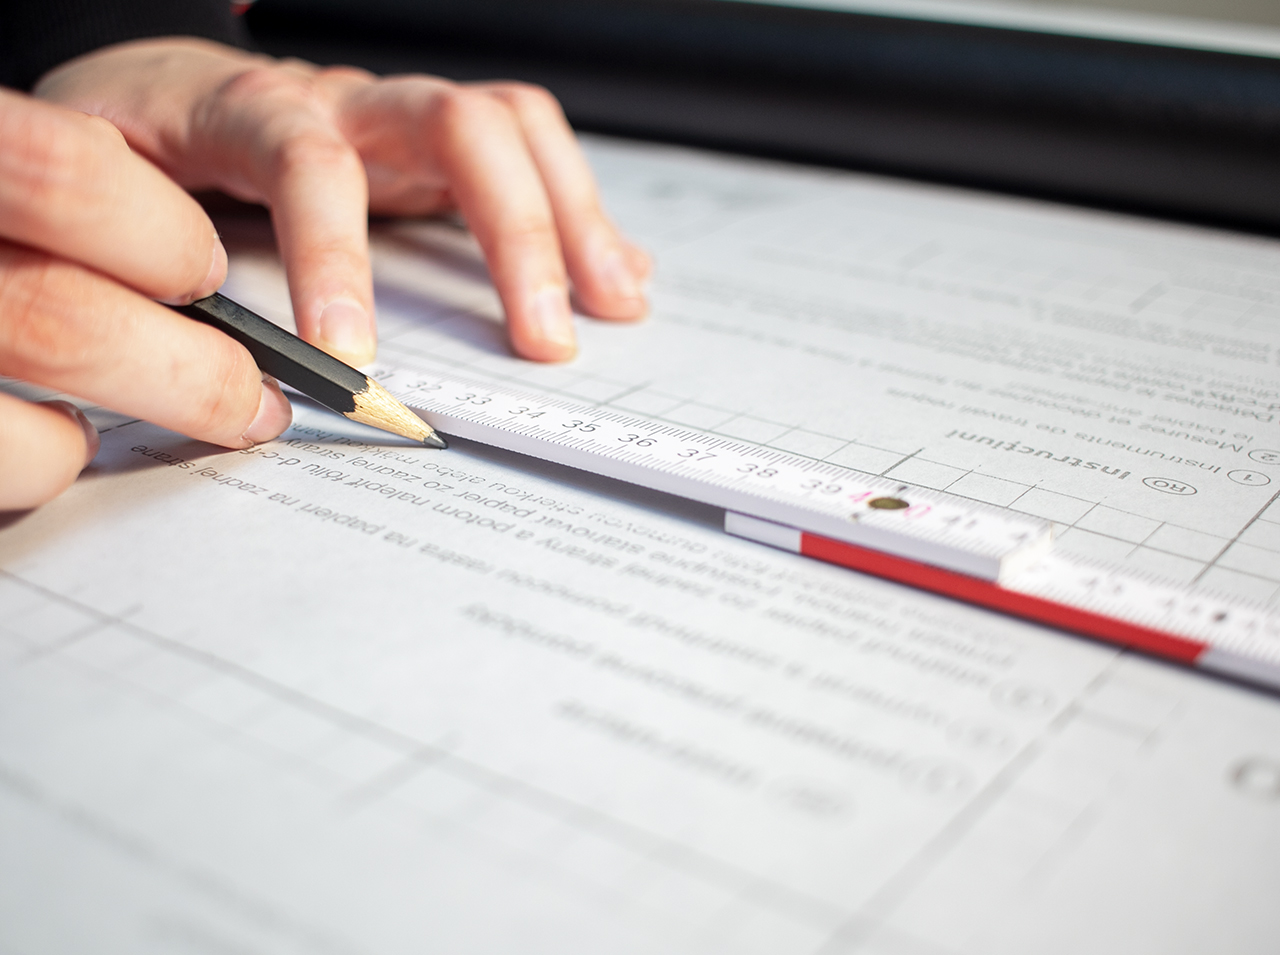 Step 1
First, transfer the dimensions of the rear wall onto the backing paper of the blackboard film and cut the foil piece to size.
 Step 2
Then remove the backing paper and attach it to the MDF plate with the doctor blade – start at the centre and then brush with firm strokes from the inside out.
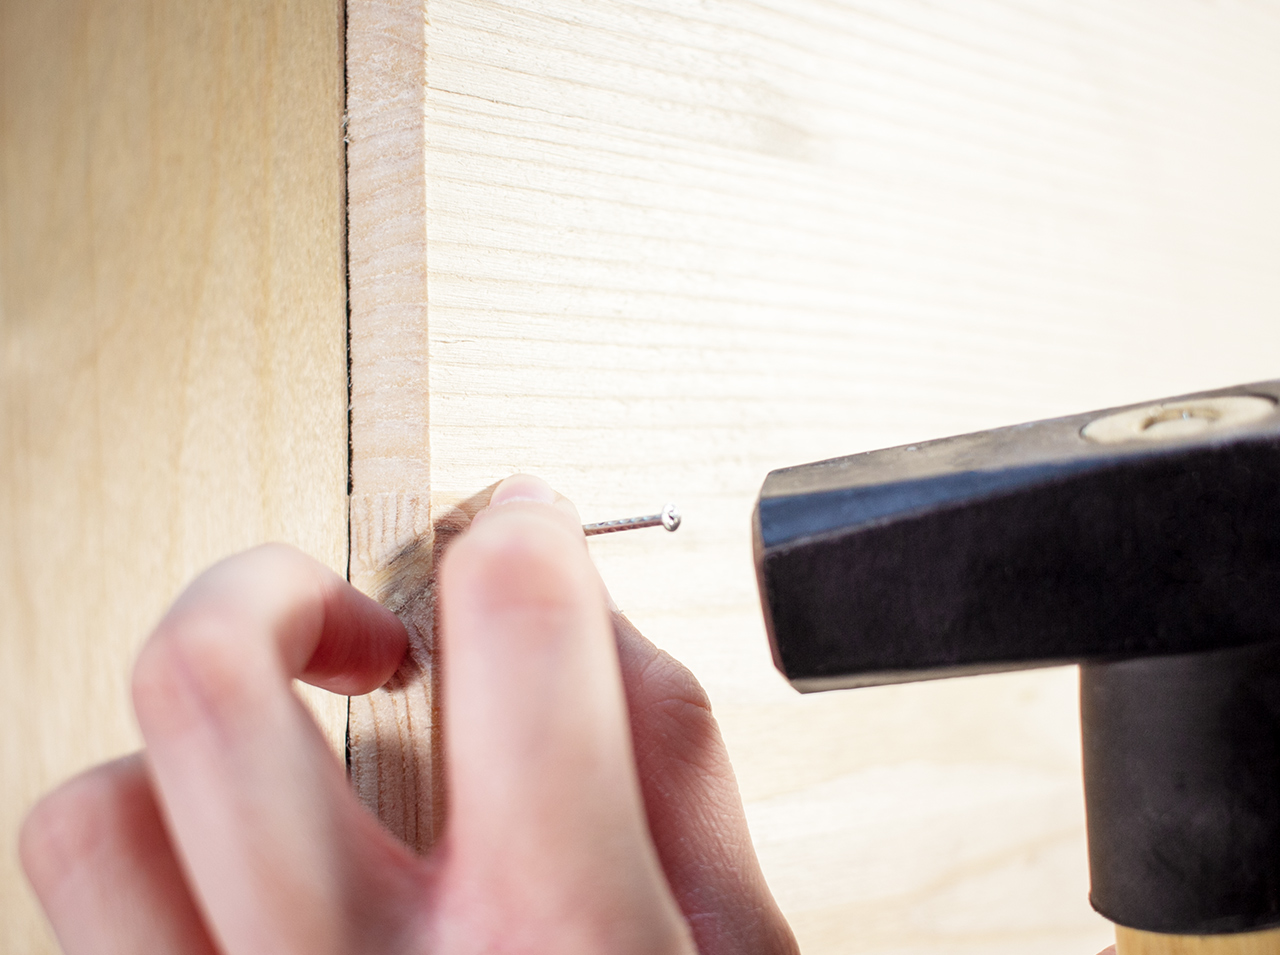 Step 3
Then attach the rear wall, which has just been covered with blackboard film, to the rear side of the kids’ kitchen with a hammer and nails.
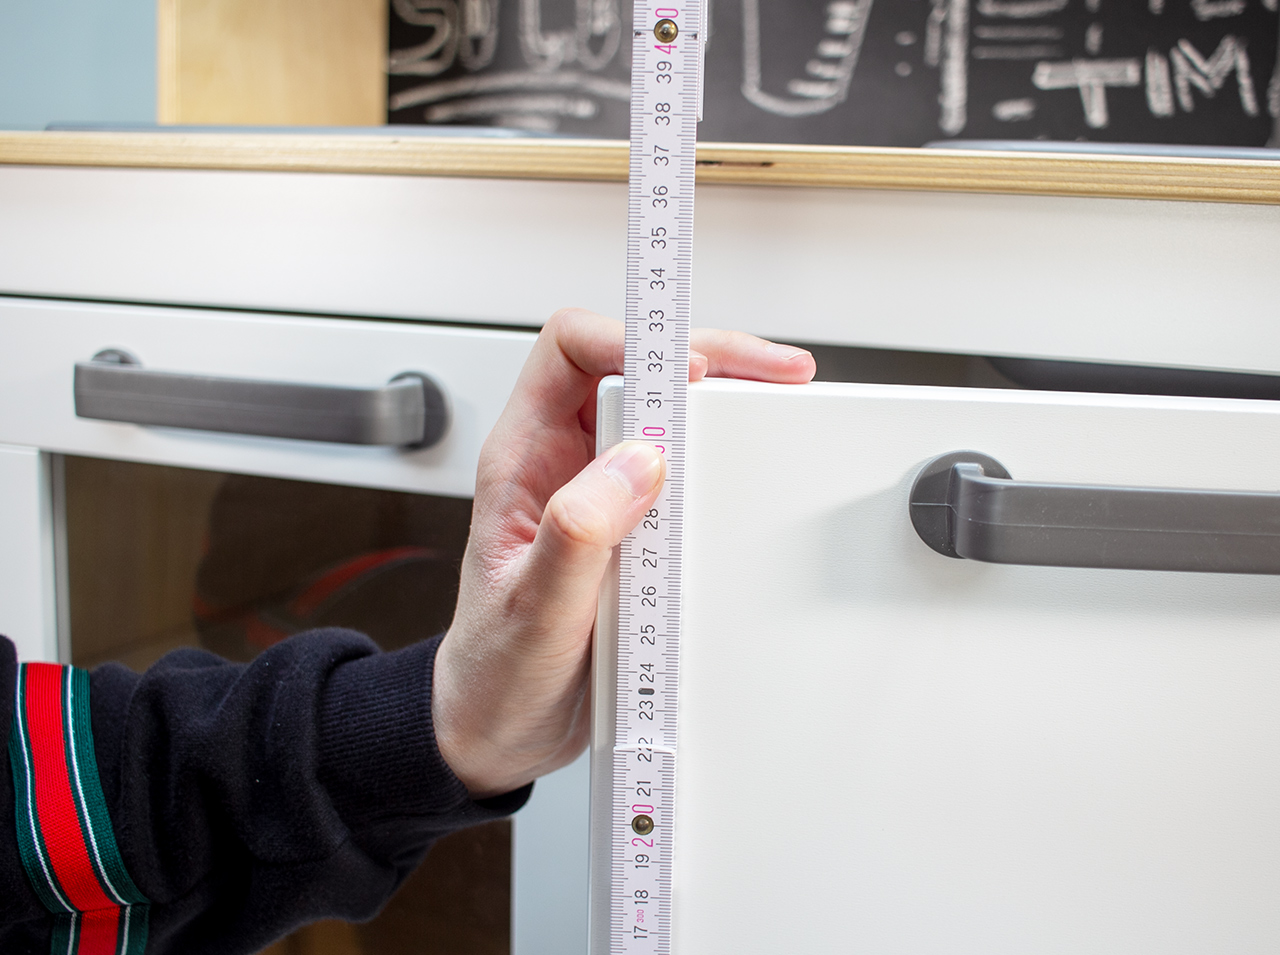 Step 4
The next step is to measure all doors and transfer the dimensions to the back of the adhesive film in mint with a bit of cutting allowance.
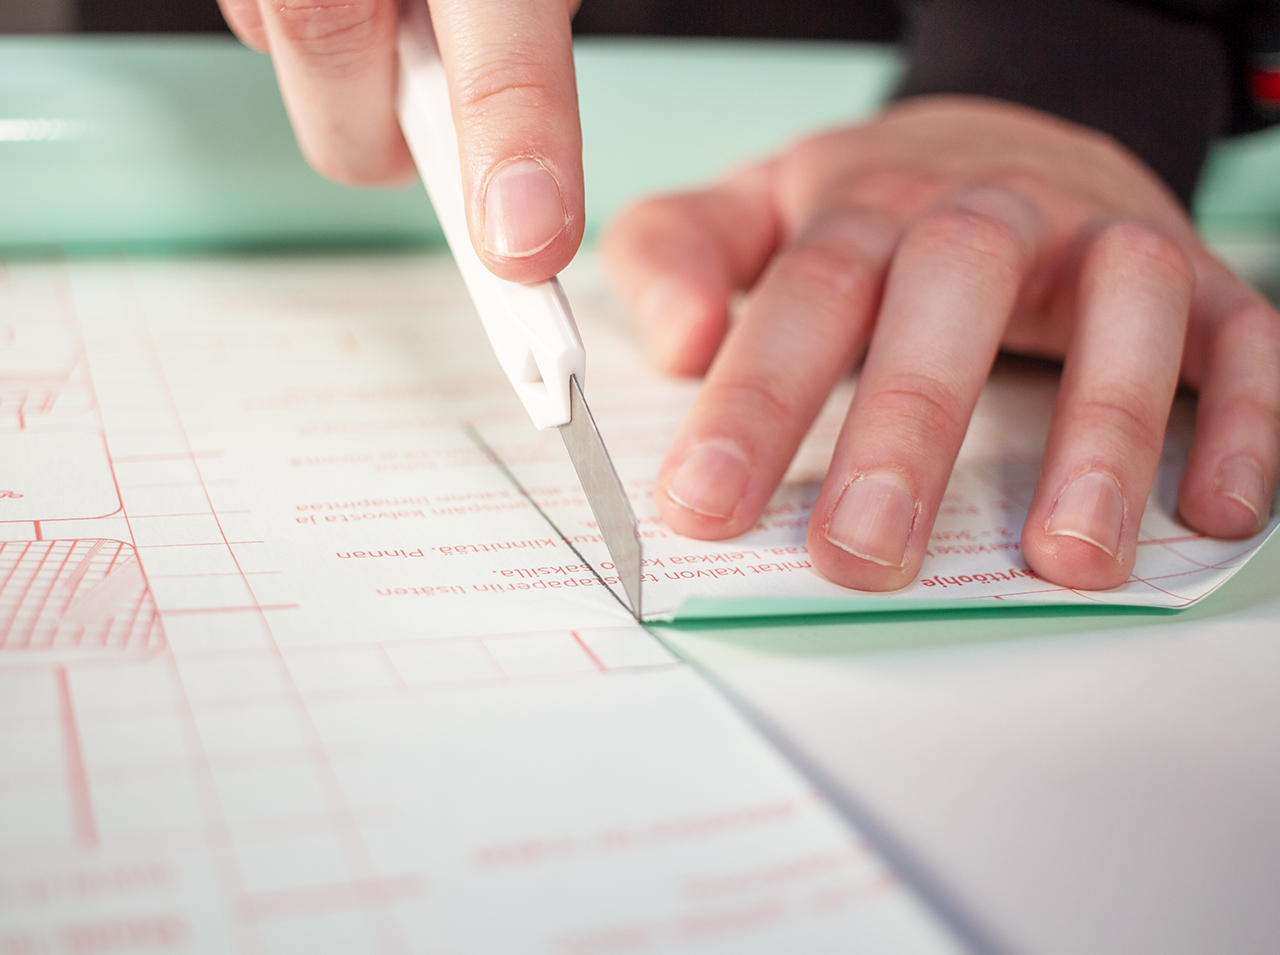 Step 5
Cut the adhesive foil pieces for the doors and affix them to the doors with the doctor blade.
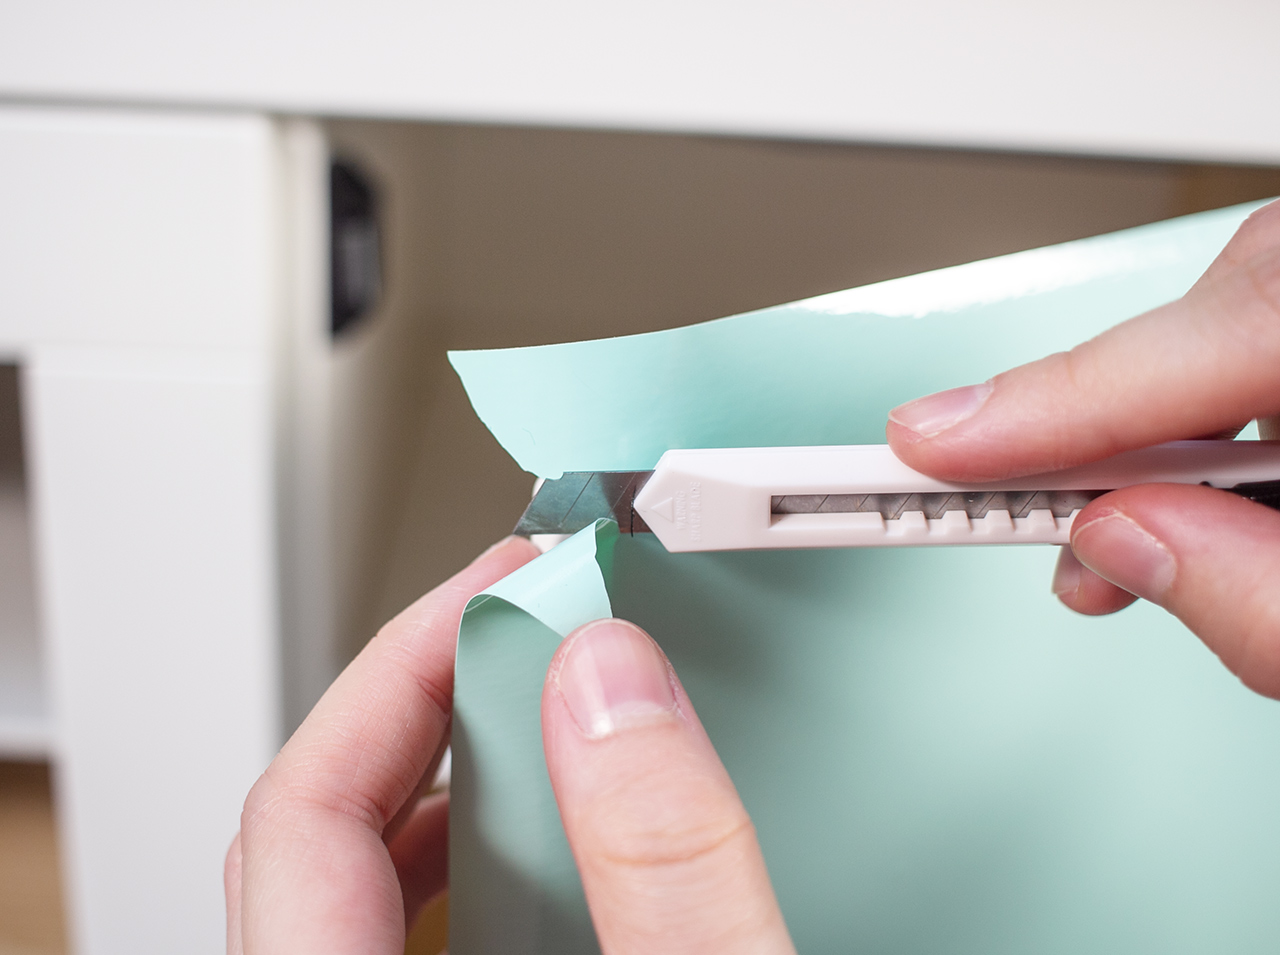 Step 6
Cut the excess adhesive film on the edges up to the corners of the door, pull the edges and smooth well and firmly with the doctor blade.
You’re done!

Post A Comment
EXPERT ADVICE
Add some nice accents by attaching other door handles or doorknobs, or by combining additional hooks with small LED spots. Always a highlight: cute oven cloths and colourful guest towels – just like in a real kitchen!
Preparation time
15 min
Execution
30 min
Difficulty level
Beginner
Costs
Medium
Projects you might like

No Comments