You will need…


Enter the search term and press "ENTER" .
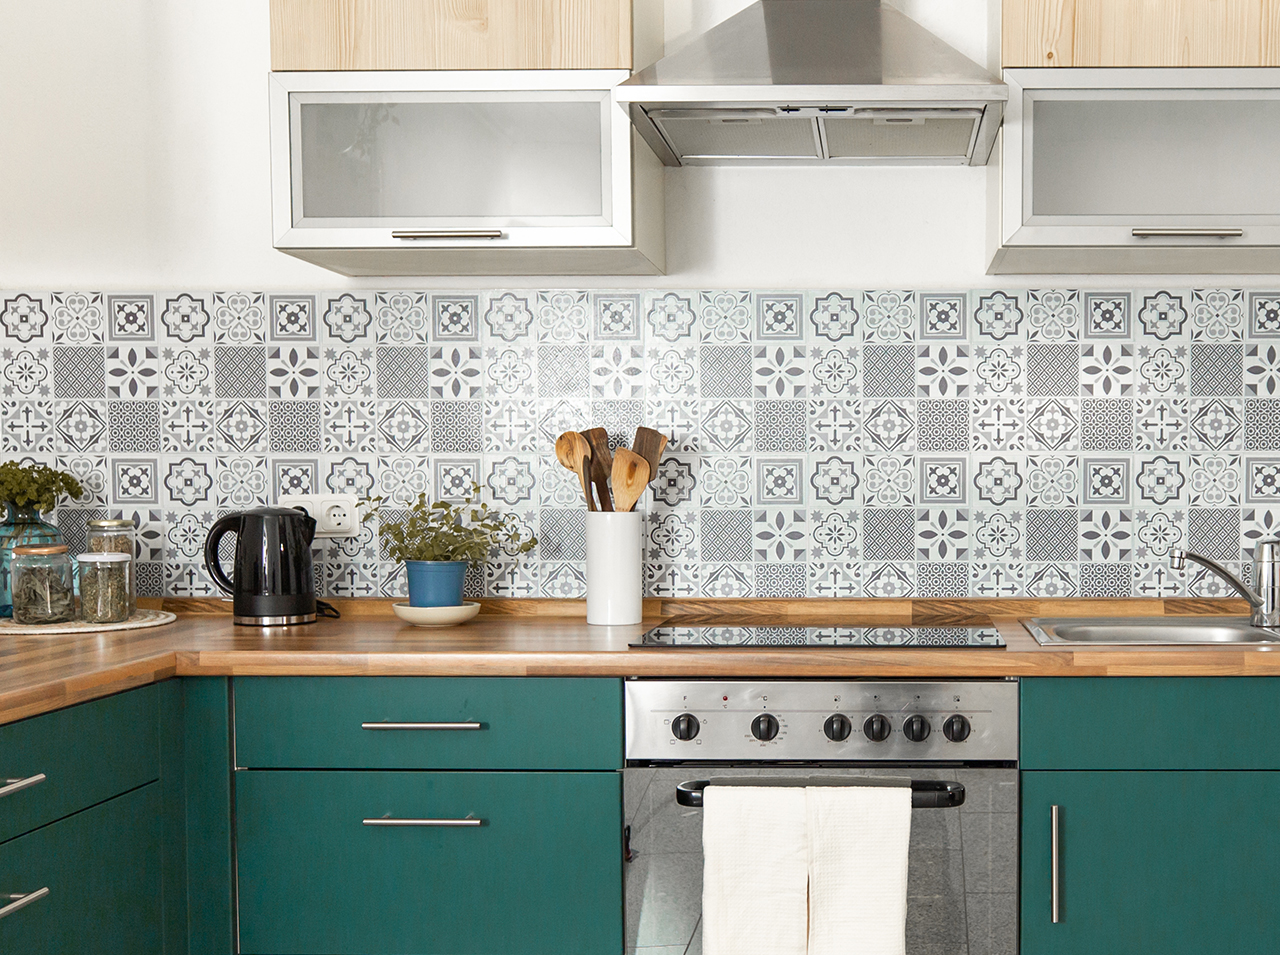
Kitchen makeover: Fresh tile look spices up your kitchen!
Project from Alex - 0 CommentsBye-bye old tile backsplash! If your kitchen’s backsplash is no longer looking its best, it’s time for an expressive makeover. So that the redesign of this wall area succeeds with a certain wow effect, there are d-c-fix® Wall Tiles in the design Oriental Tiles. These are self-adhesive wall tiles in the look of elaborate oriental ornamental tiles in harmonious shades of gray – just perfect for your kitchen makeover with a new look that you will love!
- d-c-fix® Wall Tiles Oriental Tiles
- Cutting pad
- Utility knife
- Pencil
- Ruler
- Measuring tape
- Screwdriver with voltage tester
- Adhesive tape
- Silicone
- Cleaning products
Let’s go!
Here’s how to do a tile backsplash makeover for the kitchen:
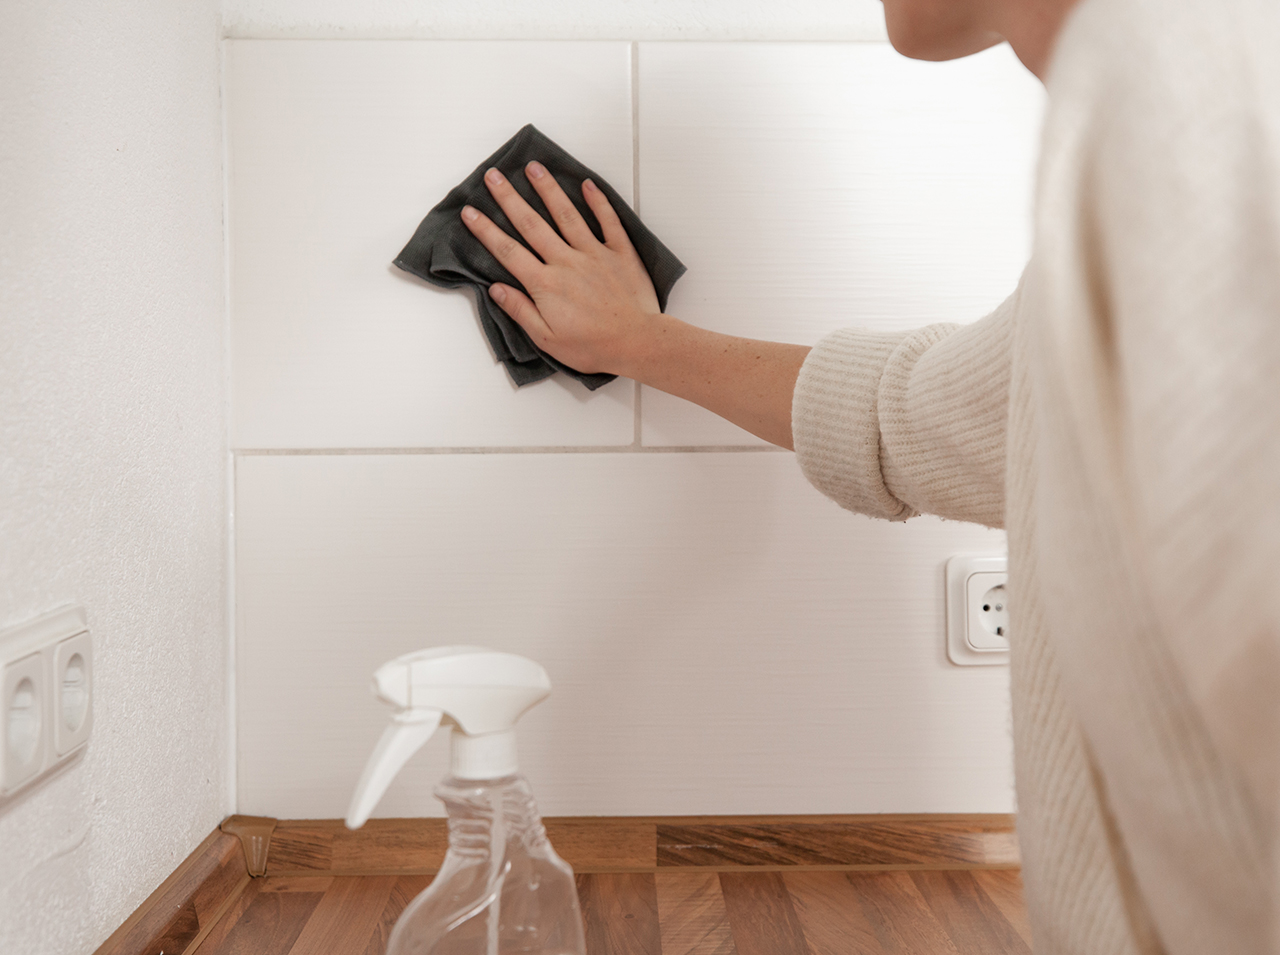 Step 1
First you need to prepare the surface: Thoroughly clean the tile backsplash with a damp cloth.
Important: The surface must be dry before the wall tiles can be applied.
If there’s an outlet on the backsplash, please take into account step 7 now.
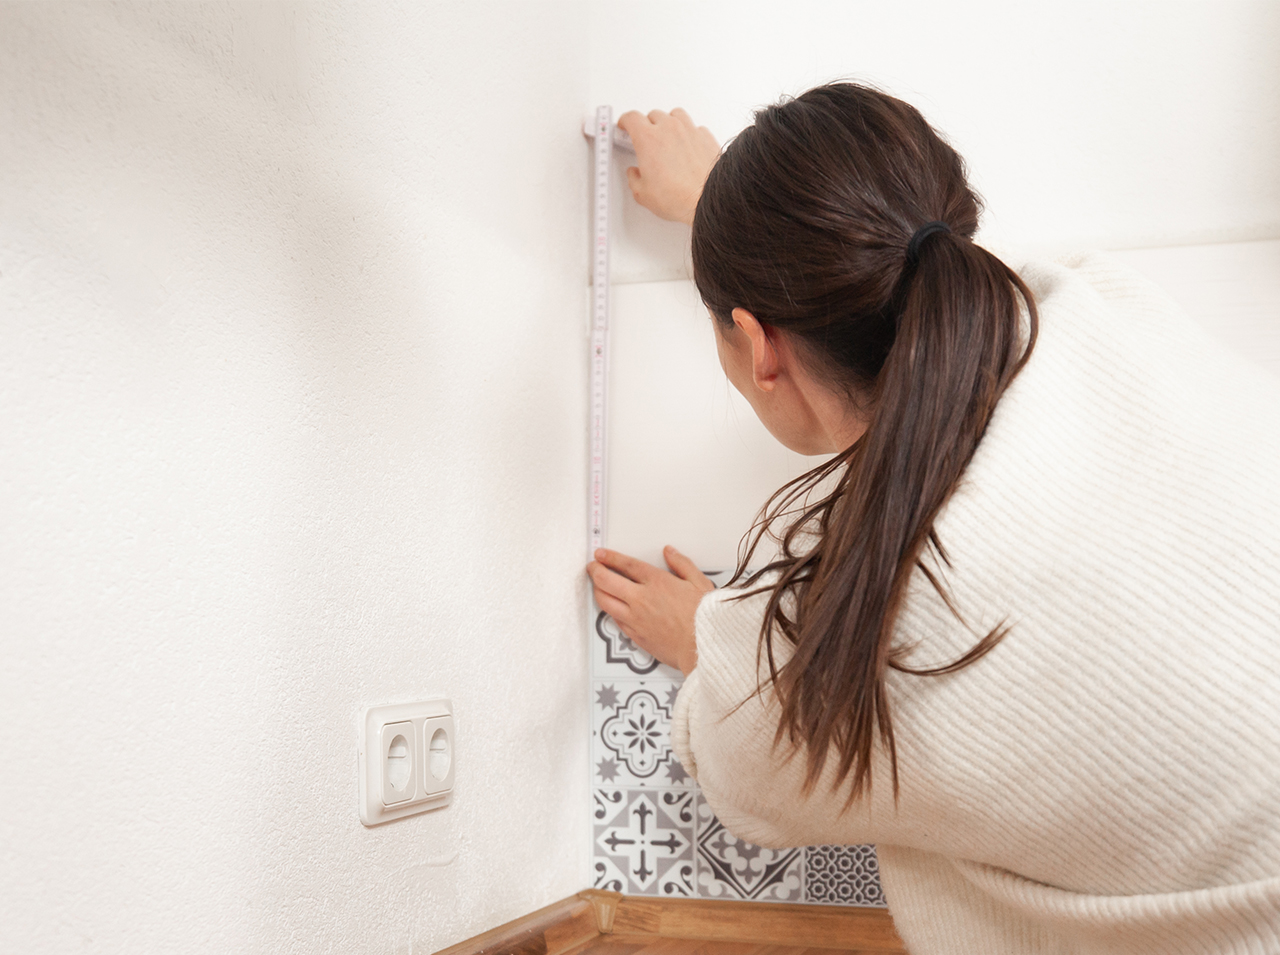 Step 2
Now measure the wall to see if the Wall Tiles need to be cut – to do this, please refer to the Wall Tiles dimensions.
Tip: If the backsplash is not high enough for two Wall Tiles on top of each other, it’s best to cut the bottom tile: This way you get a clean finish at the top!
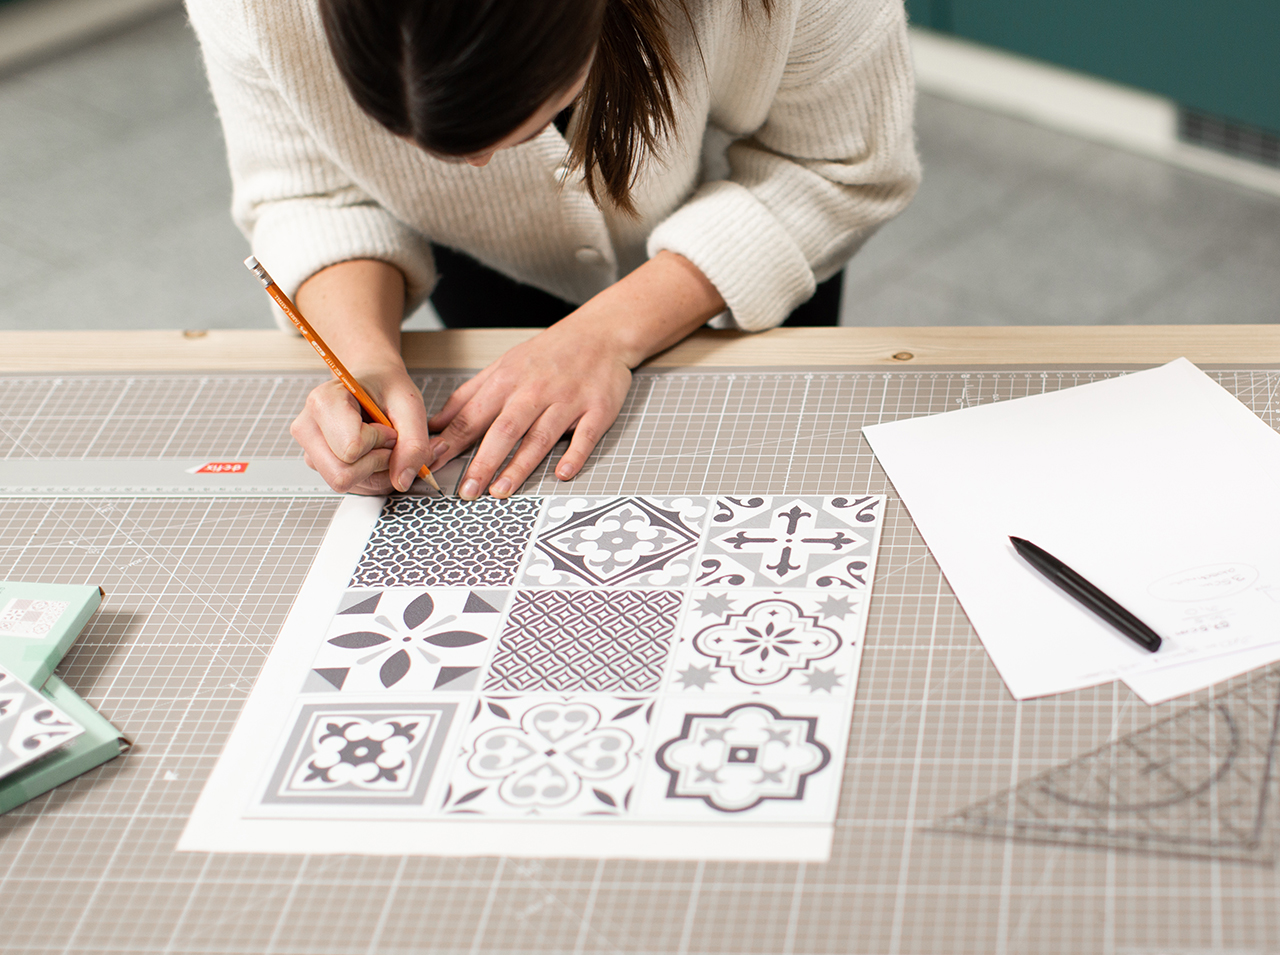 Step 3
To cut the Wall Tiles, draw the measurements on the front of the tile.
When cutting the bottom tile, make sure that the transparent film remains intact – this is important for sealing.
 Step 4
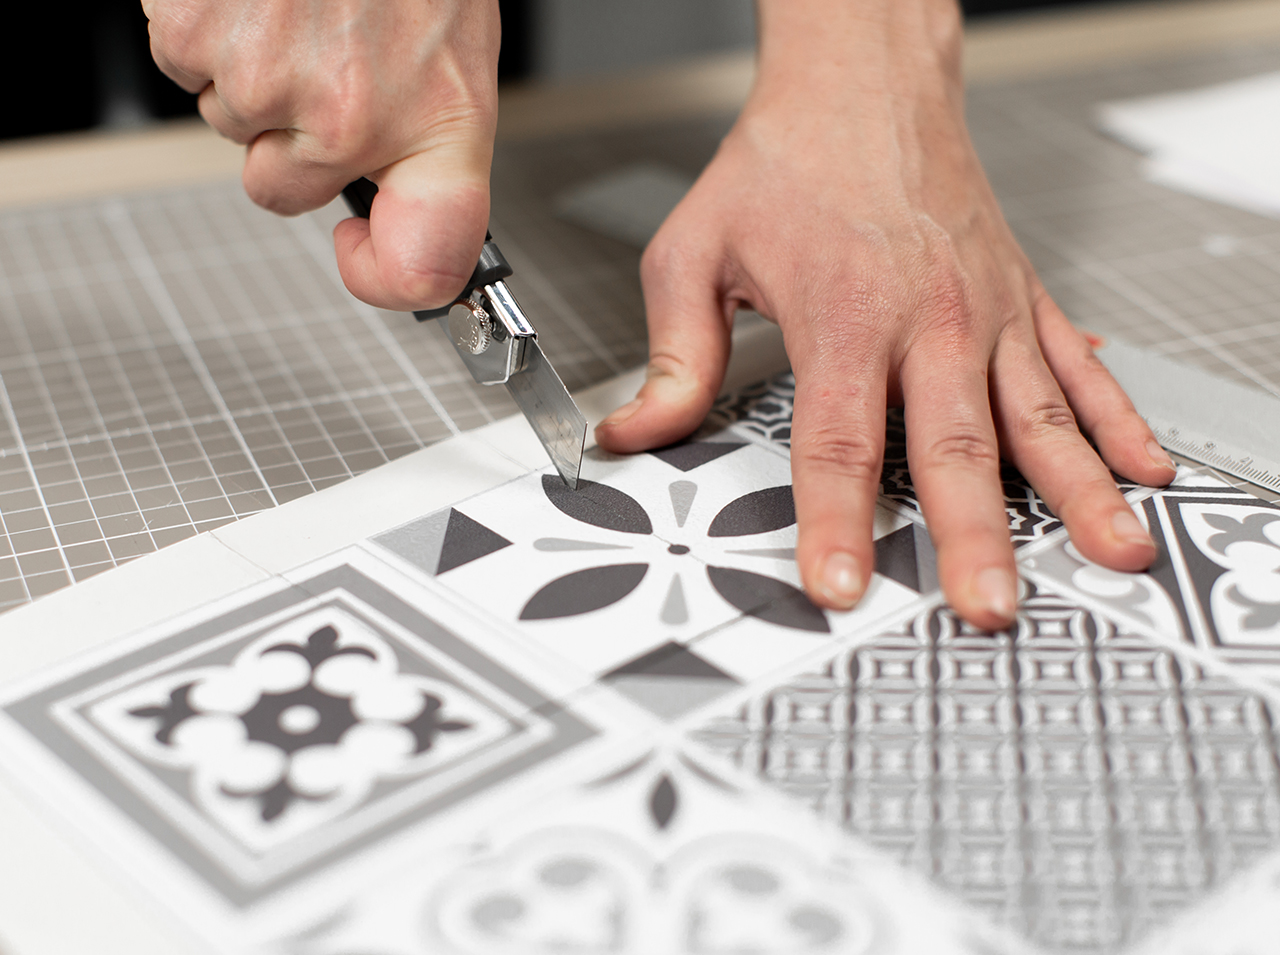
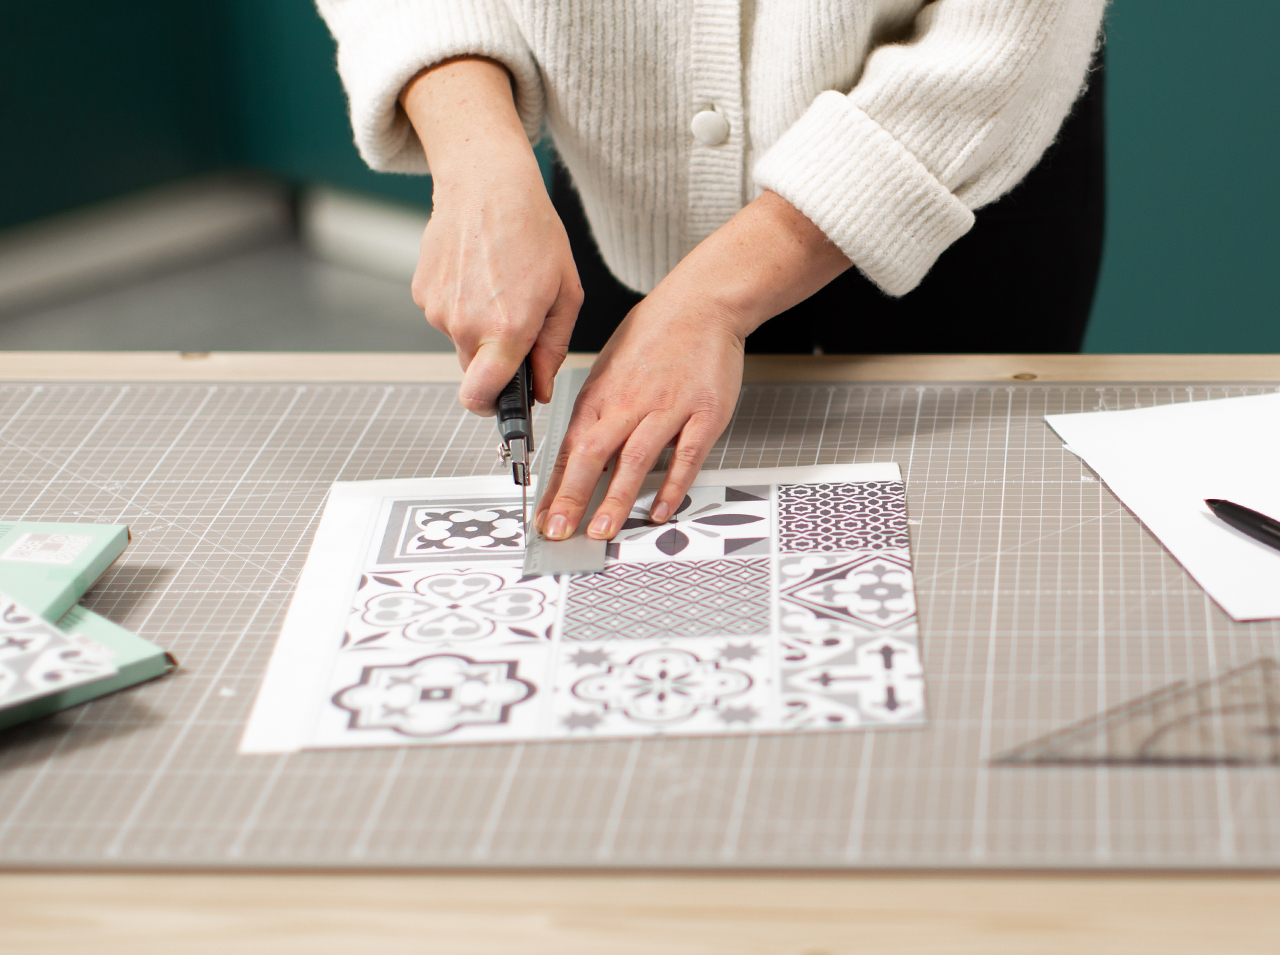
Use a cut-resistant base for cutting the Wall Tiles. Now cut the wall tiles as needed on the front side, using a ruler as a cutting edge and running the cutter knife along it two or three times.
 Step 5
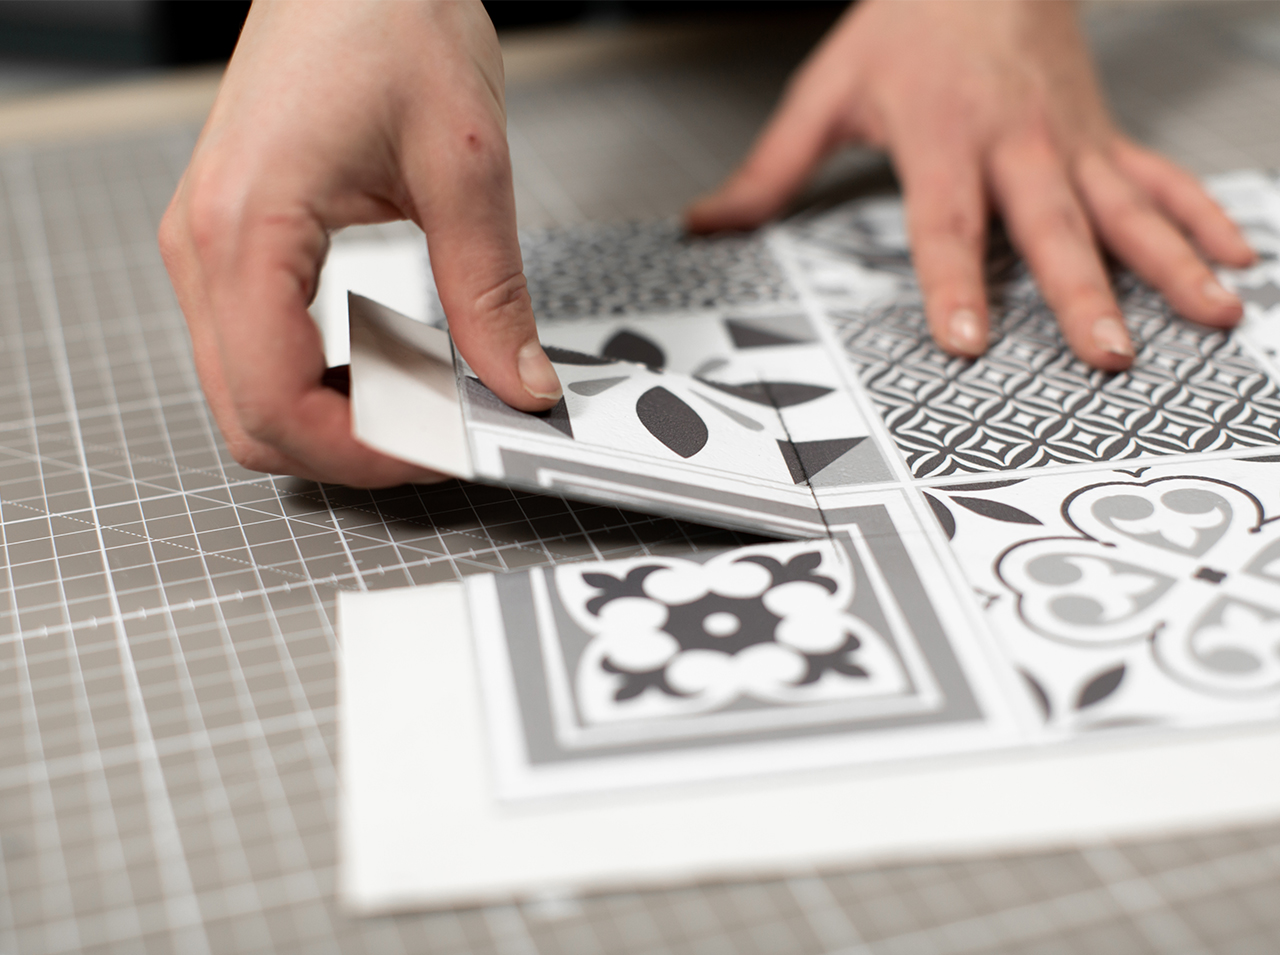
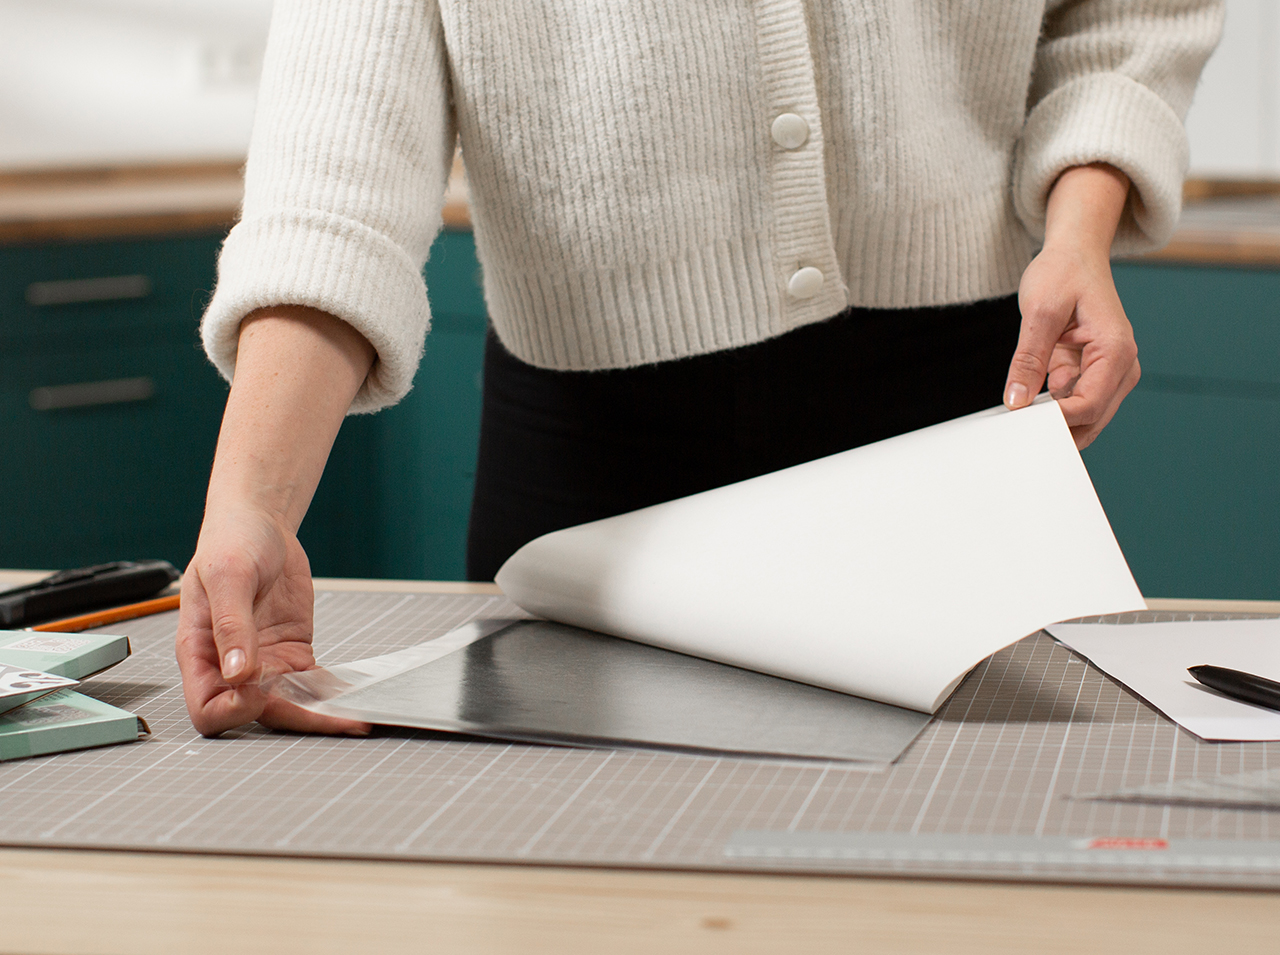
Then remove the backing paper by sticking an adhesive strip to the front and back of the protruding film and then pulling the adhesive strips apart.
This step is very important for application!
 Step 6
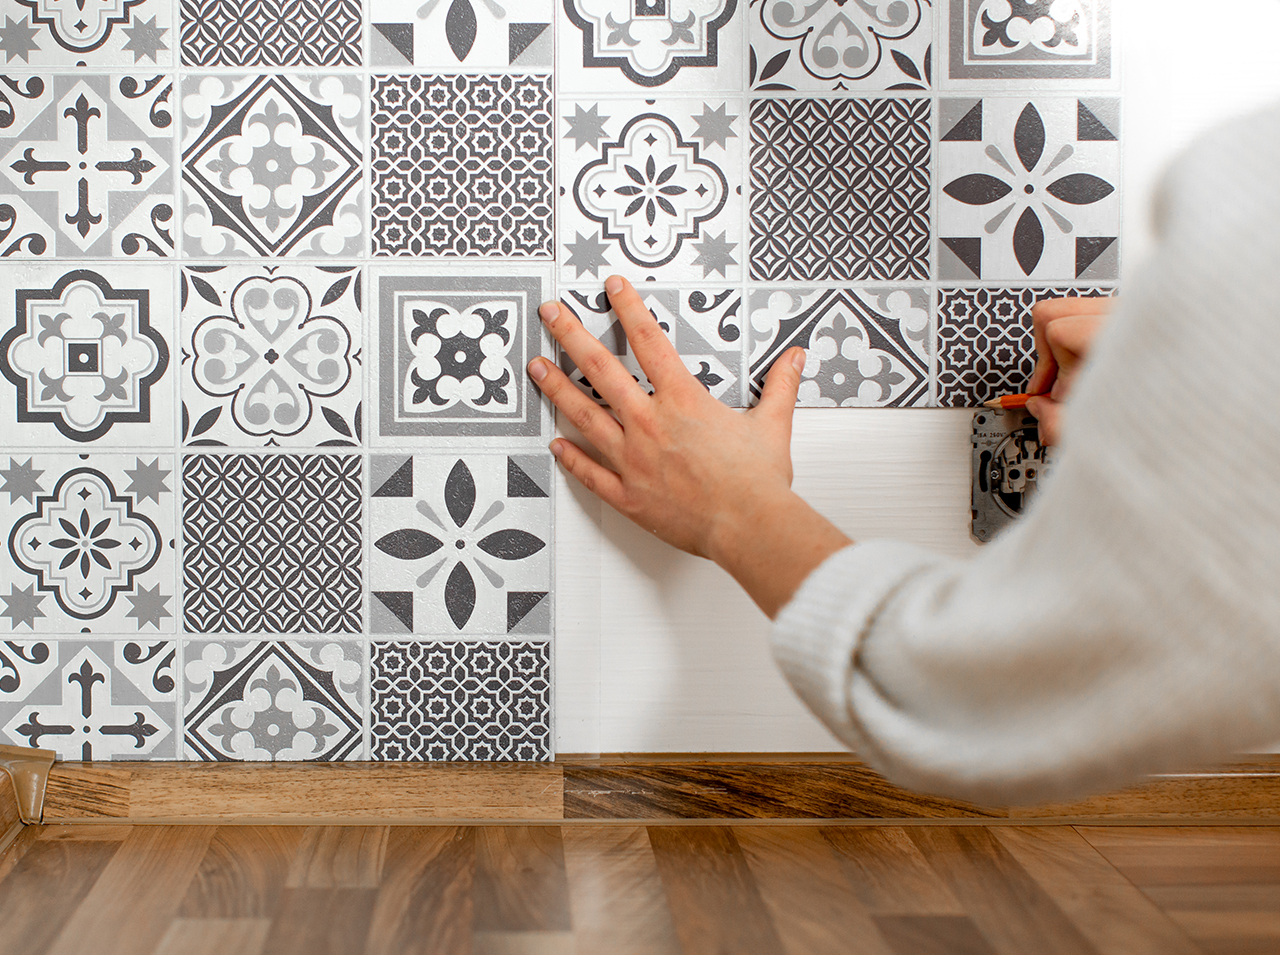
The position of the first wall tile is in the bottom left corner. Press the wall tile including the transparent film to the wall and smooth it on firmly.
Apply the next tile edge to edge over the overhang of the previous tile to make sure that the joints are tight.
 Step 7
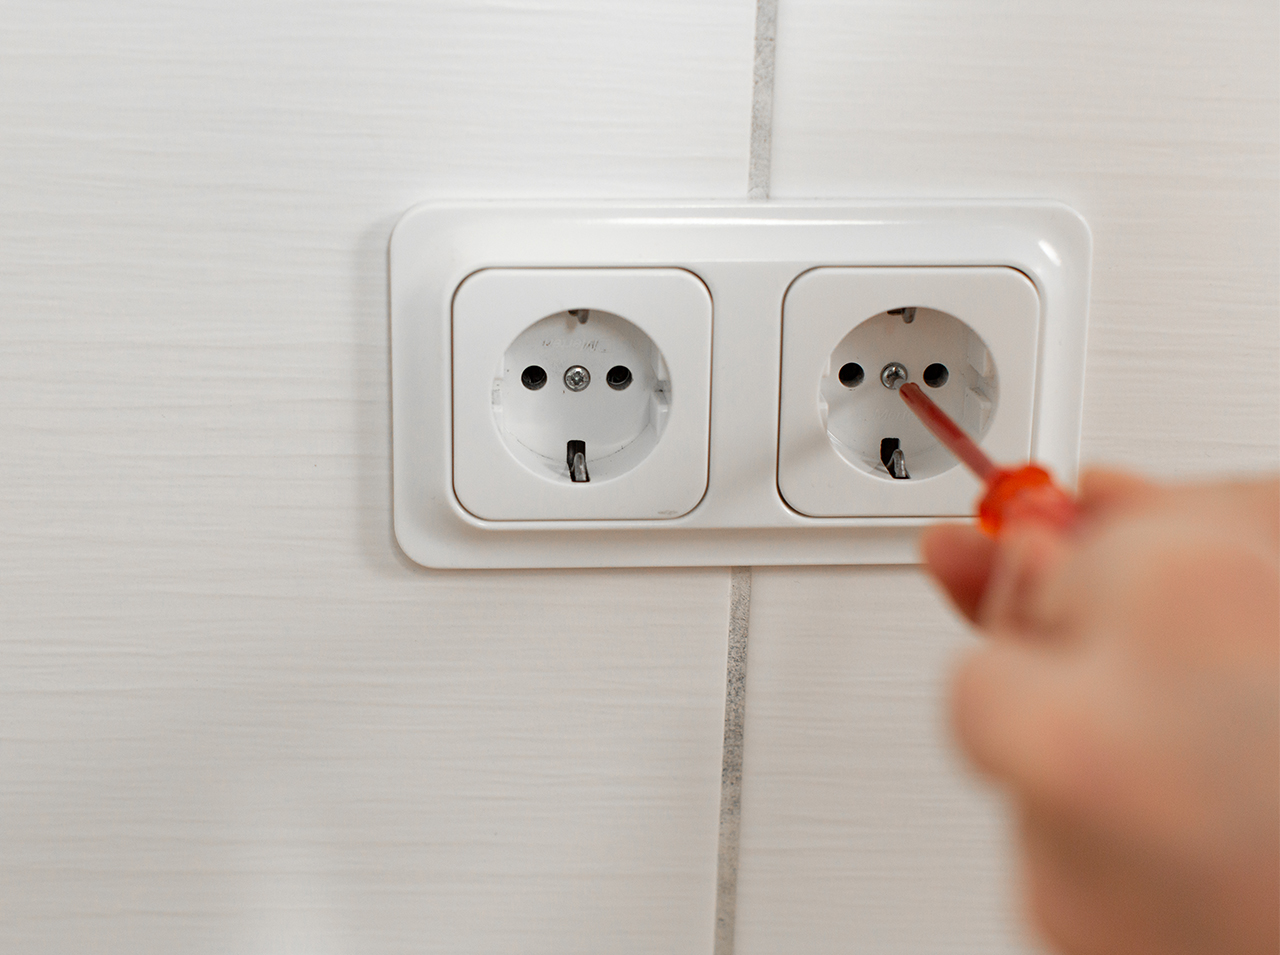
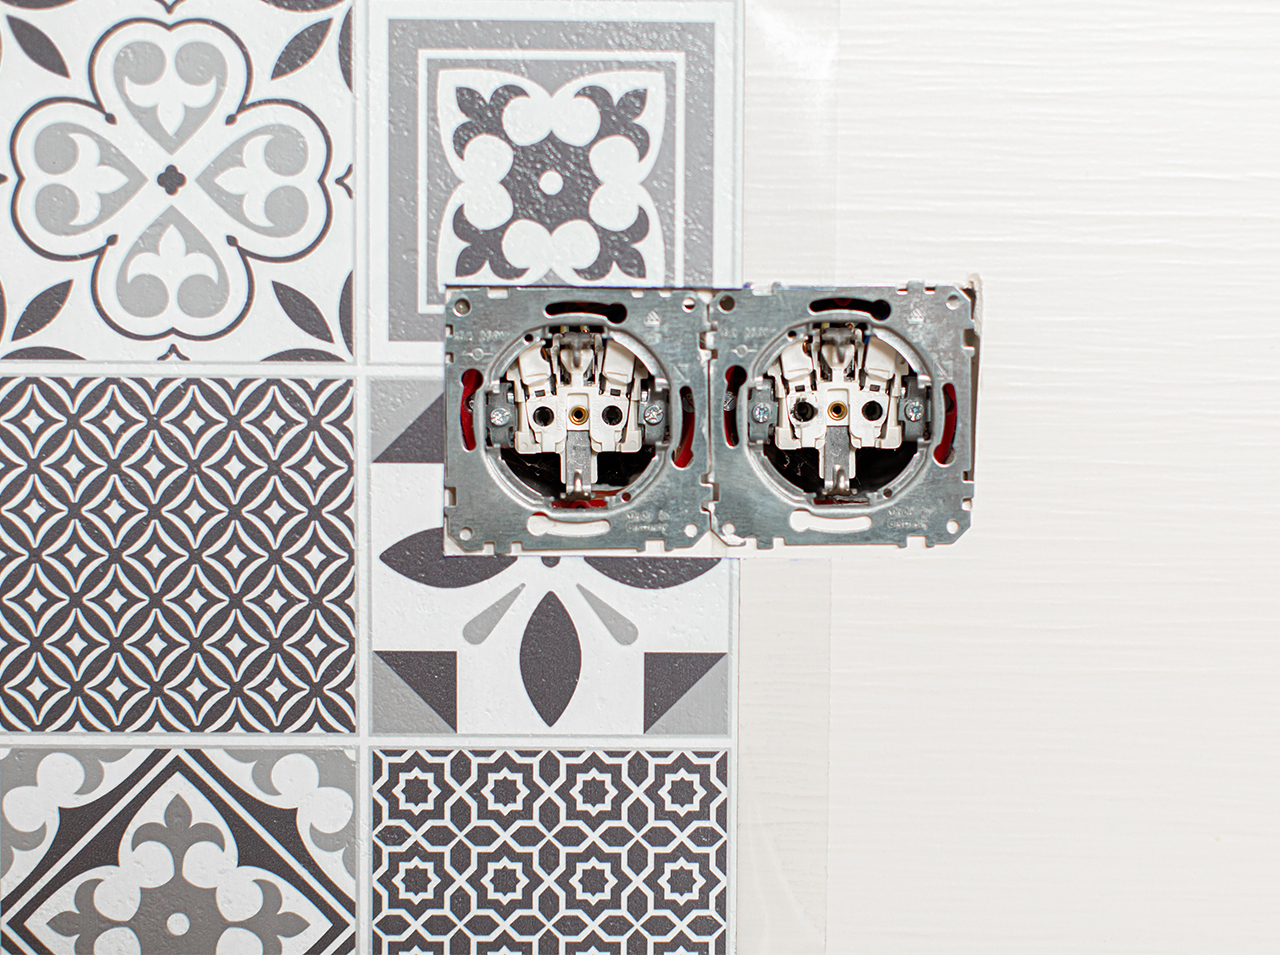
Is there an outlet on the backsplash? Turn off the power and use a screwdriver with a voltage tester to remove the outlet.
 Step 8
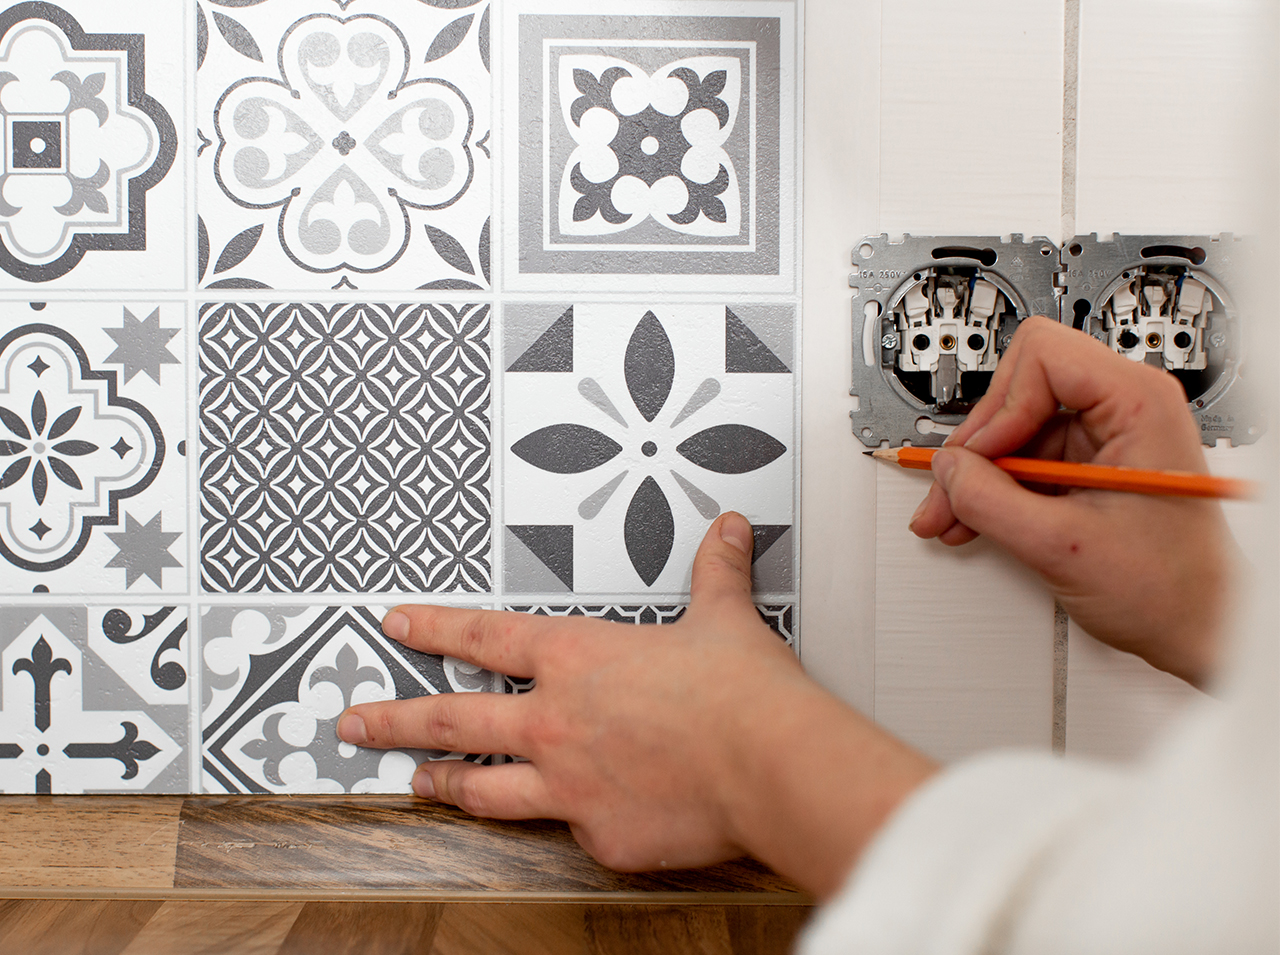
Draw in the outlet position for cutting the tiles: Hold the next tile against the socket and draw the height down and up.
 Step 9
Now attach the same tile to the edge of the previous tile and draw in how far the outlet extends into the tile.
 Step 10
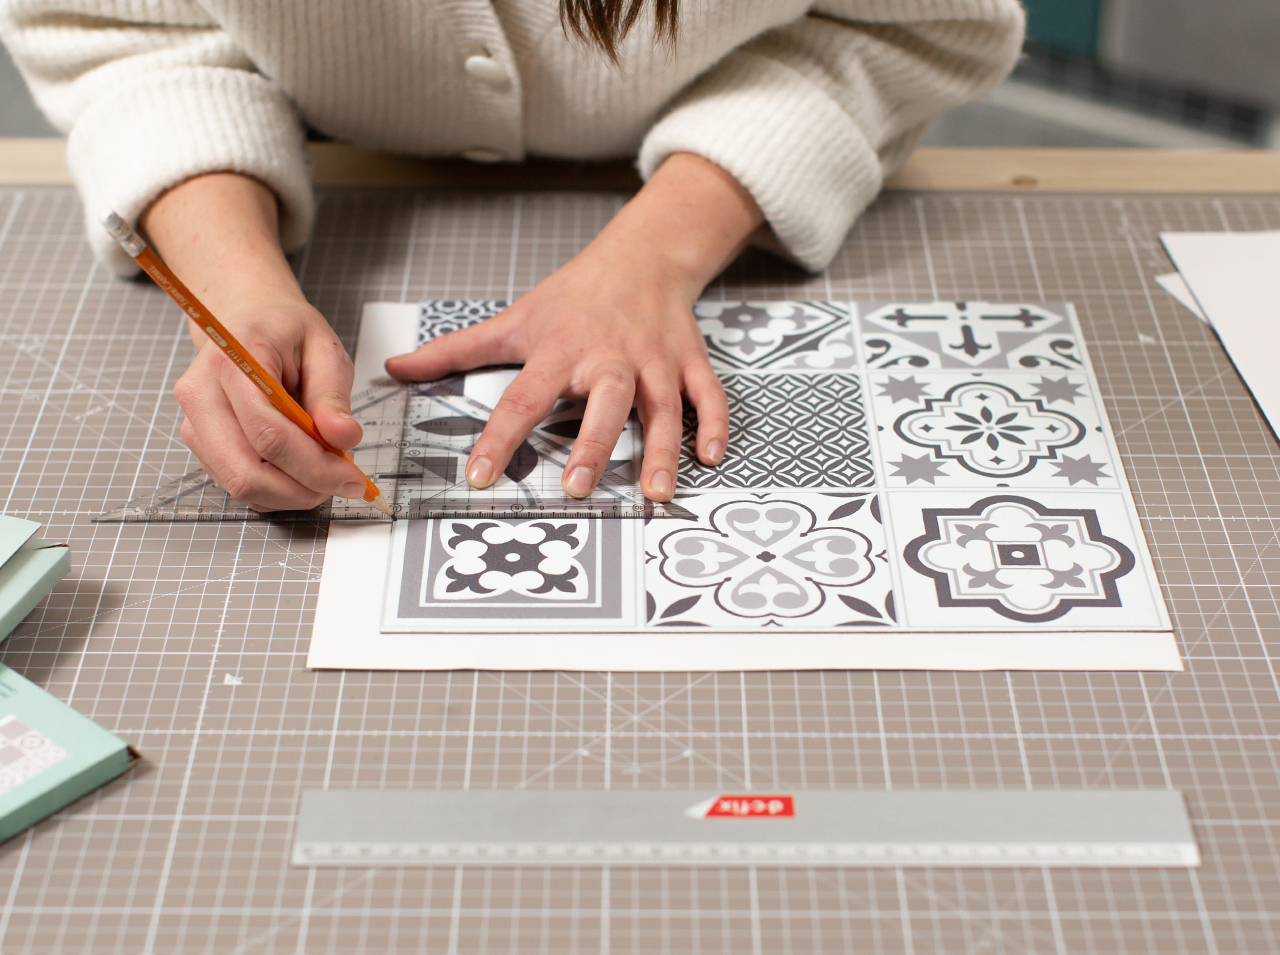
Then use a ruler or set square to transfer the dimensions of the outlet recess as lines onto the front of the tile.
 Step 11
Cut out the recess for the outlet. It’s also best to use a ruler for this to get a clean edge.
 Step 12
Remove the cut-out recess.
 Step 13
Now attach the tile and press it on firmly together with the transparent film.
Then repeat steps 8 through 12, marking the location of the outlet on the Wall Tile – now on the left side of the tile that will follow next.
 Step 14
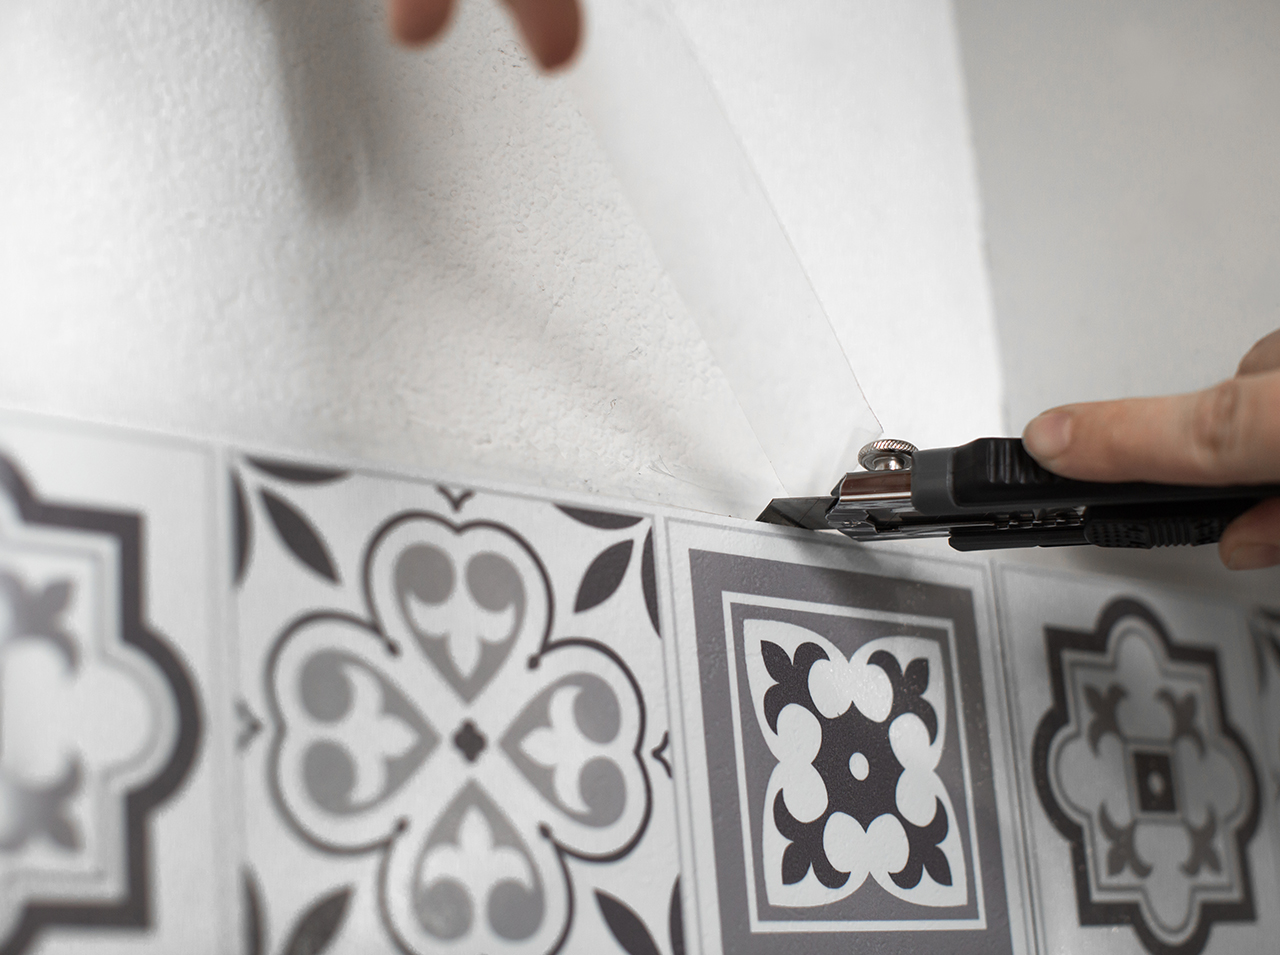
Once you’ve installed all the tiles, you can start working on the edges: To ensure a clean edge, cut off the overhanging film from the top row of tiles. If there’s still transparent film protruding from the far right of the tile backsplash, cut this off as well.
 Step 15
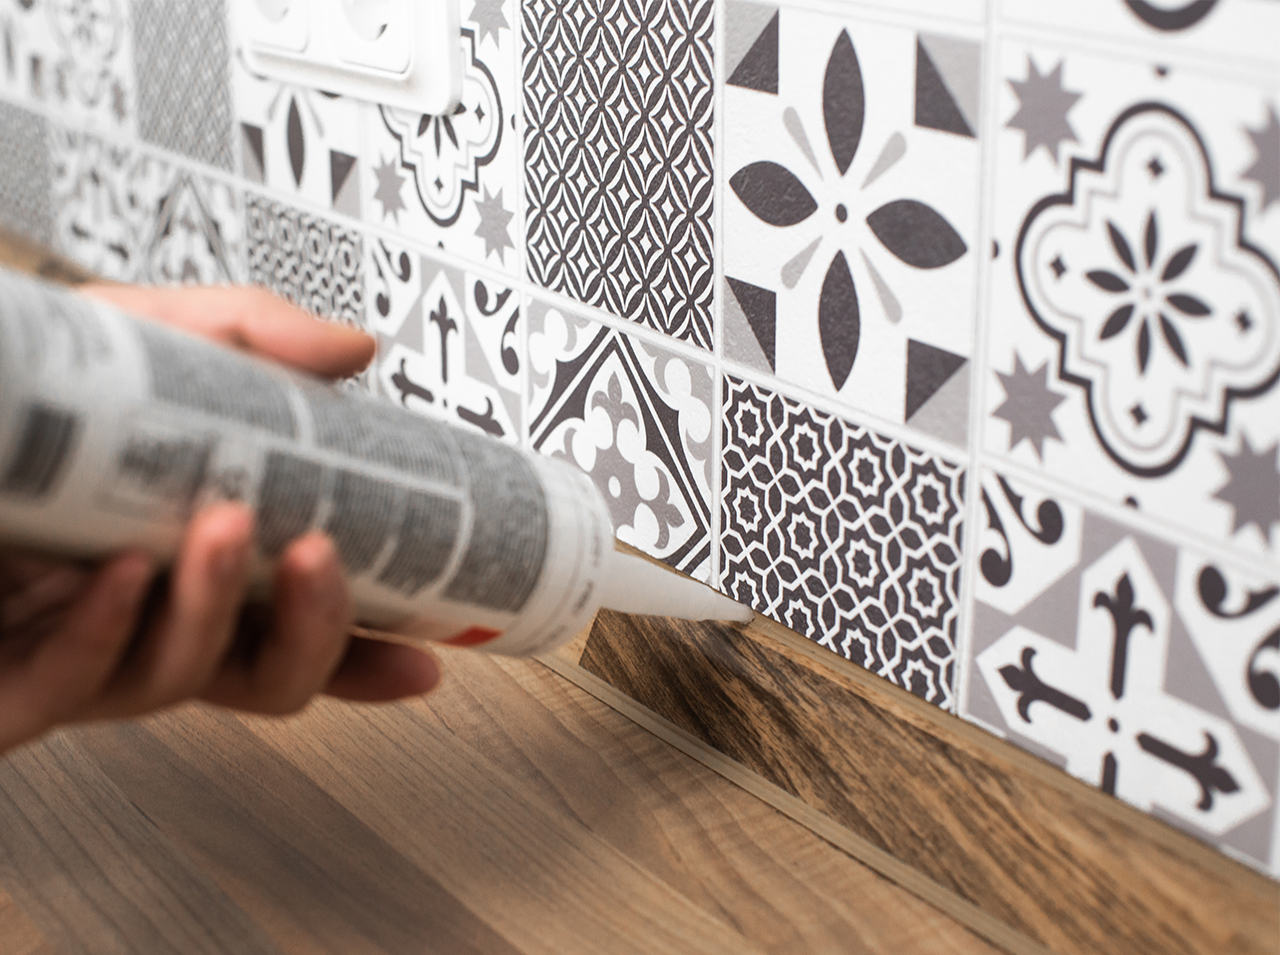
Sealing:
All outer edges should be sealed with silicone – especially in damp rooms to prevent moisture from penetrating.
To clean the Wall Tiles, use a mild commercial liquid cleaner or soapy water and wipe thoroughly with clean water.
Done!

Post A Comment
Preparation time
10 min
Execution
45 min
Difficulty level
Easy
Costs
Average
Projects you might like


No Comments