You will need…


Enter the search term and press "ENTER" .
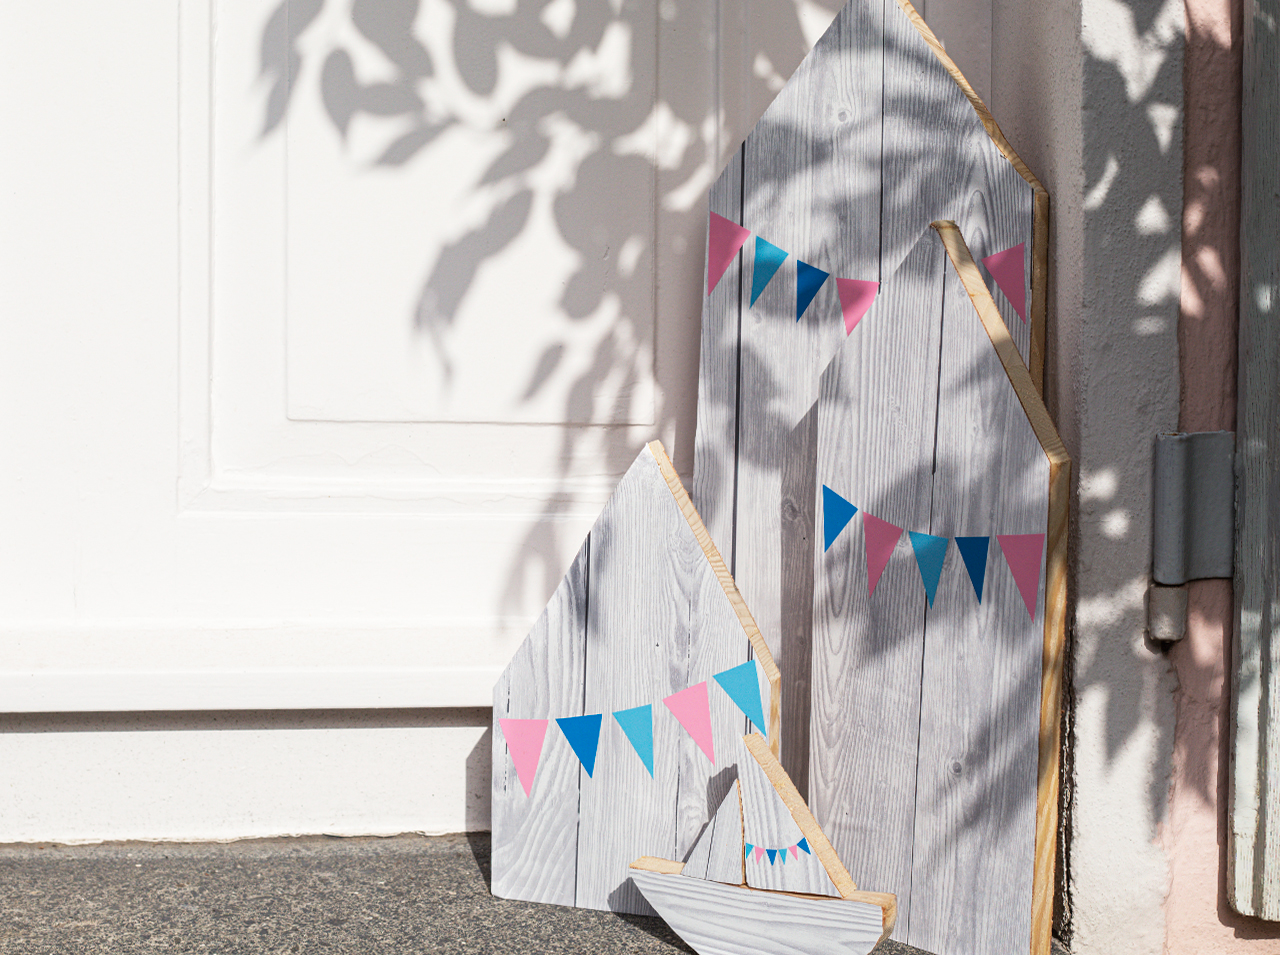
DIY decoration: Great wooden beach huts are looking for new owners!
Project from Angelina - 0 CommentsThe sound of the ocean. Fine, warm sand beneath your feet. The sun warms your face. You breathe in deeply – and when you look at your little maritime wooden hut, you can’t help but smile.
Oh, that long-awaited feeling of being on the beach is so good! Also, when chilling on your sofa at home and proudly admiring your self-built maritime wooden huts in a shabby wood effect, it’s easy to pick out the most beautiful colors for your next vacation by the seaside. Thanks to d-c-fix® adhesive foil in Shabby Wood, Aqua, Airblue and Cherry, decorative huts with a smart facade will just heighten the anticipation until then. You can also pass this on to friends and loved ones: after all, who wouldn’t want to own their own beach hut?
- A roll of d-c-fix® Shabby Wood
- A roll of d-c-fix® Aqua
- A roll of d-c-fix® Airblue
- A roll of d-c-fix® Cherry
- d-c-fix® application kit with doctor blade and cutter knife
- Scissors
- Measuring tape
- Pencil
- Fairly thick wooden boards
- Sandpaper
- Jigsaw
Let’s go
 Step 1
The first step is to draw different size “outlines” for your huts on the wooden board.
 Step 2
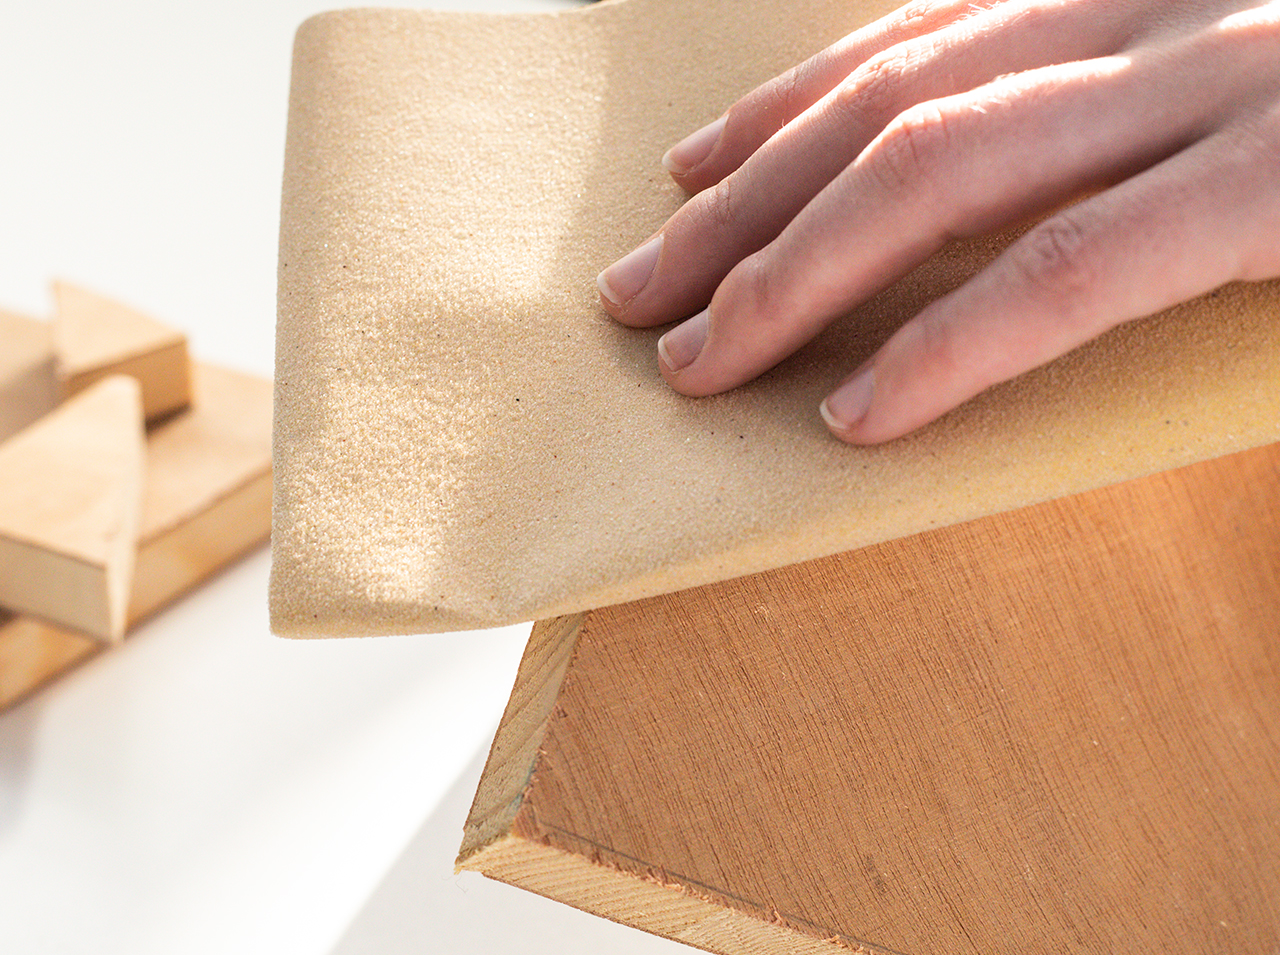
Then use the jigsaw to cut out hut shapes and smooth the edges a little using sandpaper.
 Step 3
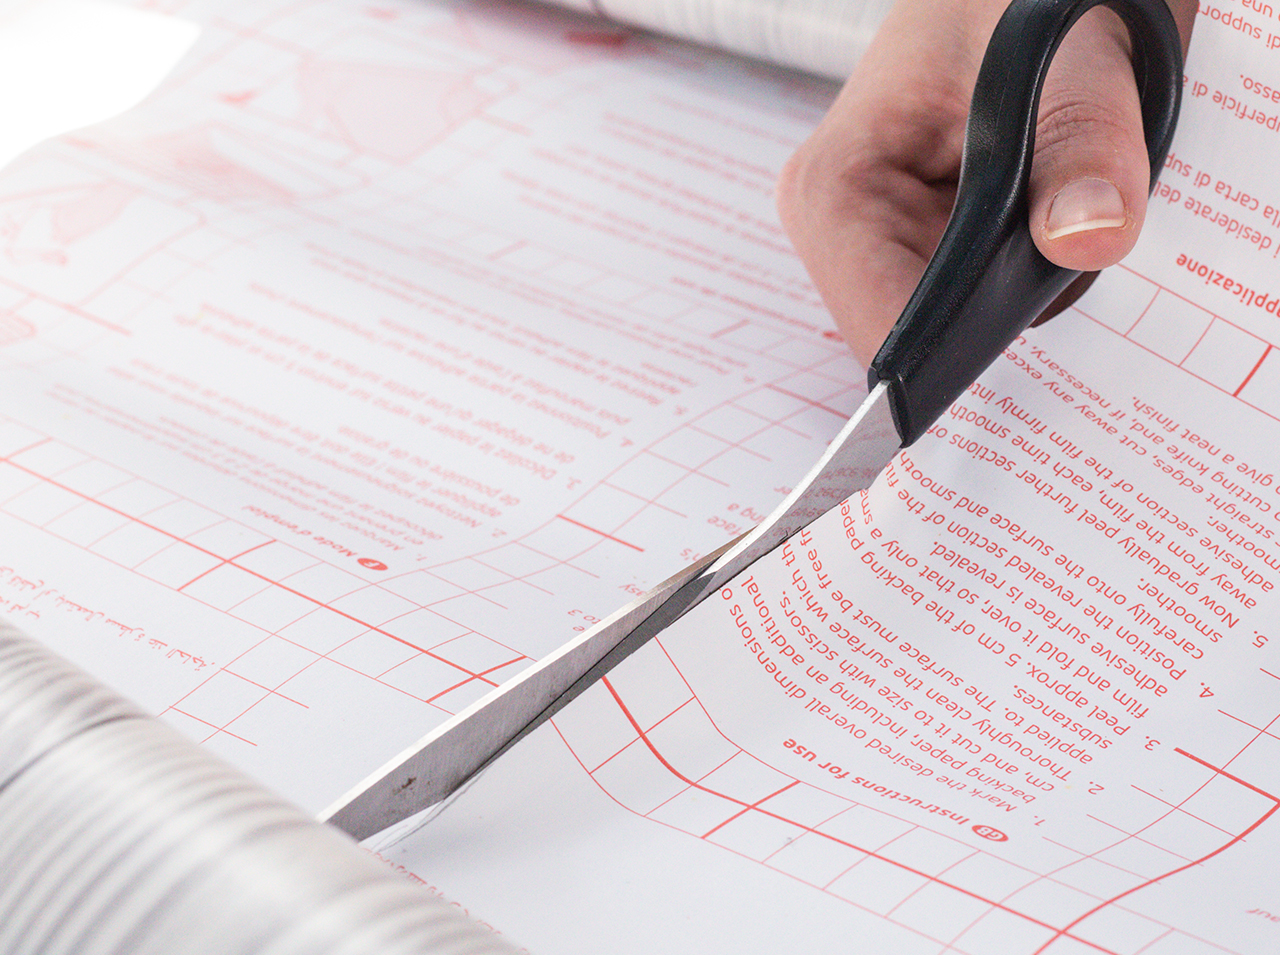
Now place the first wooden hut on the rear side of your desired adhesive foil, e.g. Shabby Wood, and draw around it with a pencil. Then cut the piece of foil, leaving large enough edges to cover the edges of the hut.
 Step 4
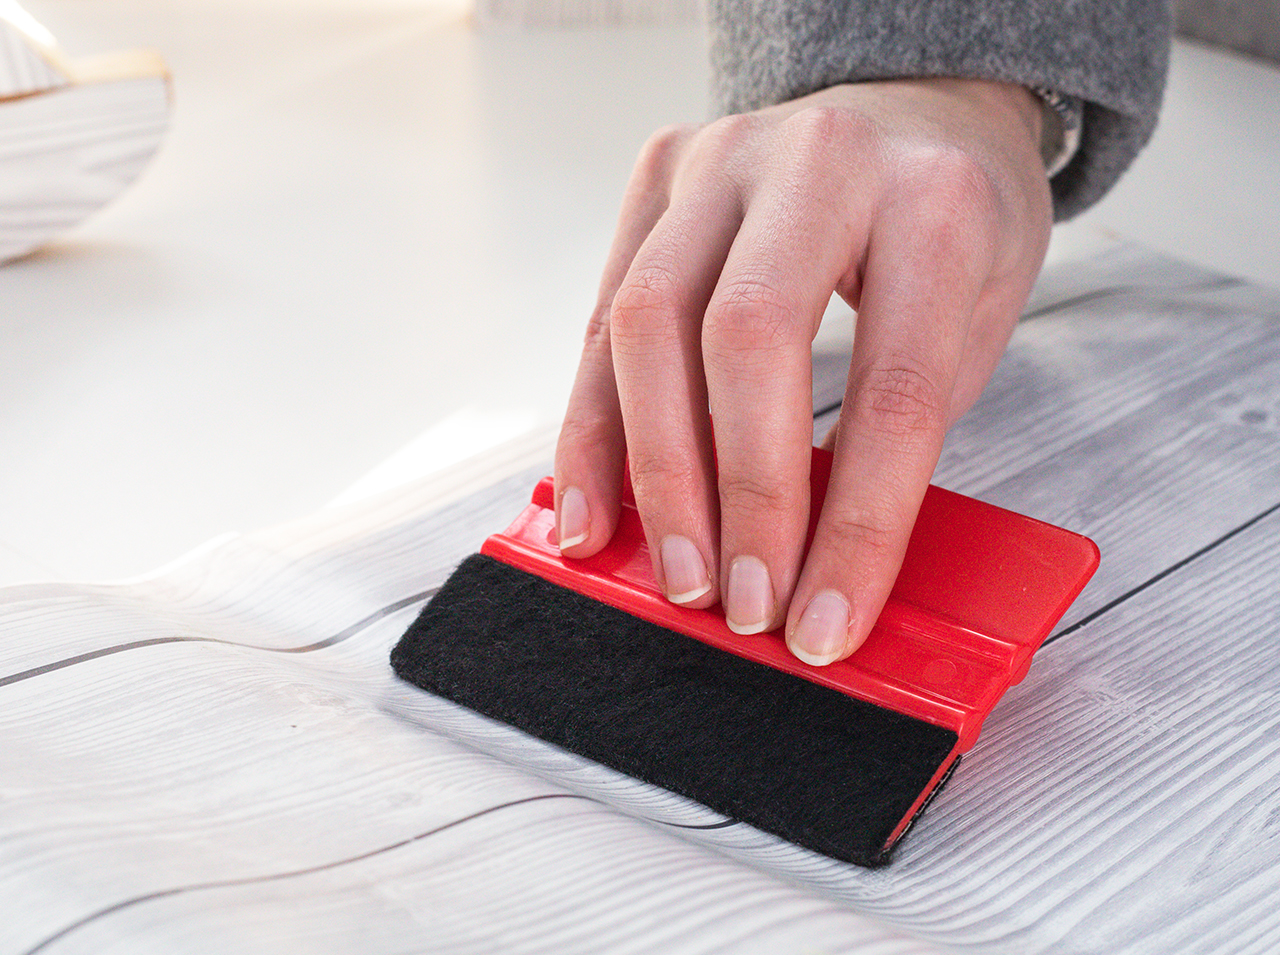
Peel off the backing paper from the adhesive foil and use the doctor blade to smooth the foil onto the wood.
 Step 5
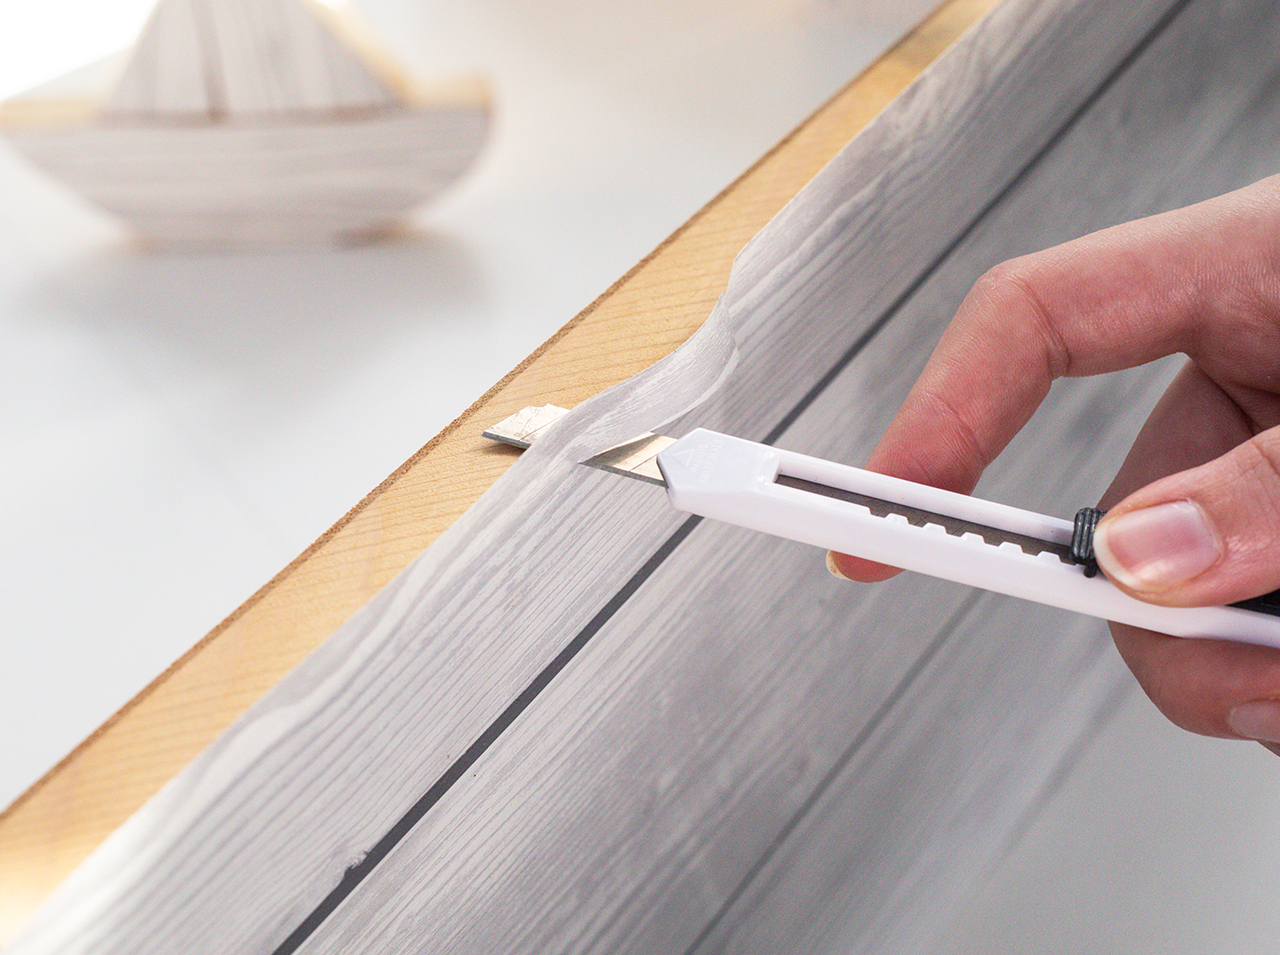
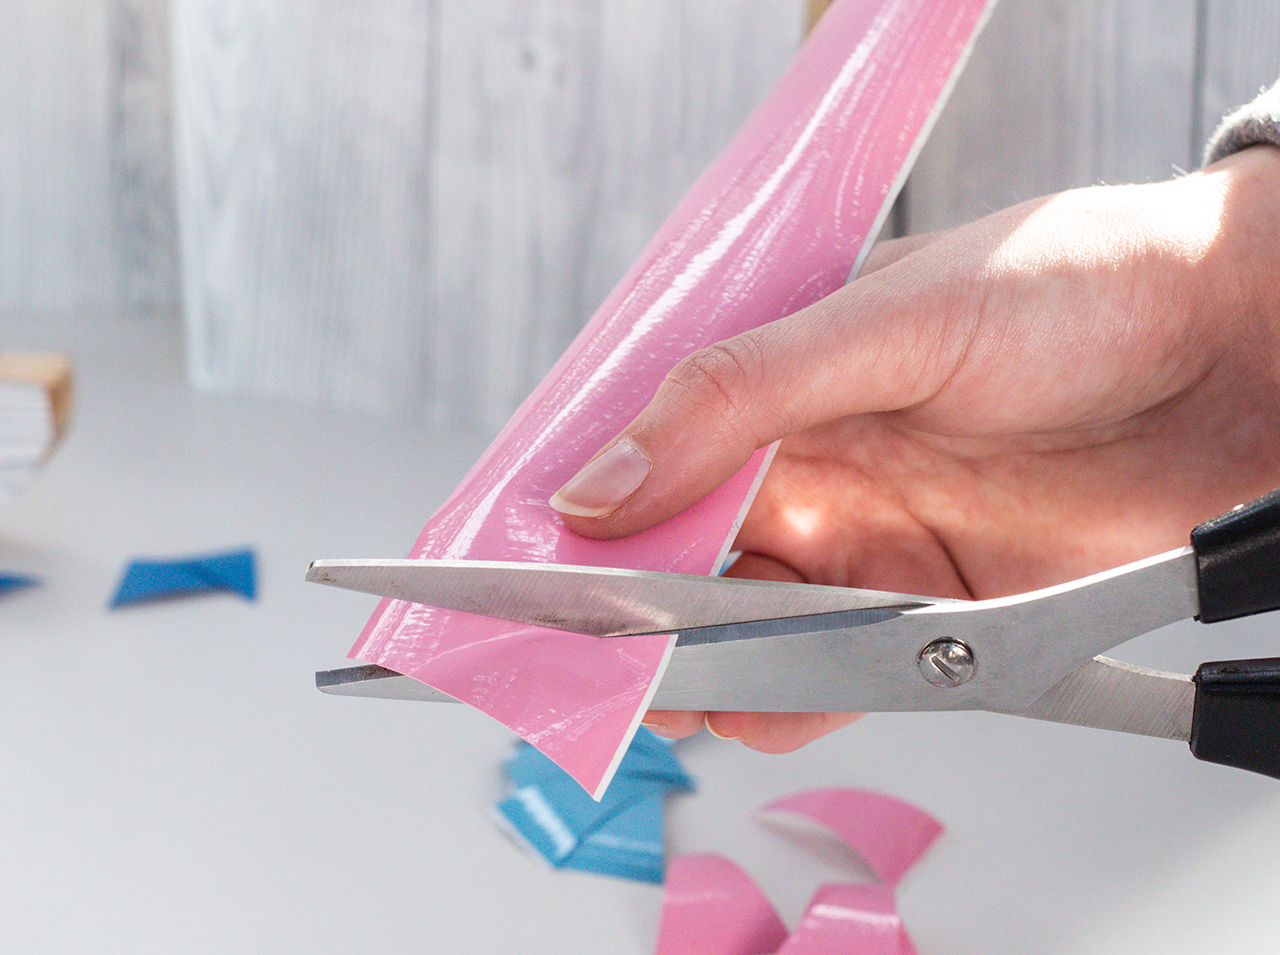
Trim any overlapping foil at the edges with scissors at the necessary points and carefully cover the edges with the foil. You can trim off any excess or irritating sections of foil with the cutting knife.
 Step 6
Now cut out squares of the plain-colored foils of your choice for doors and windows and attach them to the Shabby Wood-effect “facade.”
You’re done!

Post A Comment
EXPERT ADVICE
You can also cut out other shapes or maritime symbols and attach them to your small wooden huts: anchors, portholes, house numbers, window shutters – or decorative elements for the “facade” such as fish & mussels. You can do anything that makes your little hut by the sea perfect for you!
Preparation time
15 min
Execution
15 min
Difficulty level
Beginner
Costs
medium
Projects you might like


No Comments