


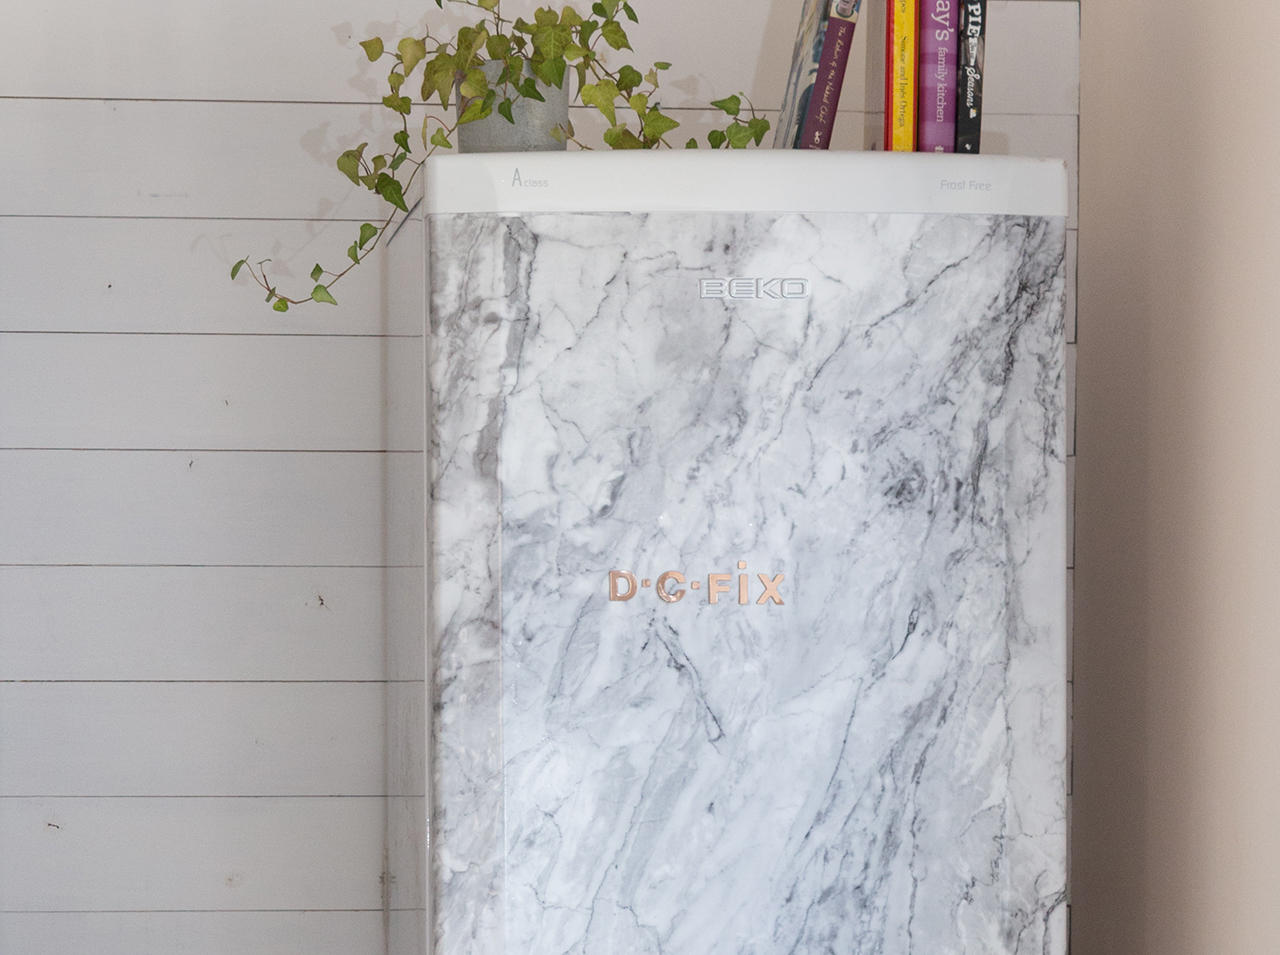
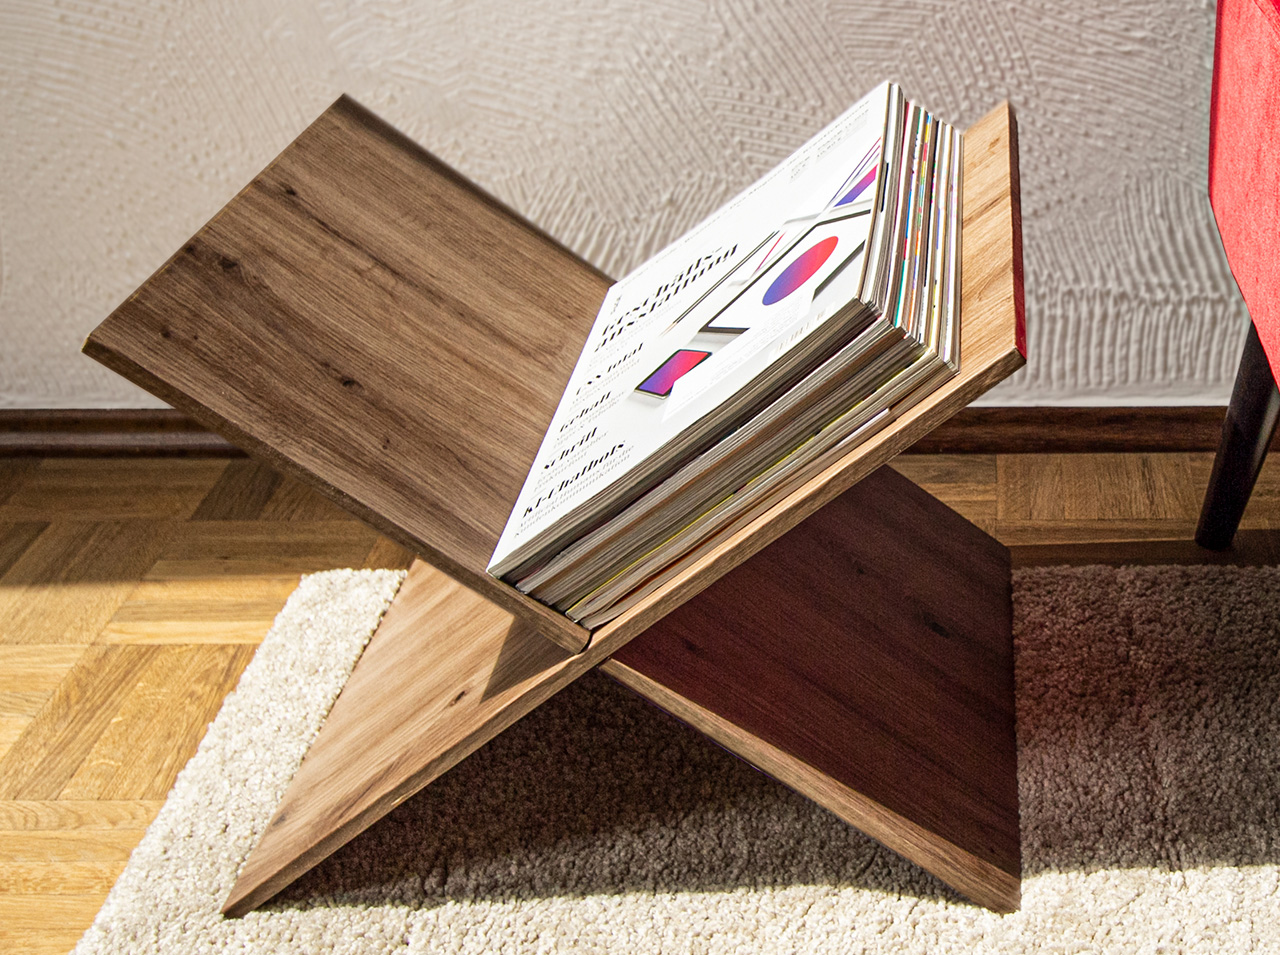
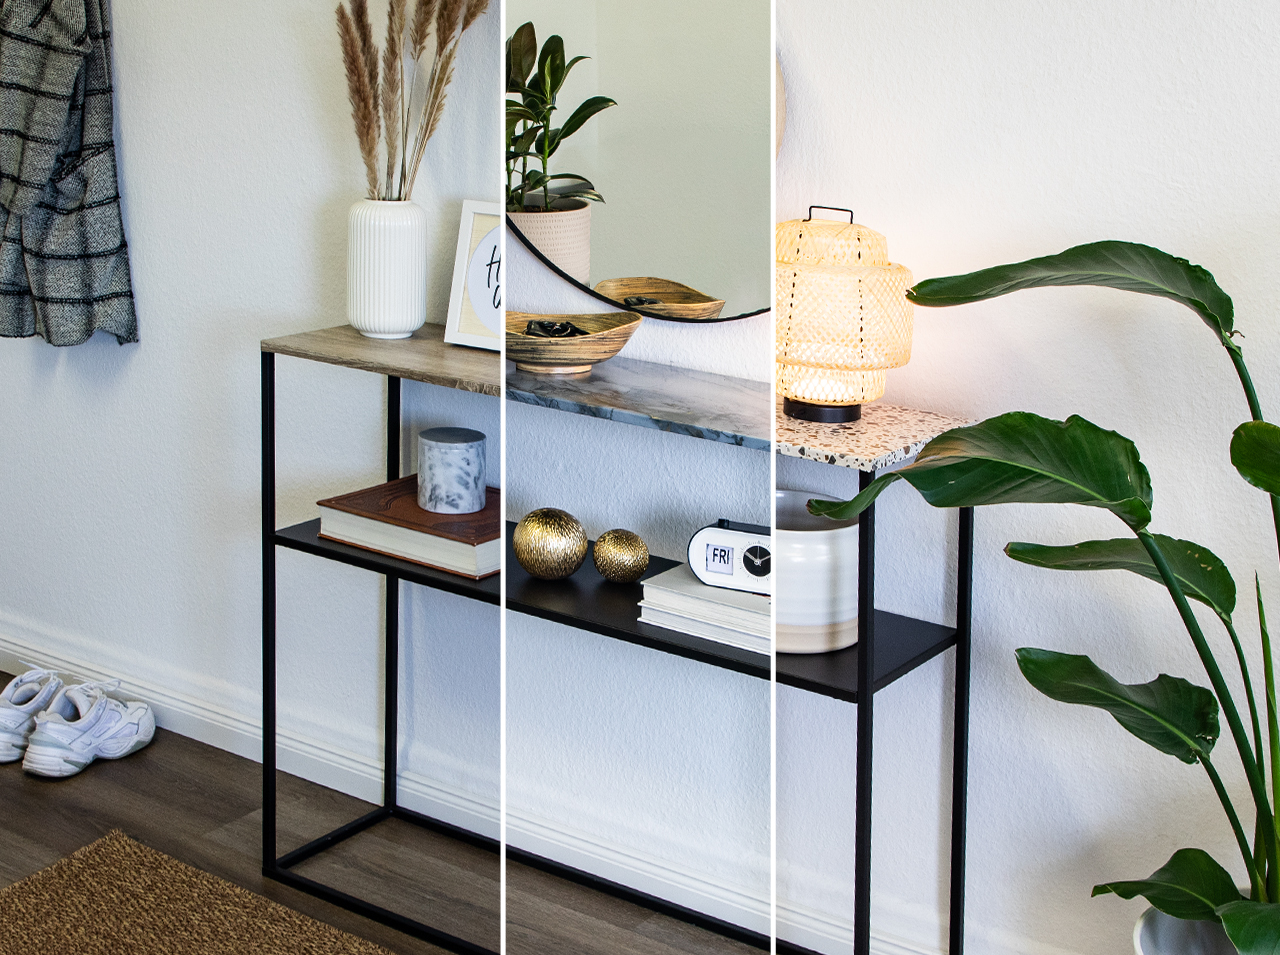
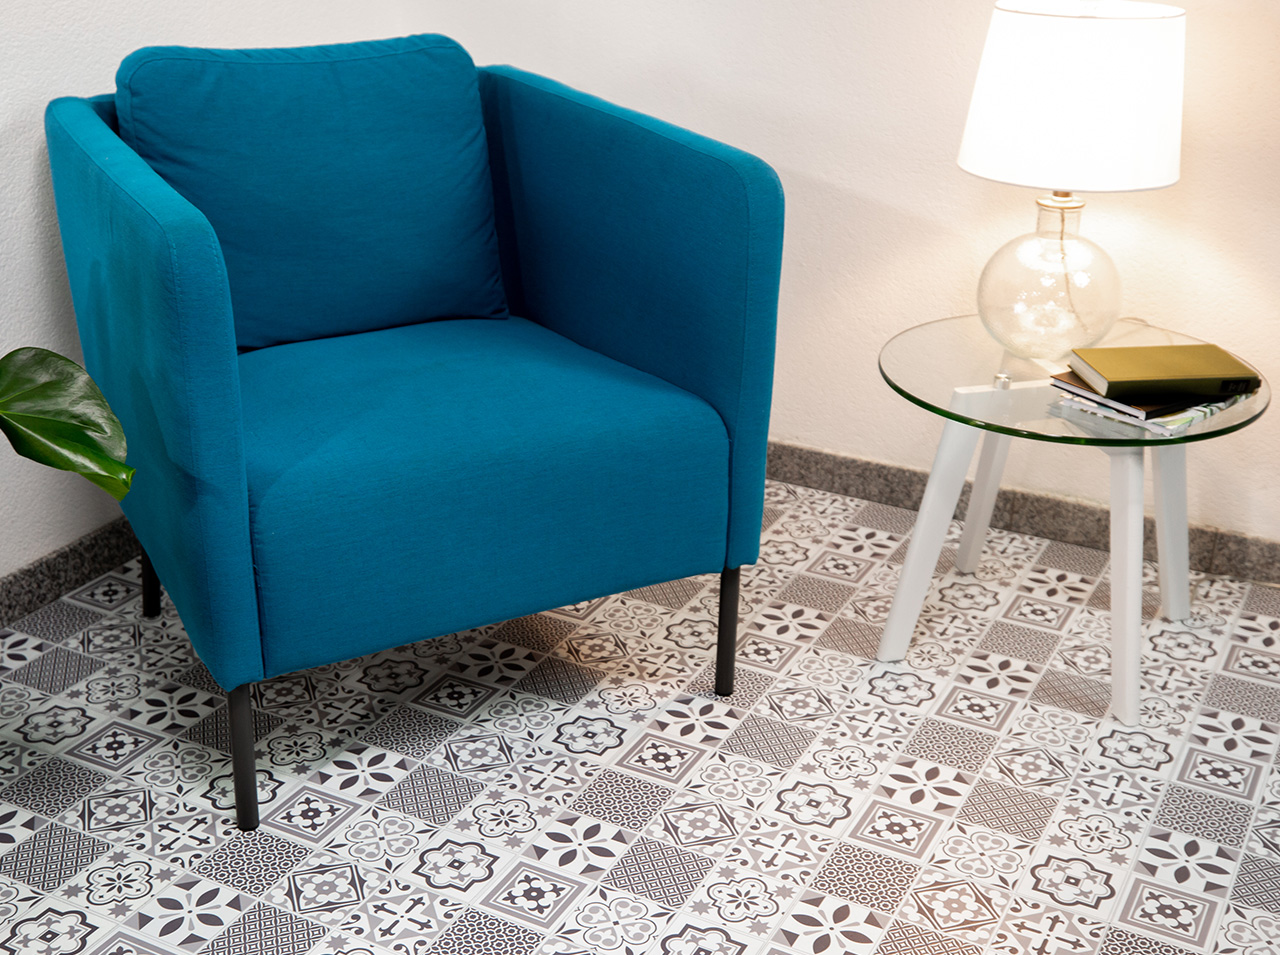
With our design films from d-c-fix®, you can give your home a truly unique look – whether you want to spruce up furniture, renovate old pieces or add a decorative touch. Adhesive films can be used in so many different ways.
If you prepare the surface properly, the films are super easy to apply. And the best bit: They’re extremely affordable! Learn our tips and tricks for applying the adhesive films and get practical answers to your questions.
P.S. We have lots of step-by-step instructions to help you apply the films smoothly without any air bubbles.
ACCESSORIES: Which tools do I need to apply d-c-fix® adhesive films like a pro?
First: your favorite film(s). Second, for perfect application: scissors or a cutting knife, ruler or measuring stick, pen and plastic smoother.
APPLICATION SURFACE: What properties should the surface I want to apply the film to have?
The application surface should be smooth and free of dust and grease. If you want to apply film to untreated wood, you should first treat the wood with a priming coat (sealing primer/acrylic base).
MADE TO MEASURE: How do I cut my d-c-fix® film precisely?
With the aid of the grid marked out on the film backing paper, you can use a ruler and pen to draw any shape and format before cutting it out. For precise edges, always factor in an excess of around 4 mm when cutting the film – you can trim any excess to size using a sharp knife at the end.
PESKY BUBBLES: How do I avoid air pockets when applying d-c-fix® film?
You can avoid unsightly air bubbles by just removing a small portion of the backing paper to start with and then applying the film centimeter by centimeter: Place the film on the surface and smooth it out using the smoother, working from the middle out.
NOT GONE TO PLAN: I have applied the d-c-fix® film, but it is not exactly where I want it – what should I do?
No problem! With most surfaces (except cardboard and paper), you can carefully remove the film and then reapply it. This is because the full adhesive strength of d-c-fix® films only takes effect after a few hours.
CORNERS AND EDGES: Can I apply d-c-fix® film to round edges too?
Of course! To do that, heat up the film using a hair dryer on the lowest setting and pull it around the edges you want to cover – then press down. If the film is warm, it is easy to apply around corners and edges. But be careful not to overstretch the film.
FILM IN THE BATHROOM, KITCHEN ETC.: Can I use d-c-fix® film in wet/damp rooms?
Yes! If water often gets onto the edges of the film (e.g. at a wash basin), you should seal them with silicone or cold-welding liquid to make sure that the film stays stuck down well and looking its best.
BYE BYE: How do I remove old d-c-fix® adhesive film?
Starting from one corner, simply peel off the film. Old film is easier to remove if it is warm – it is best to use a hair dryer for this. You can remove any adhesive residue using an alcohol-based solvent. It’s best to test this on an inconspicuous area first.
CLEANING: Can I clean d-c-fix® films?
It is best to clean surfaces with d-c-fix® films using warm water and a little cleaning agent. Make sure that you use a soft cloth to wipe and dry the surface to avoid scratches.
No Comments