You will need…


Enter the search term and press "ENTER" .
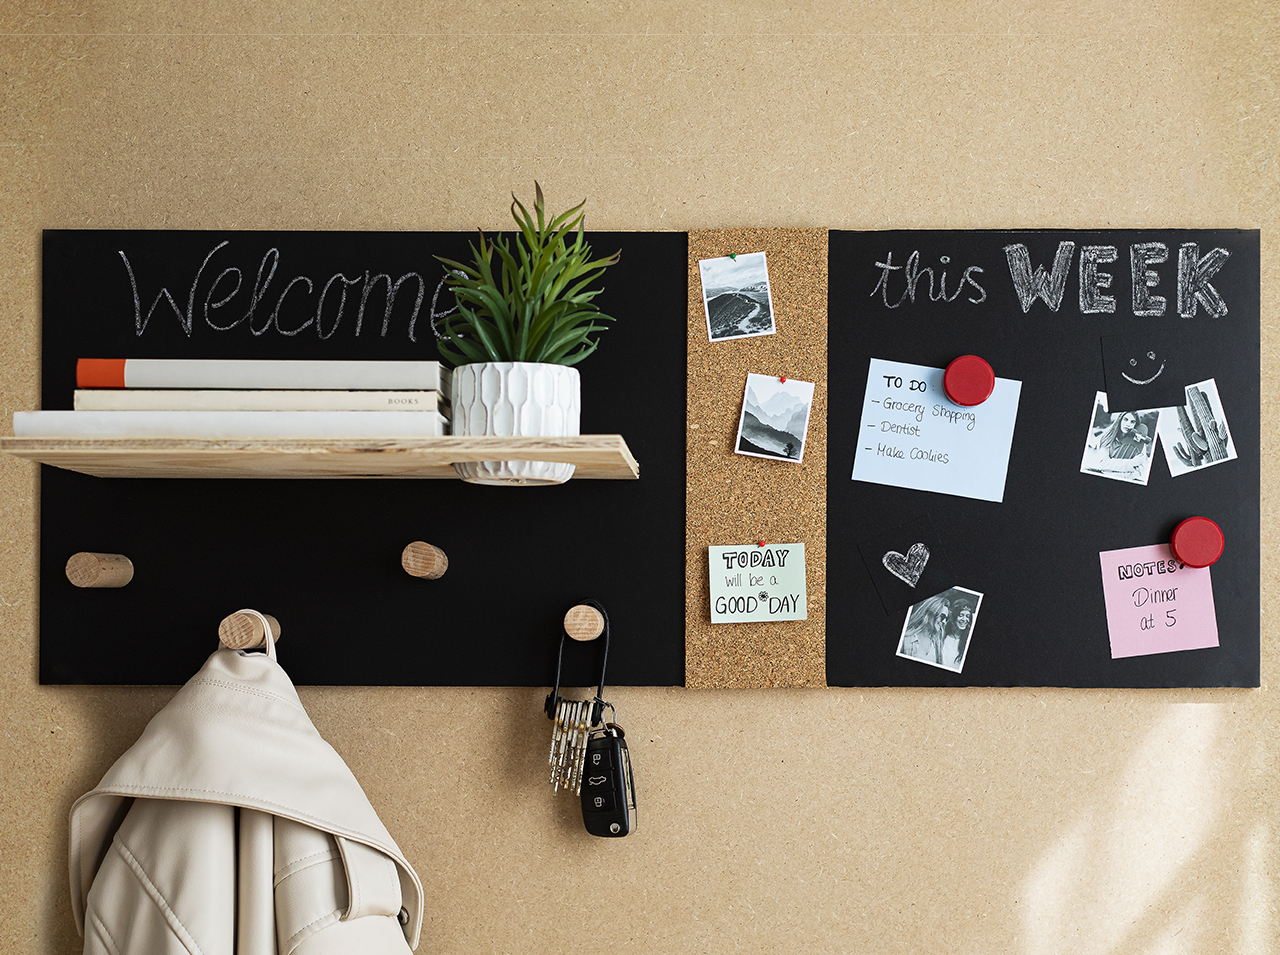
DIY for a tighter ship: Build yourself a practical wall organizer!
Project from Angelina - 0 CommentsYou’re in a rush to get out of the house, but where’s the car key? Your cell phone? Your make-up bag? Your shopping list? One thing is certain: On-the-go moments like this are totally stressful! Just imagine what it would be like to have keys, wallets, cell phones, dog leashes, and chip cards for your office always to hand in the same place! The solution for you: The super practical DIY wall organizer! You can build and design this yourself to match your needs with our tried-and-tested ideas and the d-c-fix®chalkboard foil with magnetic effect. This way, you can have three benefits at once: Everything important is always at hand stress-free. Your organizer is a unique item that you can be proud of. Plus, you have a chic eye-catcher that works for you every day.
Have fun with DIY – and bye-bye chaos!
- One roll of d-c-fix® magnetic chalkboard foil
- d-c-fix® application kit with scraper and utility knife
- Scissors
- Ruler
- Pencil
- Wooden panel
- Wide wooden strip (for storage)
- Screws
- Cordless screwdriver
Let’s go
 Step 1
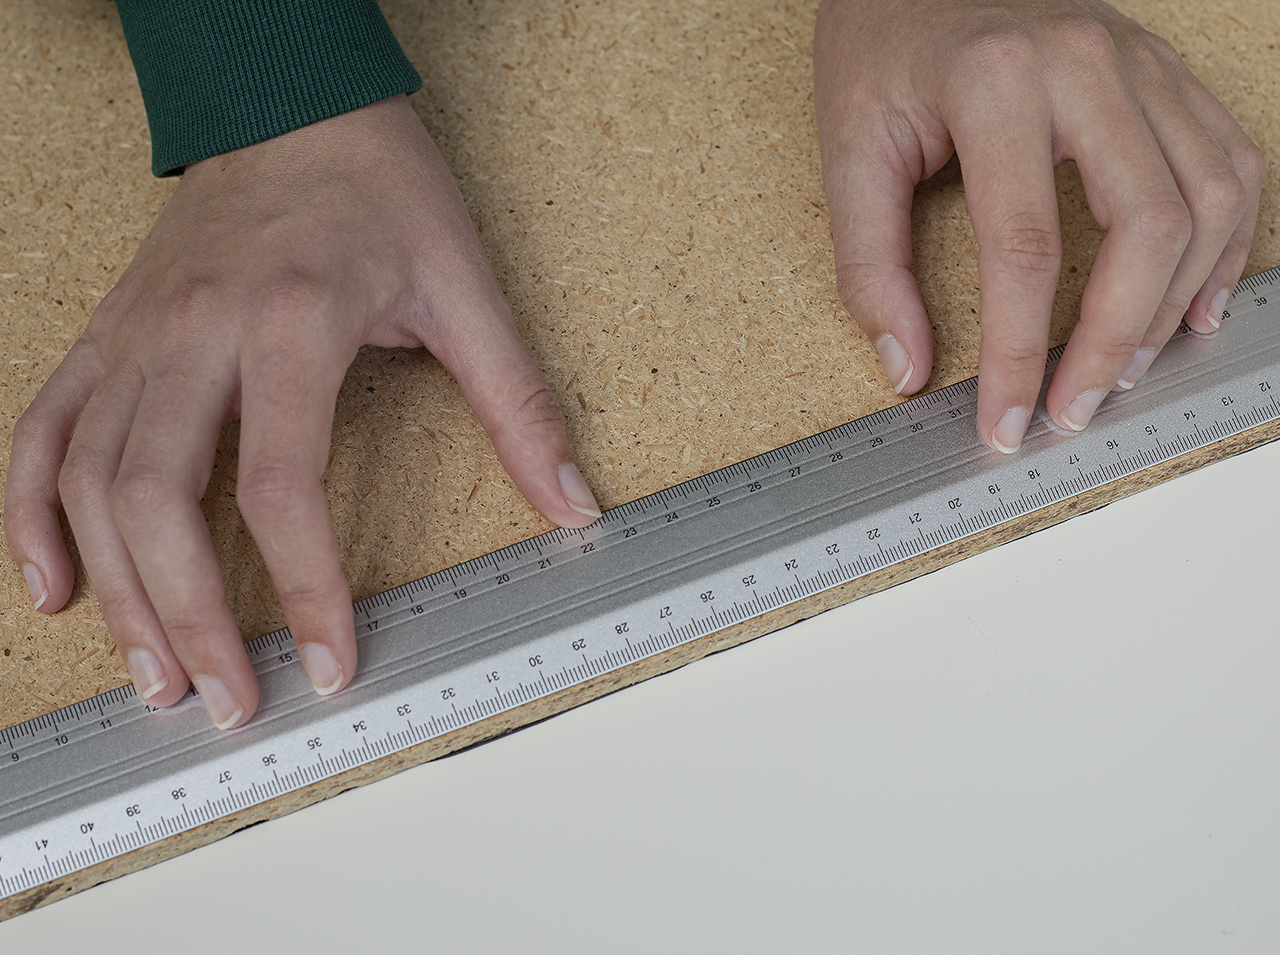
Measure the wooden panel and transfer the dimensions to the backing paper of the d-c-fix® magnetic chalkboard foil.
 Step 2
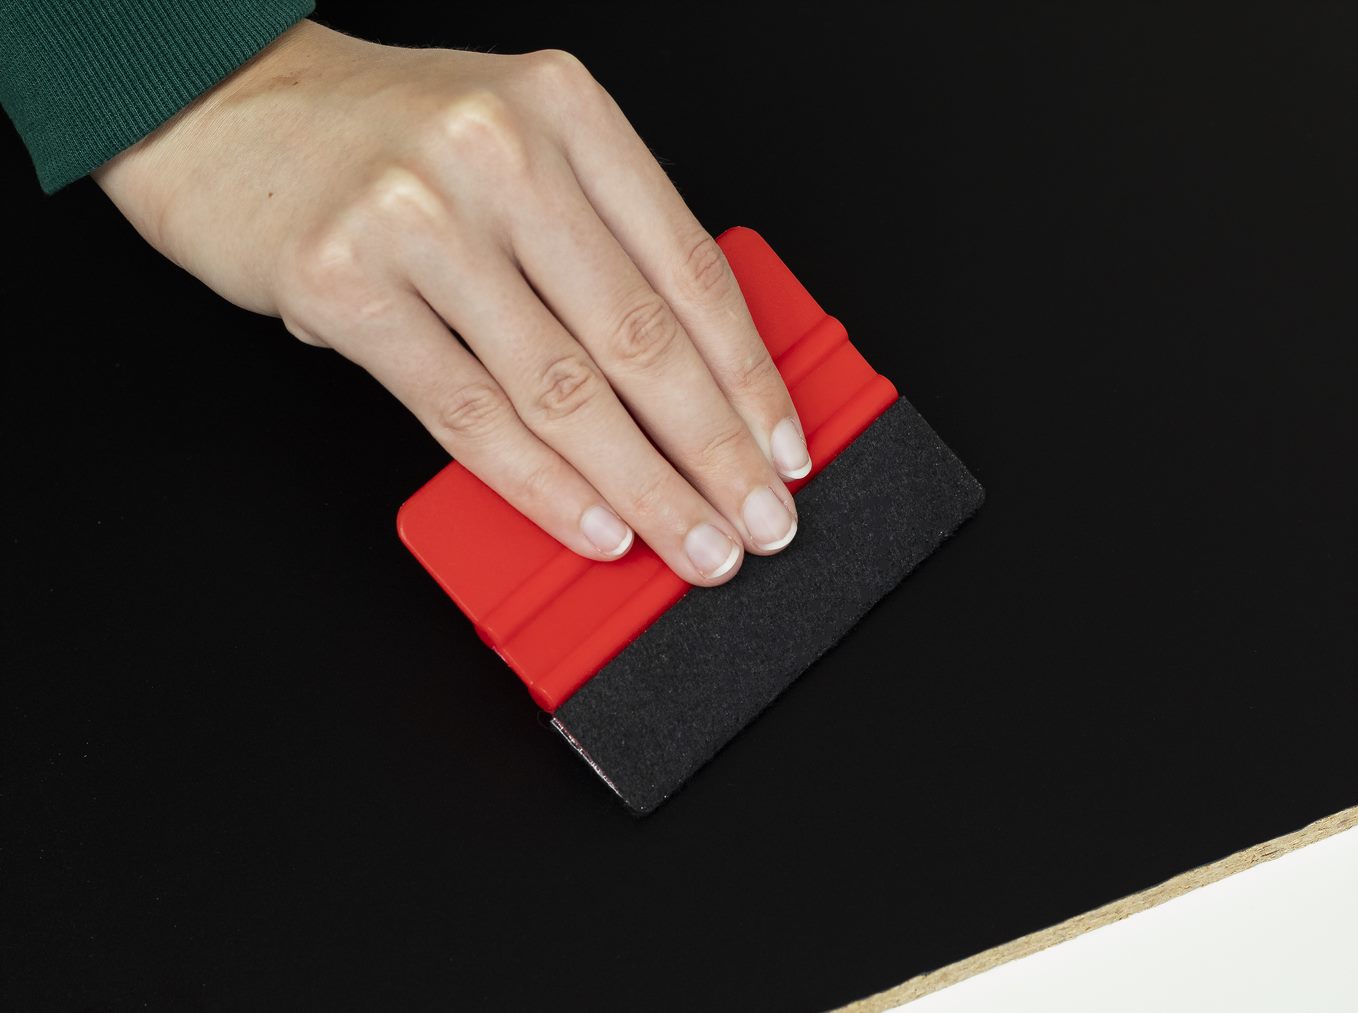
Cut the magnetic chalkboard foil to fit the surface and use the scraper to press the adhesive foil firmly onto the wooden panel.
 Step 3
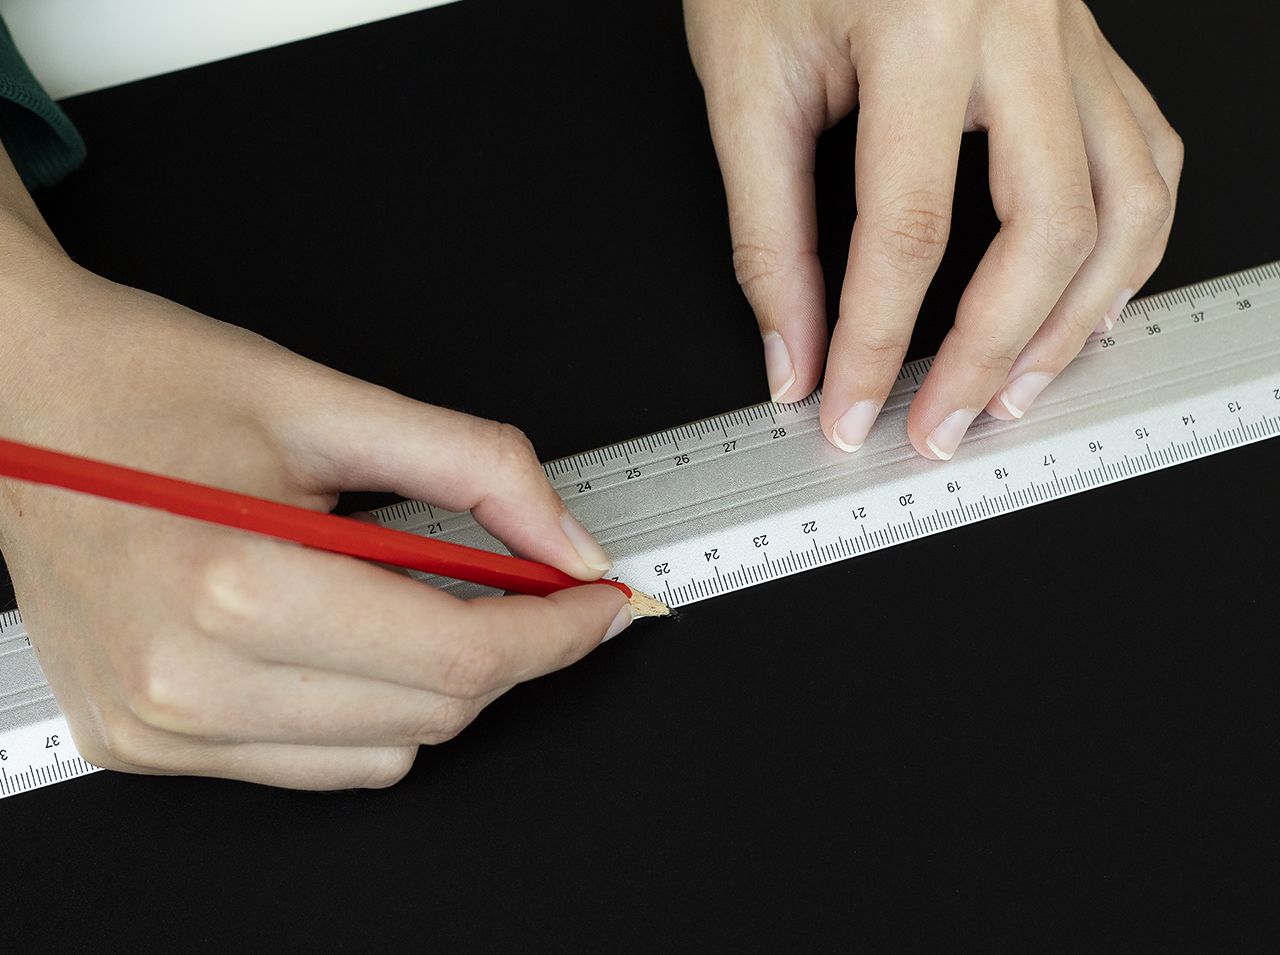
Decide where you want to position the wooden strip for storage and use the ruler to mark small dots on the film horizontally. Then drill holes there to attach the wooden strip.
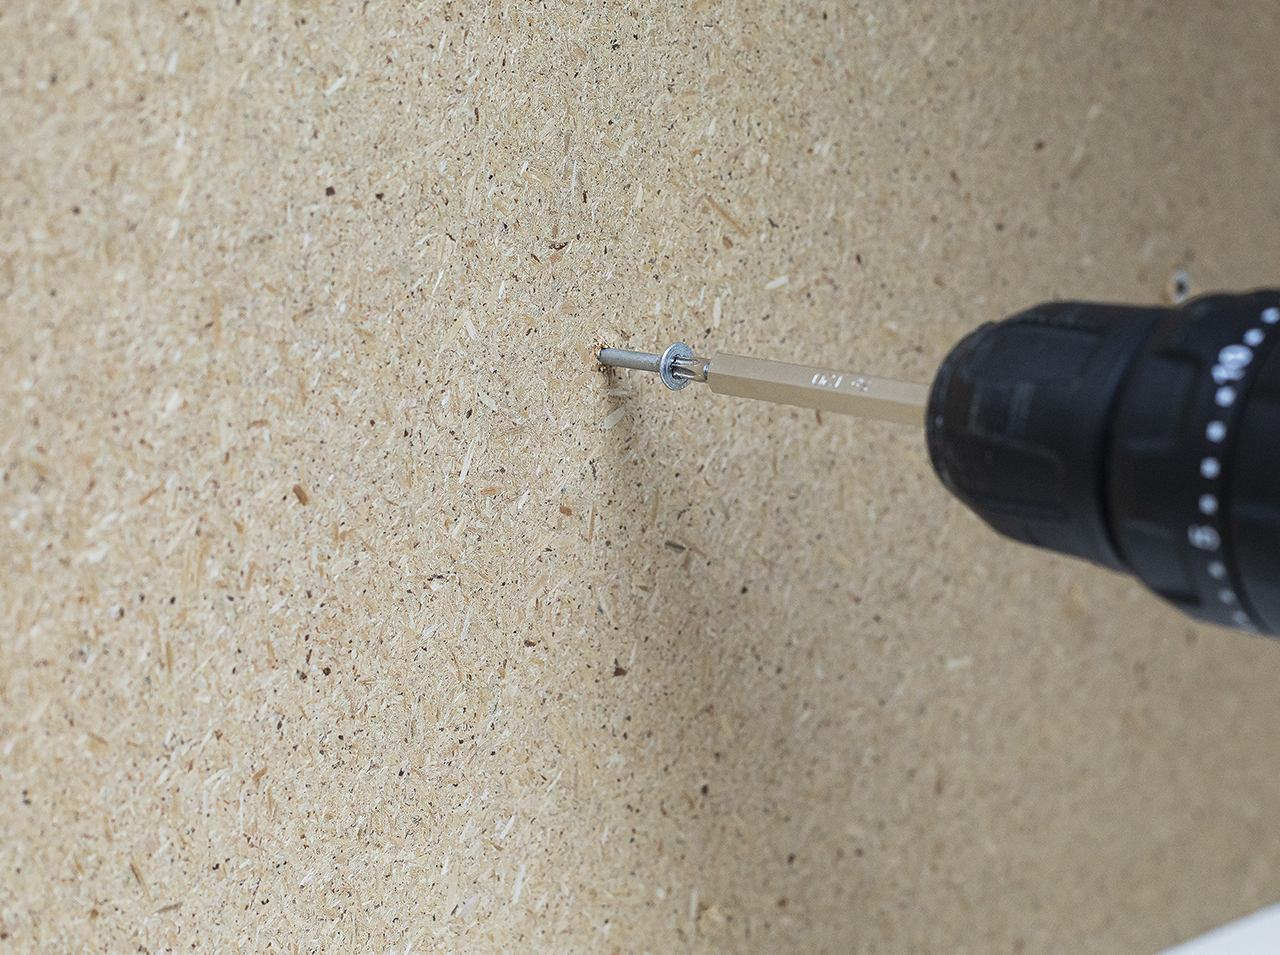 Step 4
Next, screw the wooden strip to the pre-drilled holes.
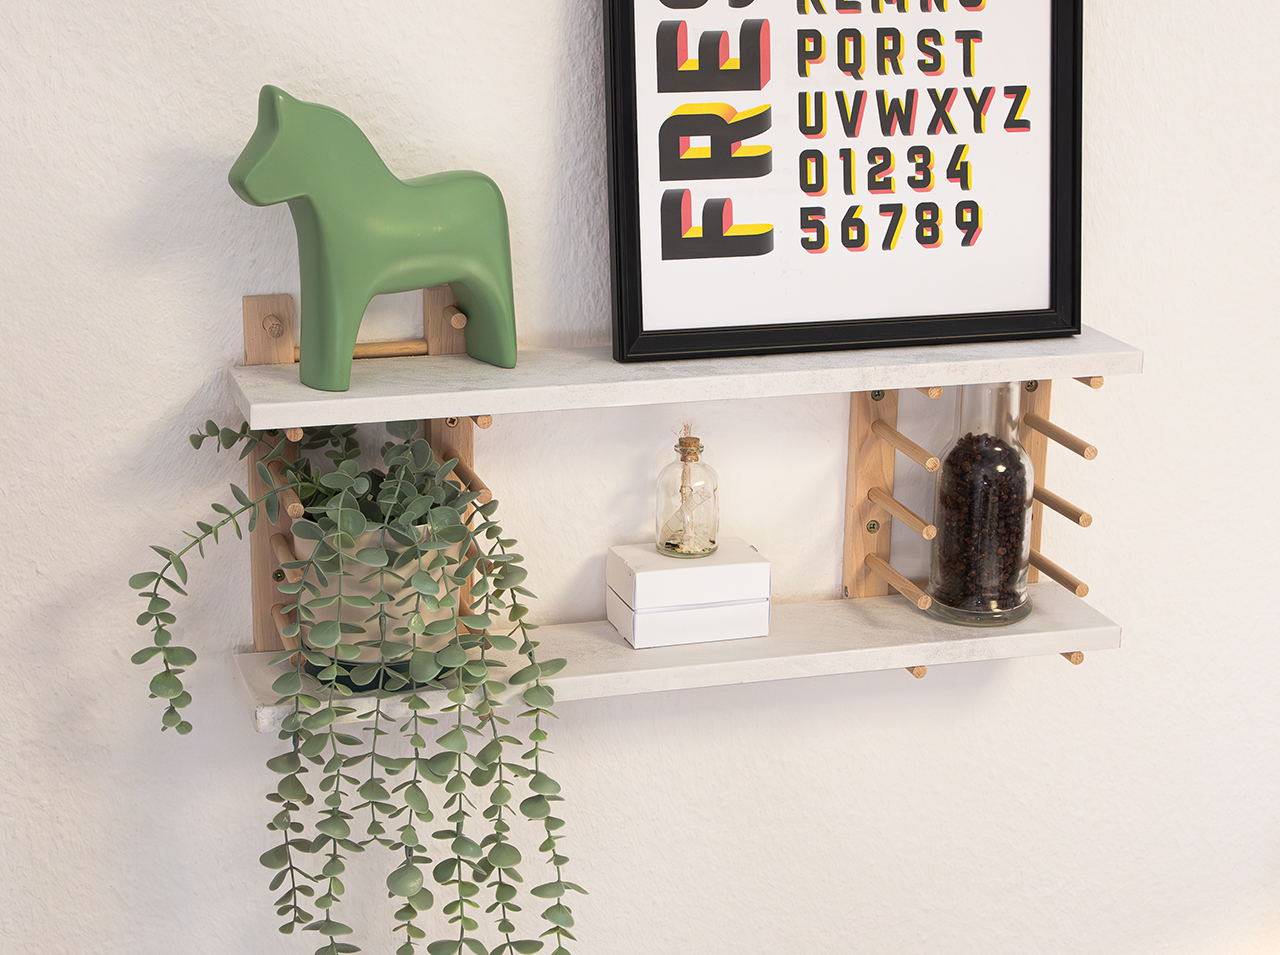
We did it!

Post A Comment
EXPERT ADVICE
If you don’t want to drill through the organizer to hang it up, simply attach two small hooks to the back to hang the wall organizer on the wall.
Preparation time
5 min
Execution
30 min
Difficulty level
Beginner
Costs
low
Projects you might like

No Comments