You will need…


Enter the search term and press "ENTER" .
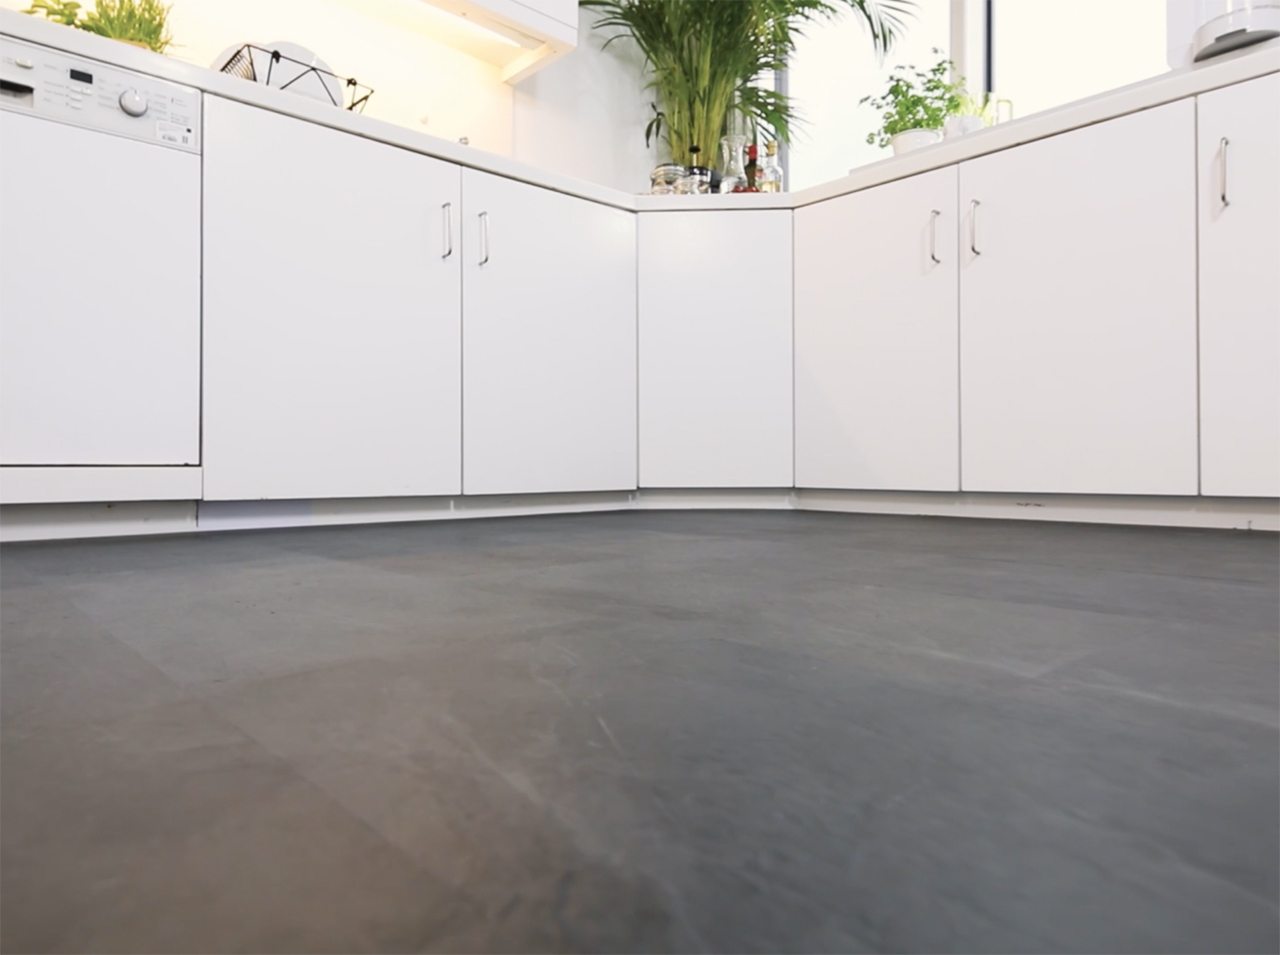
10 simple DIY steps to bring a sense of more space into your kitchen
Project from Alex - 0 CommentsChanging your kitchen floor completely is now easier than ever today with d-c-fix® floor tiles! You can conjure up a new sense of space and save time, money and a lot of hassle in the process with just a few materials and most importantly very little mess.
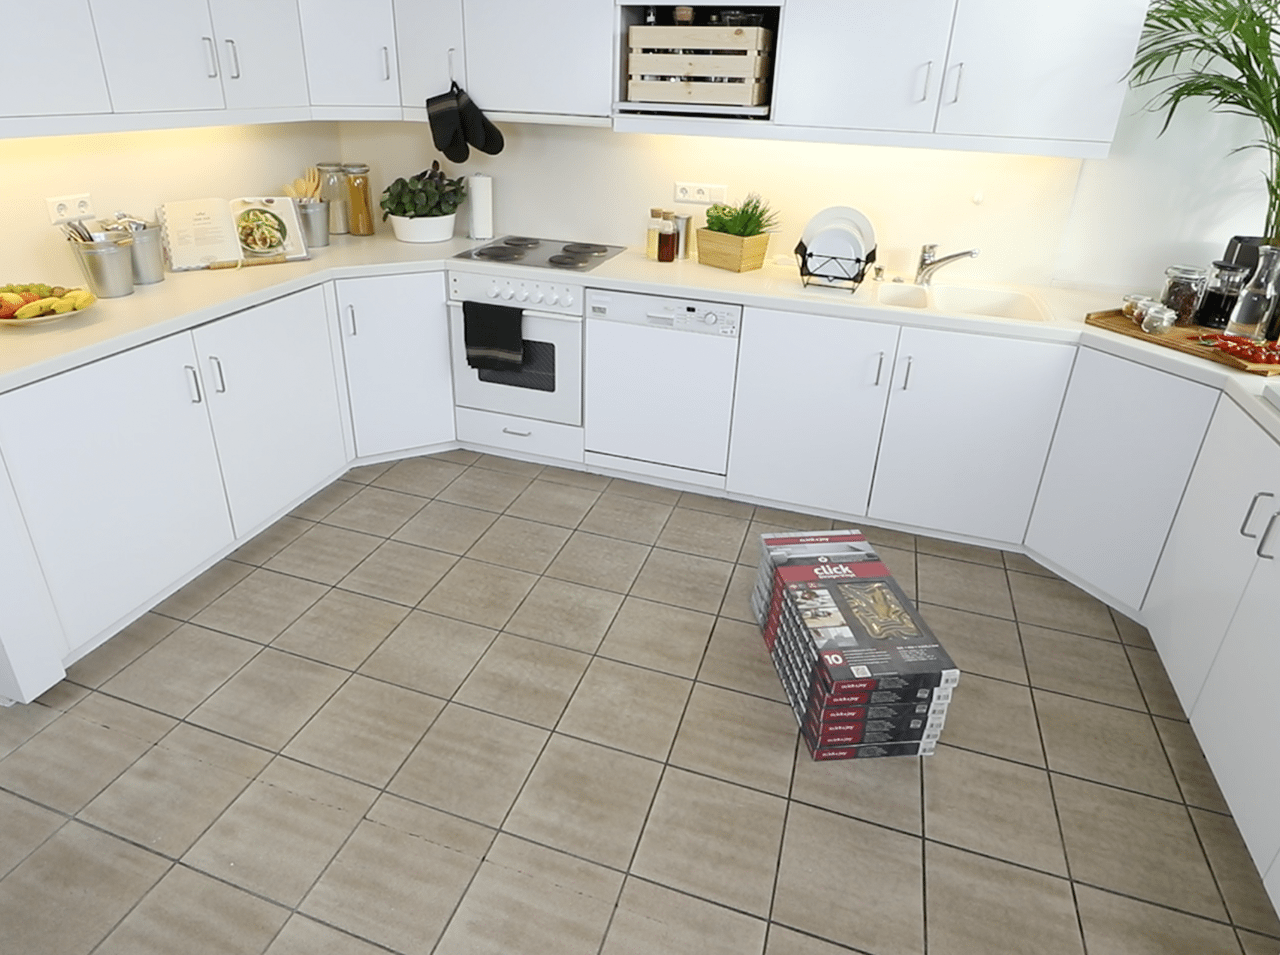
- Click Vinyl 4.2/0.3 mm, Slate design –> approx. 7 boxes for a 12 m² room size (incl. waste)
- Spirit level
- Angle ruler
- If necessary, sound insulation for uneven surfaces (suitable for design flooring, compressive strength ≥ 400 kPa)
- Cutter knife
- Cutting base
- Rubber mallet if necessary
Preparations
 Step 1
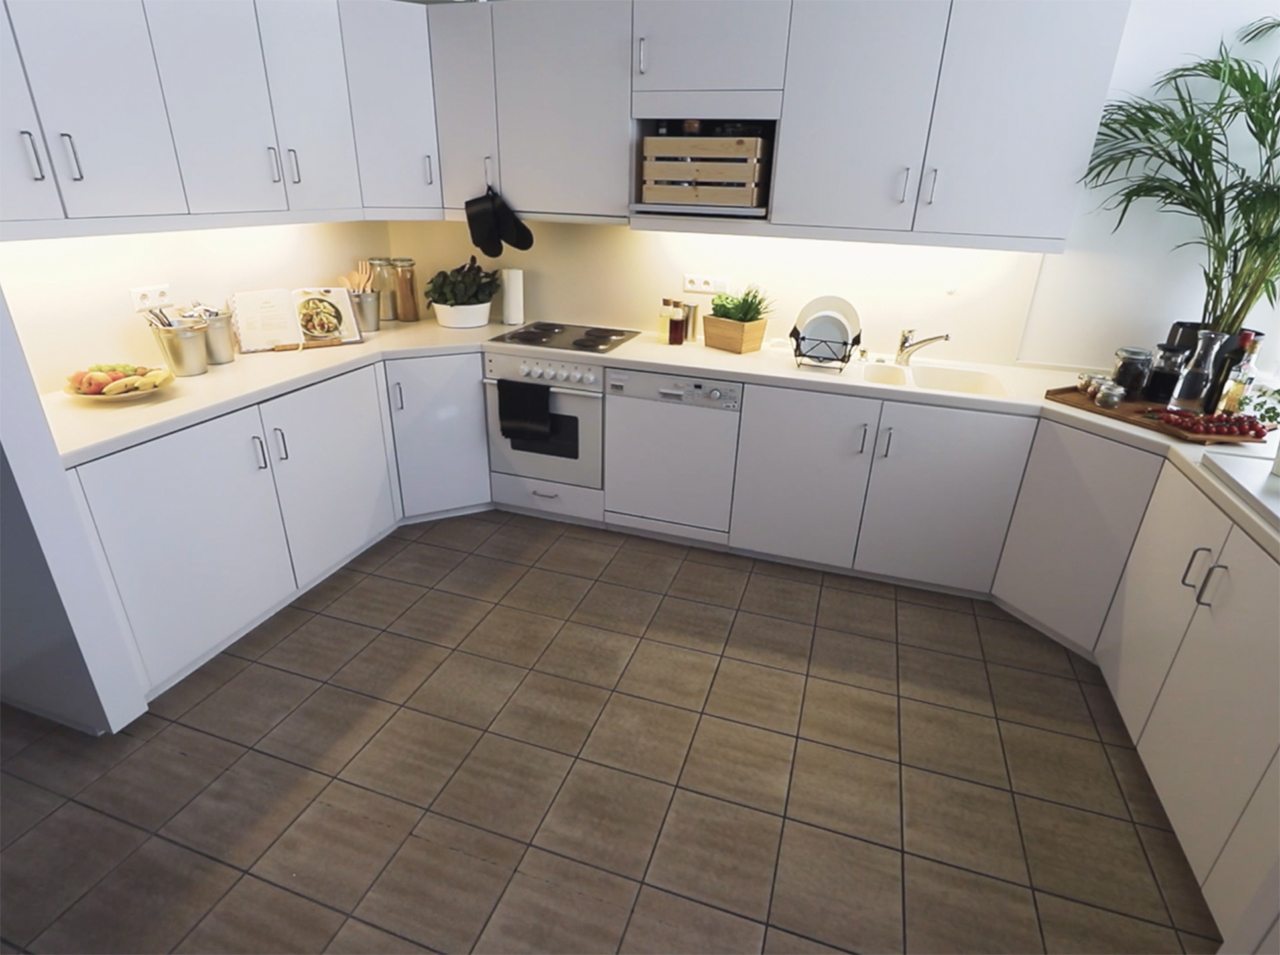
First of all measure your kitchen and plan the layout. Always place the floor tiles around the kitchen.
 Step 2
Leave the materials to acclimatise in the room for 48 hours.
Let’s go
 Step 3
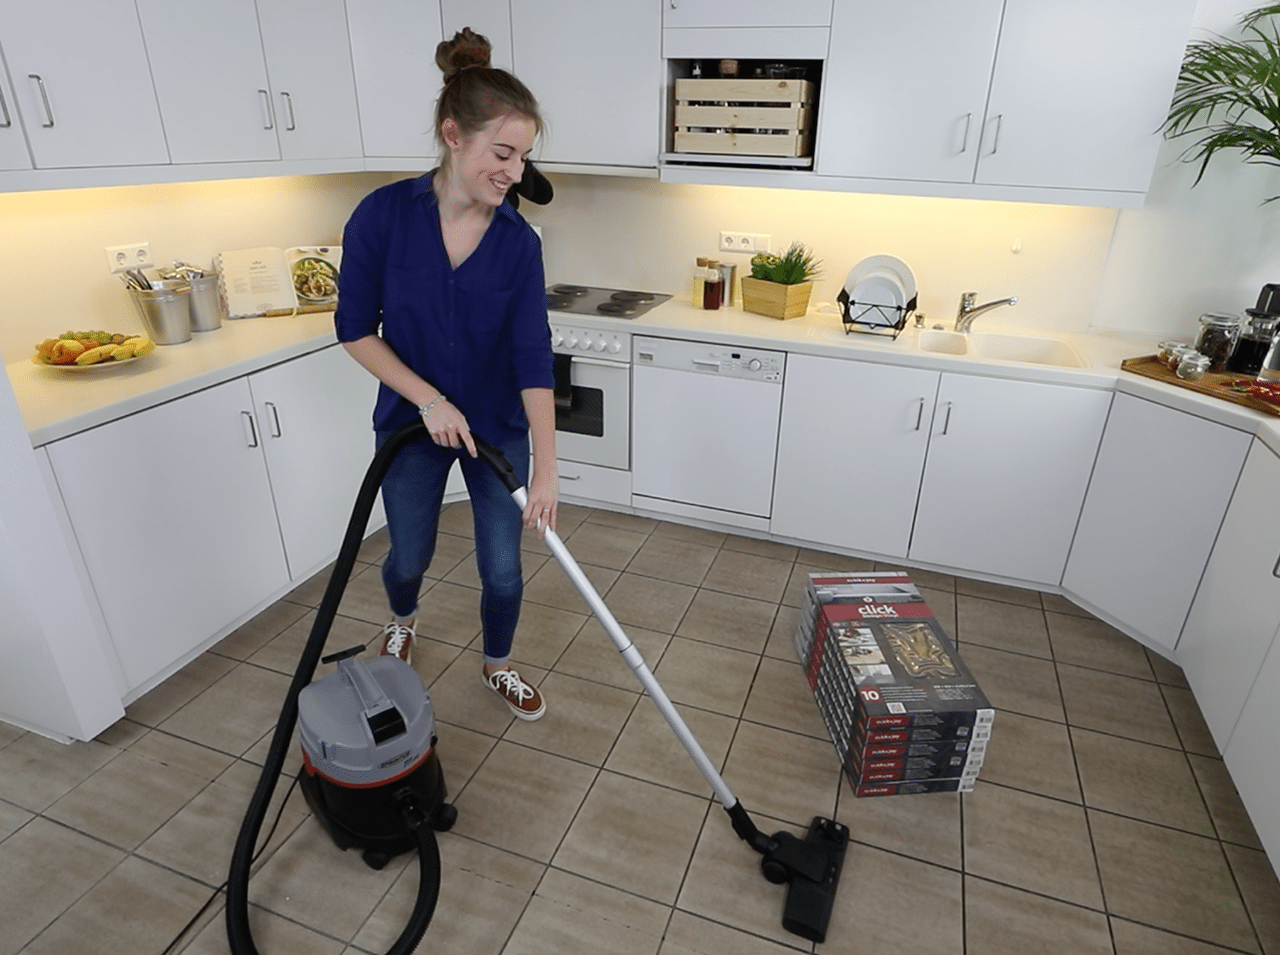
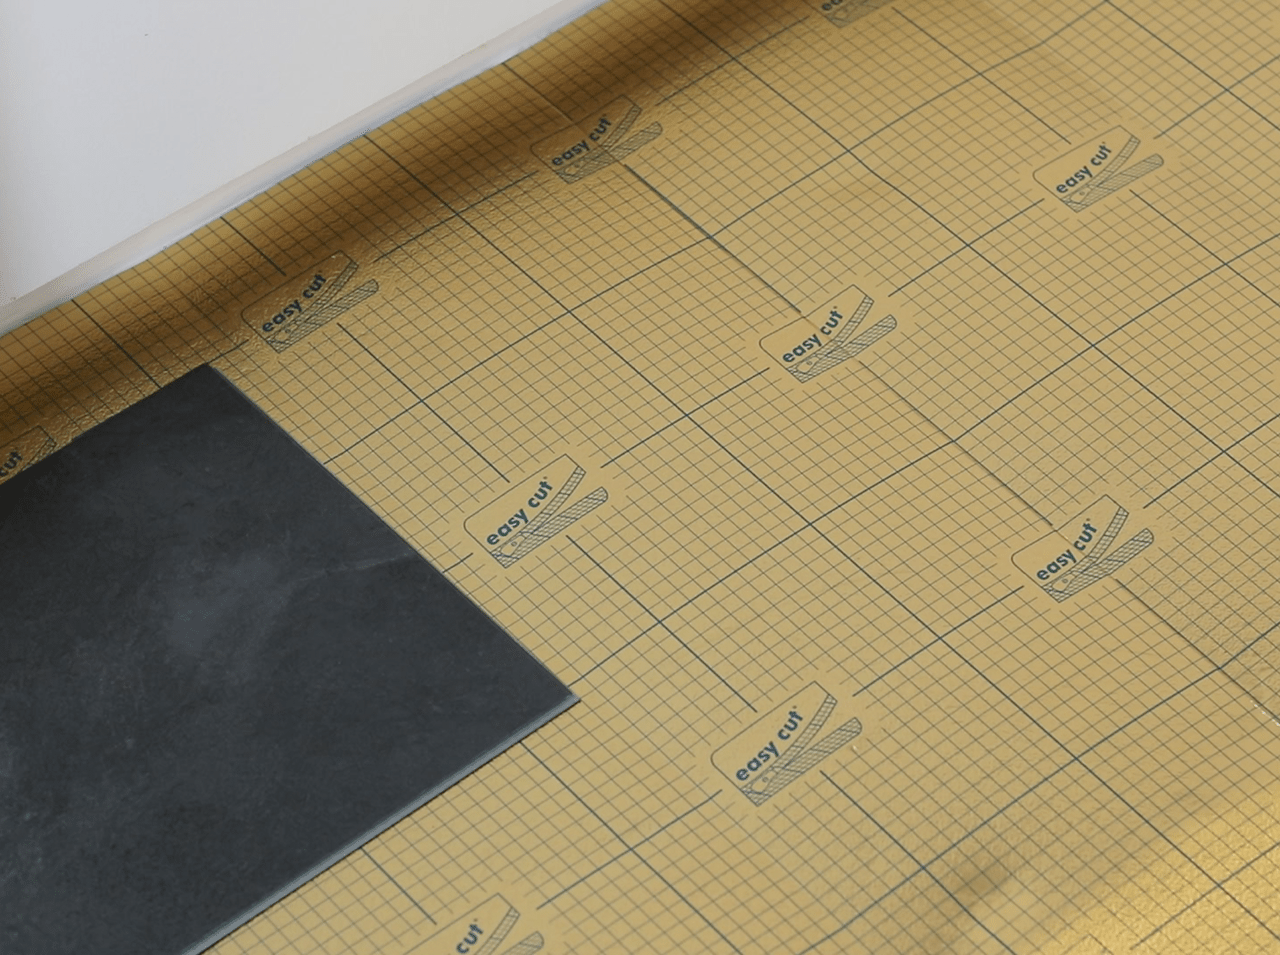
Prepare the surface and vacuum the floor so that it is thoroughly clean. Use a filler if necessary to fill uneven spots or fit underlay.
 Step 4
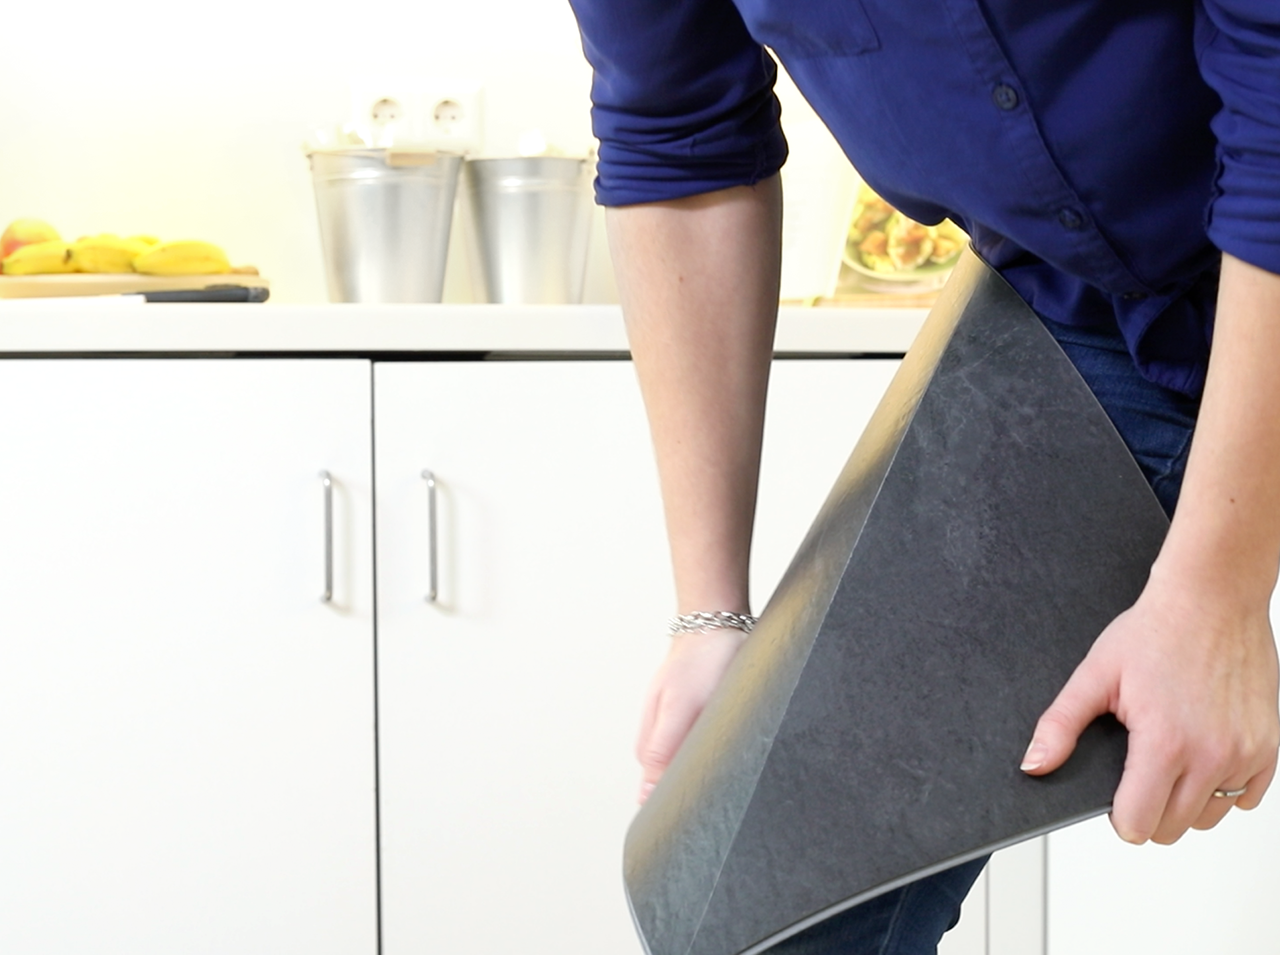
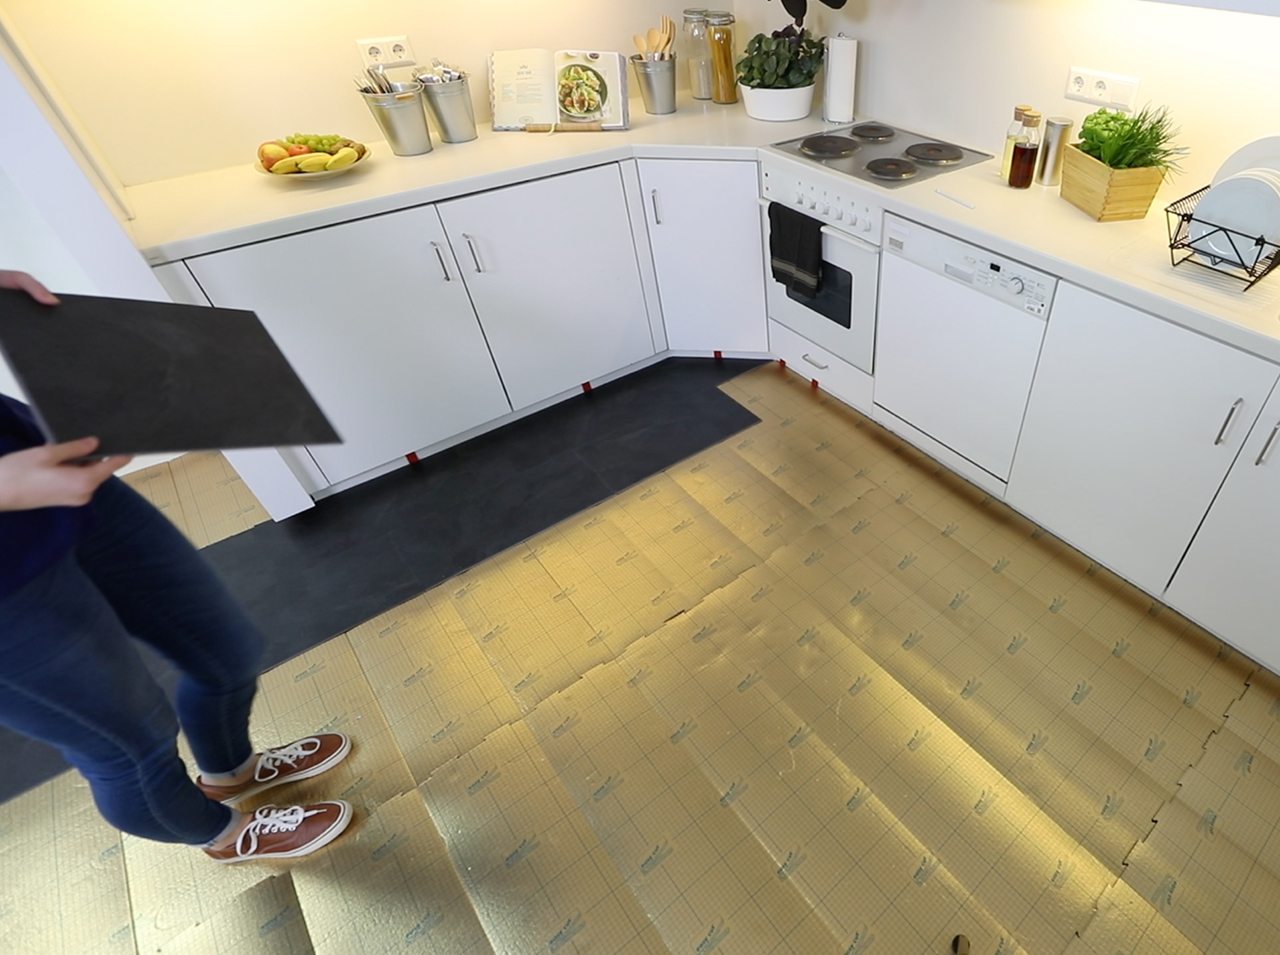
Find a suitable place to start and carefully lay your kitchen floor from left to right.
Step 5
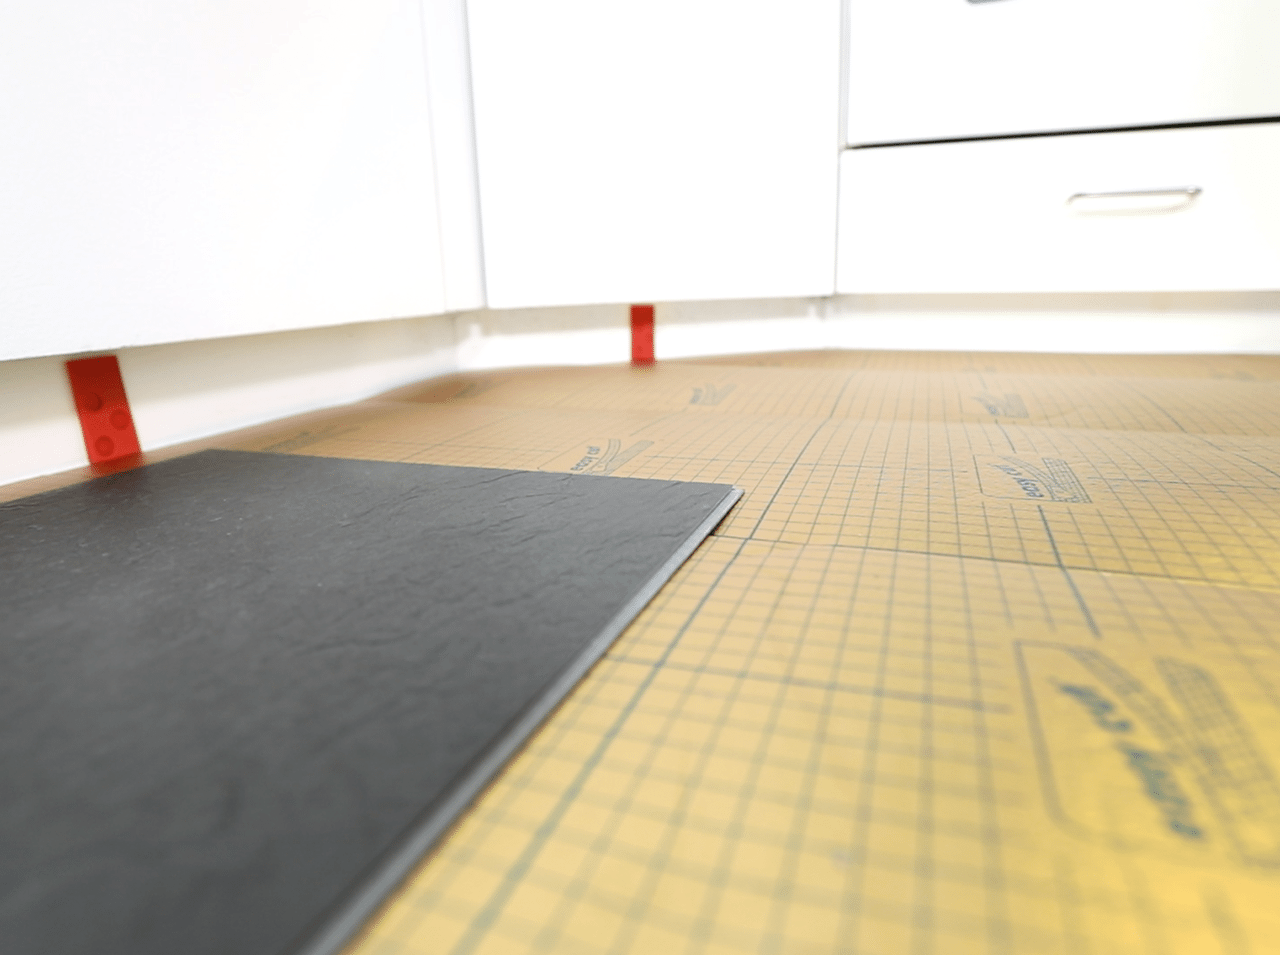
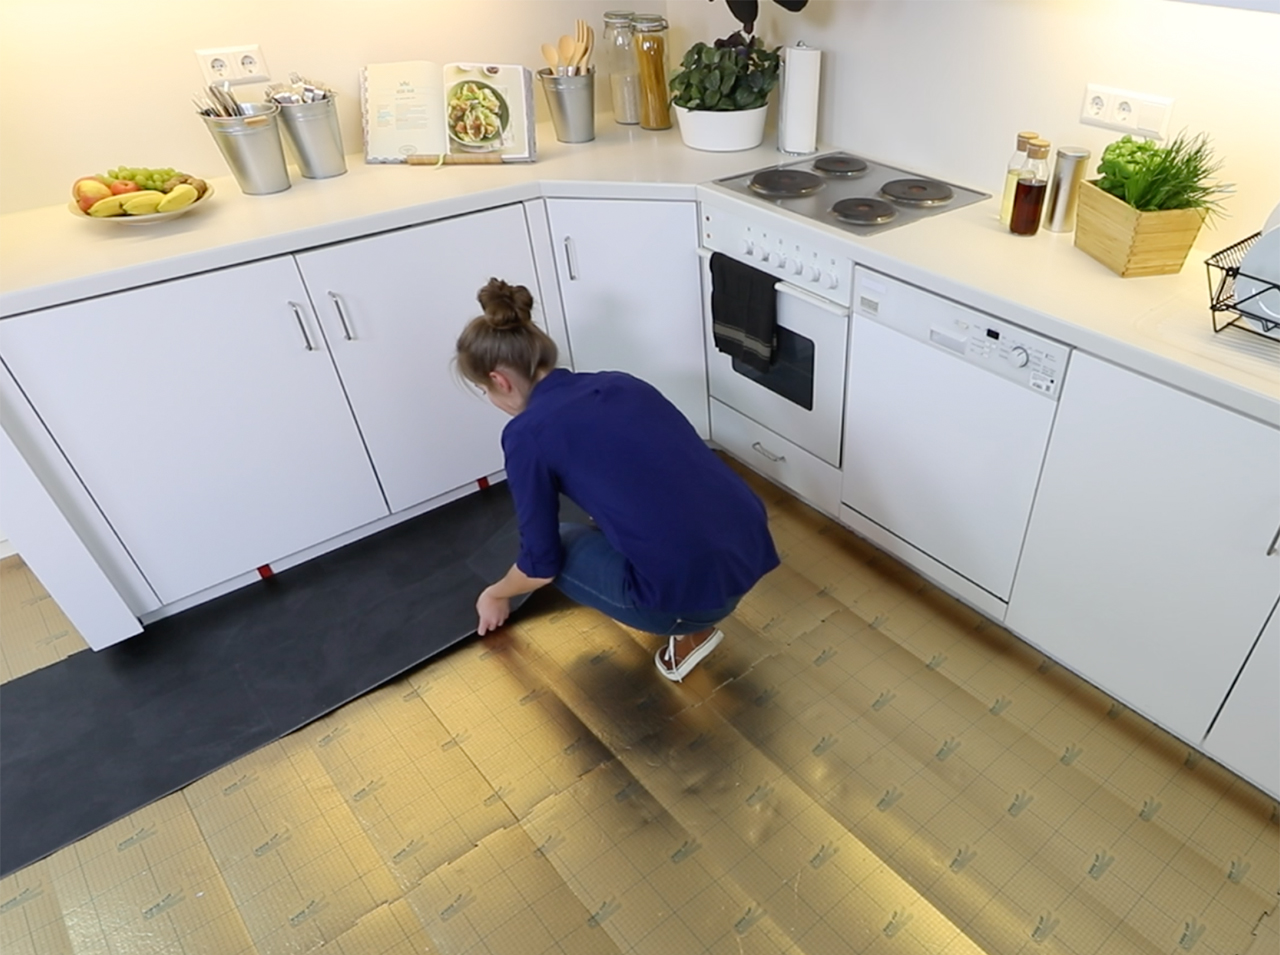
Use spacers to maintain a consistent gap of 5 mm from the wall. The d-c-fix® Click Vinyl flooring needs space to expand because it is flexible flooring.
Step 6
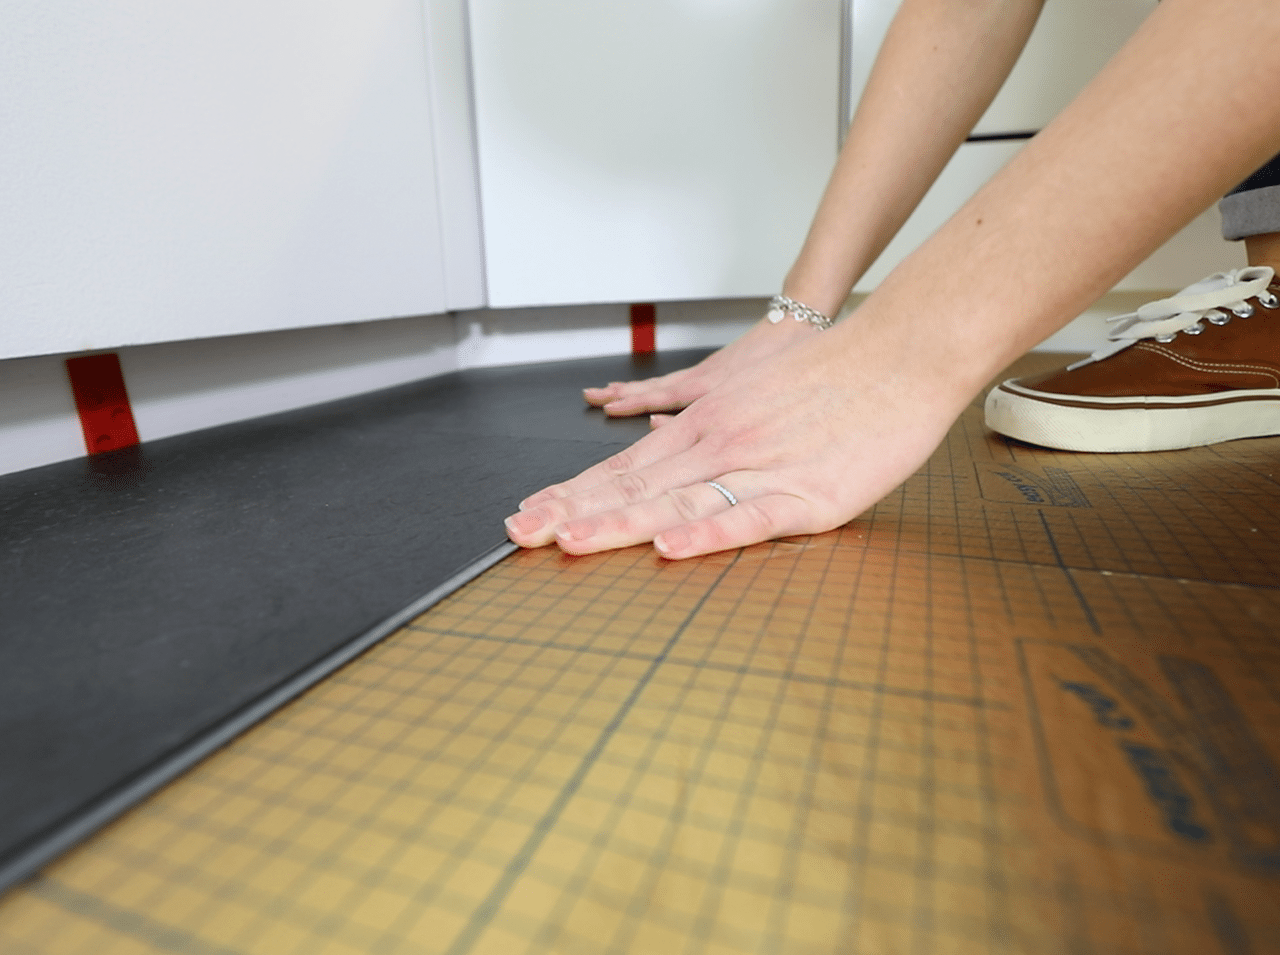
Lay the first row of the flooring and make sure that the click connections of your tongue and groove d-c-fix® floor tiles are clicked together snugly.
 Step 7
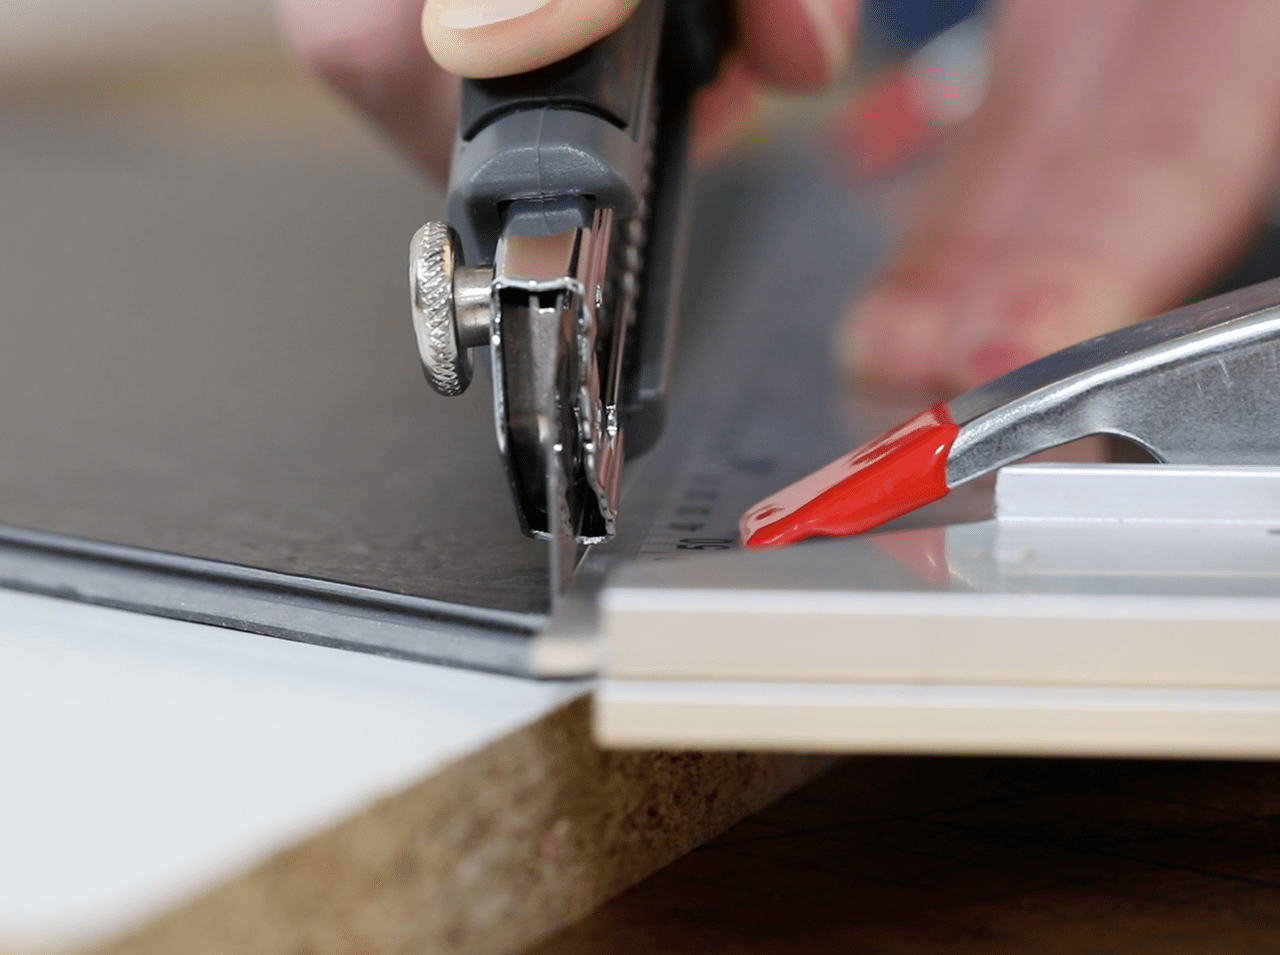
When you have to cut the floor tile for the first time at the end of the row, use a suitable cutting base and cut the tile with even pressure on the upper side.
 Step 8
Then break the edge over your knee by first pressing down and then up a few times on the floor tile.
 Step 9
Stagger the second row with a cut-off piece that should be at least 30 cm long.
 Step 10
Then click the other tiles into the side of the previous tile on the left. Then raise the complete row slightly and connect it into the longitudinal groove of the previous row.
You’re done!
video tutorial
Post A Comment
EXPERT ADVICE
DIY expert tip: Flexibly meet your needs and give your kitchen a new look in no time at all with click-lock floor tiles!
Preparation time
20 minutes
Execution
2 hours
Difficulty level
Advanced
Costs
high
No Comments