You will need …


Enter the search term and press "ENTER" .
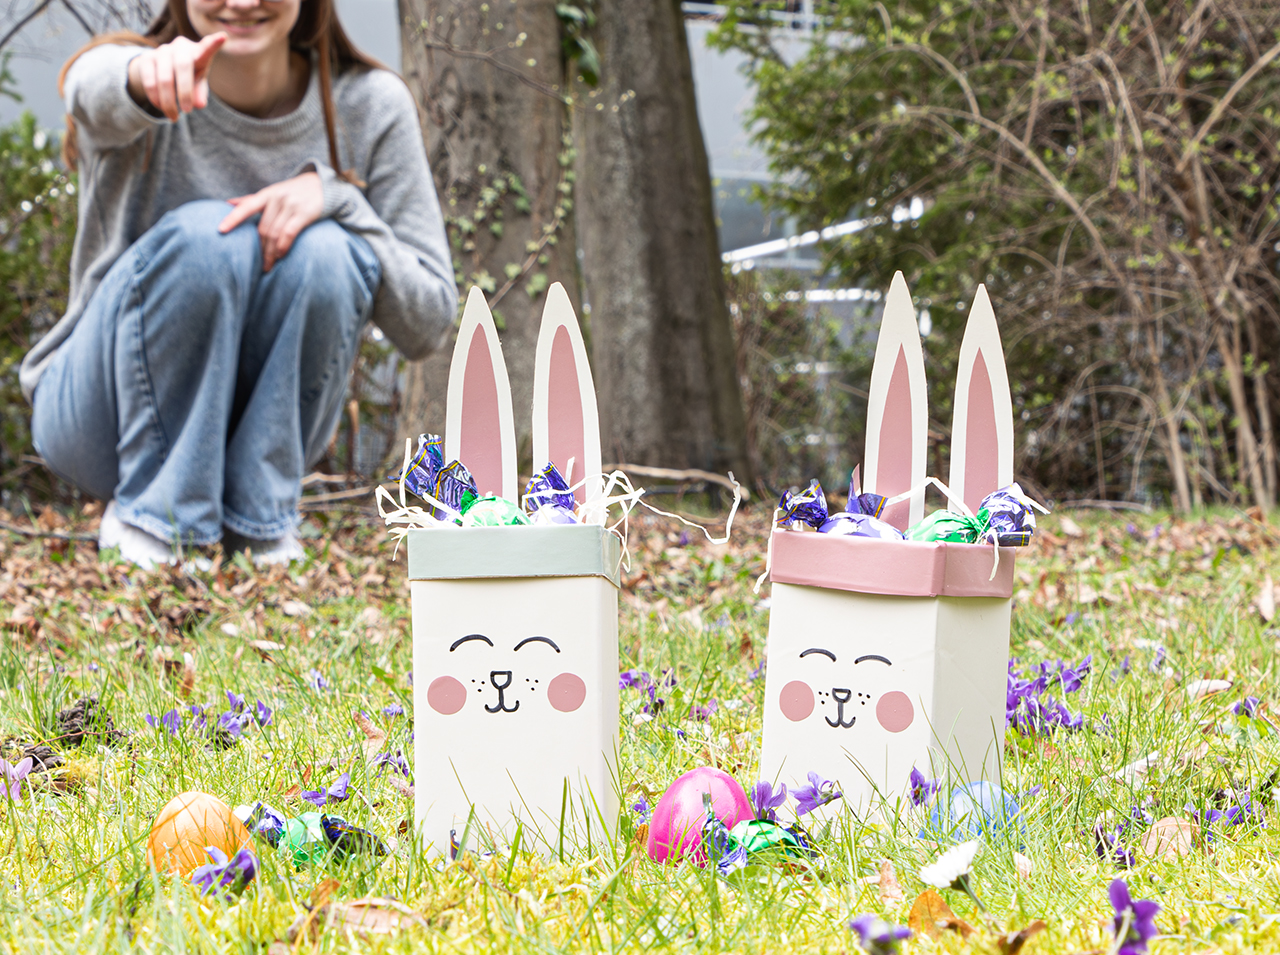
Sustainable Easter nest: Hello, pretty bunnies!
Project from Angelina - 0 CommentsOh, how cute, a bunny! Anyone who finds a nest like this in the garden this Easter while looking for eggs is in for a real treat. The Easter basket not only packs a great punch, but also looks super cute with its bunny face and long floppy ears. Plus: The cute nests are sustainably homemade from milk cartons and have what it takes to be the most popular upcycling DIY for Easter 2024. It goes without saying that the cheerful little baskets are designed with d-c-fix® adhesive films in the current soft trend colors. Whether you gift the DIY nests filled with sweets, pretty little things or flowers, these bunnies are a real hit!
- d-c-fix® adhesive film Uni silk matt sage green
- d-c-fix® Uni Matt Ash Rose adhesive film
- d-c-fix® Uni Semi-gloss sand adhesive film
- d-c-fix® application kit with doctor blade and utility knife
- Pencil
- Scissors
- Measuring tape
- Rule
- Double-sided adhesive tape
- (Biodegradable) milk cartons
- Filler material
Let’s go!
Magic for Easter: How to turn a milk carton into a bunny’s nest
 Preparation
You have everything you need? Then get started!
 Step 1
Fill the milk carton with lukewarm water and a little washing-up liquid, shake well and rinse. Cut off the upper part with the spout to about a third of the total height with the cutter.
 Step 2
Use the measuring tape to measure the remaining lower part of the carton and pencil the values onto the backing paper of the d-c-fix® adhesive film “Uni silk matt sand.” Cut the piece of adhesive foil to size and then smooth it around the milk carton.
 Step 3
Now cut open another milk carton, draw two bunny ears with the pencil and cut them out. Place the two ears on the exposed adhesive surface of the d-c-fix® film “Uni silk matt sand,” smooth them down and then cut them out of the film.
 Step 4
Now fold the top edge of the milk carton outwards so that the inside is visible on the outside.
 Step 5
Draw the mouth, nose and eyes onto the adhesive foil using a fineliner. Draw the shapes for the cheeks and the inside of the bunny’s ears on the back of the pink foil. Cut out all the shapes and use them to create the bunny’s face and ears.
 Step 6
Attach the bunny ears to the milk carton basket from behind using double-sided adhesive tape.
 Step 7
Fill the finished Easter nest with some filling material, colored Easter eggs and chocolate.
You’re done!


Post A Comment
Preparation time
15 min
Execution
30 min
Difficulty level
Easy
Costs
Low
Projects you might like

No Comments