You will need …
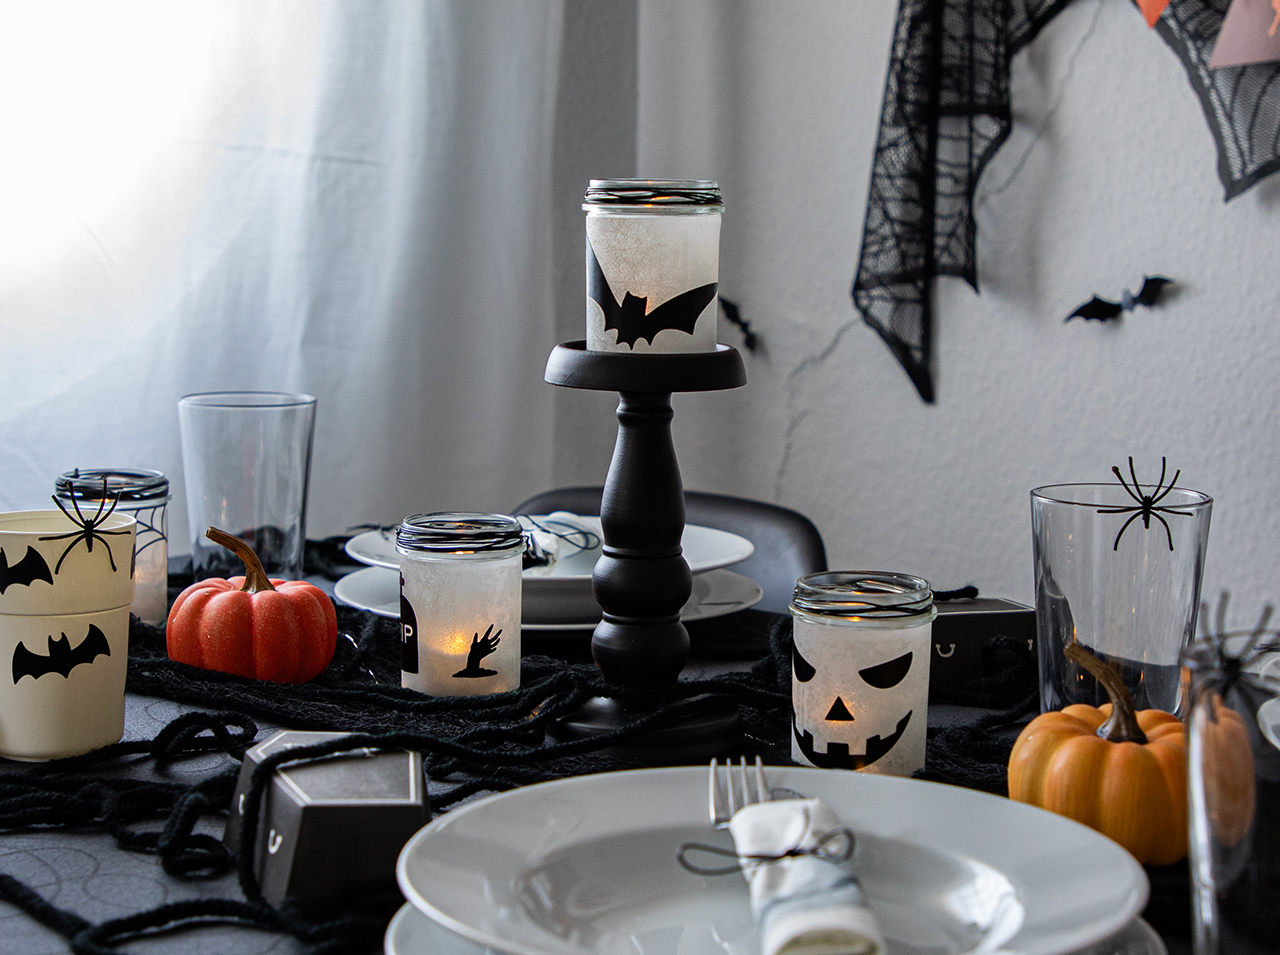
Hello Halloween! These DIY light jars create an eerily beautiful mood
Project from Cintia - 0 CommentsSomething to celebrate again at last! Easter and the latest family celebration are long past – and Christmas is still a long way off. That’s why, it is nice that now Halloween is just around the corner! Because, if you decorate your home with a few nice d-c-fix® DIY ideas for this occasion, you give yourself and your loved ones spooky-beautiful, but above all fun moments. And all of a sudden, the dreariness of the long dark fall days is banished… Happy Halloween!
- d-c-fix® rice paper white PREMIUM adhesive foil
- d-c-fix® Uni Matt black adhesive foil
- d-c-fix® application kit with smoothing blade & utility knife
- Spray bottle with water
- Measuring tape
- Pencil
- Ruler
- Cloth
- Jars
- Tea lights (battery operated)
Let’s go!
Start your DIY now – the tutorial shows you how, step-by-step
 Preparation
You have everything you need? Then get started!
 Step 1
Measure the circumference and height of the jar with the tape measure. Then transfer these measurements to the back of the rice paper window foil.
 Step 2
Cut the piece of foil to size with the aid of a utility knife and ruler. Then spray the jar with water.
 Step 3
Peel off the backing paper from the entire piece of full.
 Step 4
Place the piece of foil on the table with the back side facing up, place the jar on top and apply the foil by rolling the jar on the window foil. Then turn the glass upright and apply the foil firmly using the smoothing blade.
 Step 5
Next, take the matt black adhesive foil, roll it up slightly and draw Halloween motifs onto the backing paper.
 Step 6
Cut out the motifs from the foil using the utility knife.
 Step 7
Remove the motif from the foil, peel off the backing paper and apply the motif onto the jar.
You’re done!


No Comments