You will need …

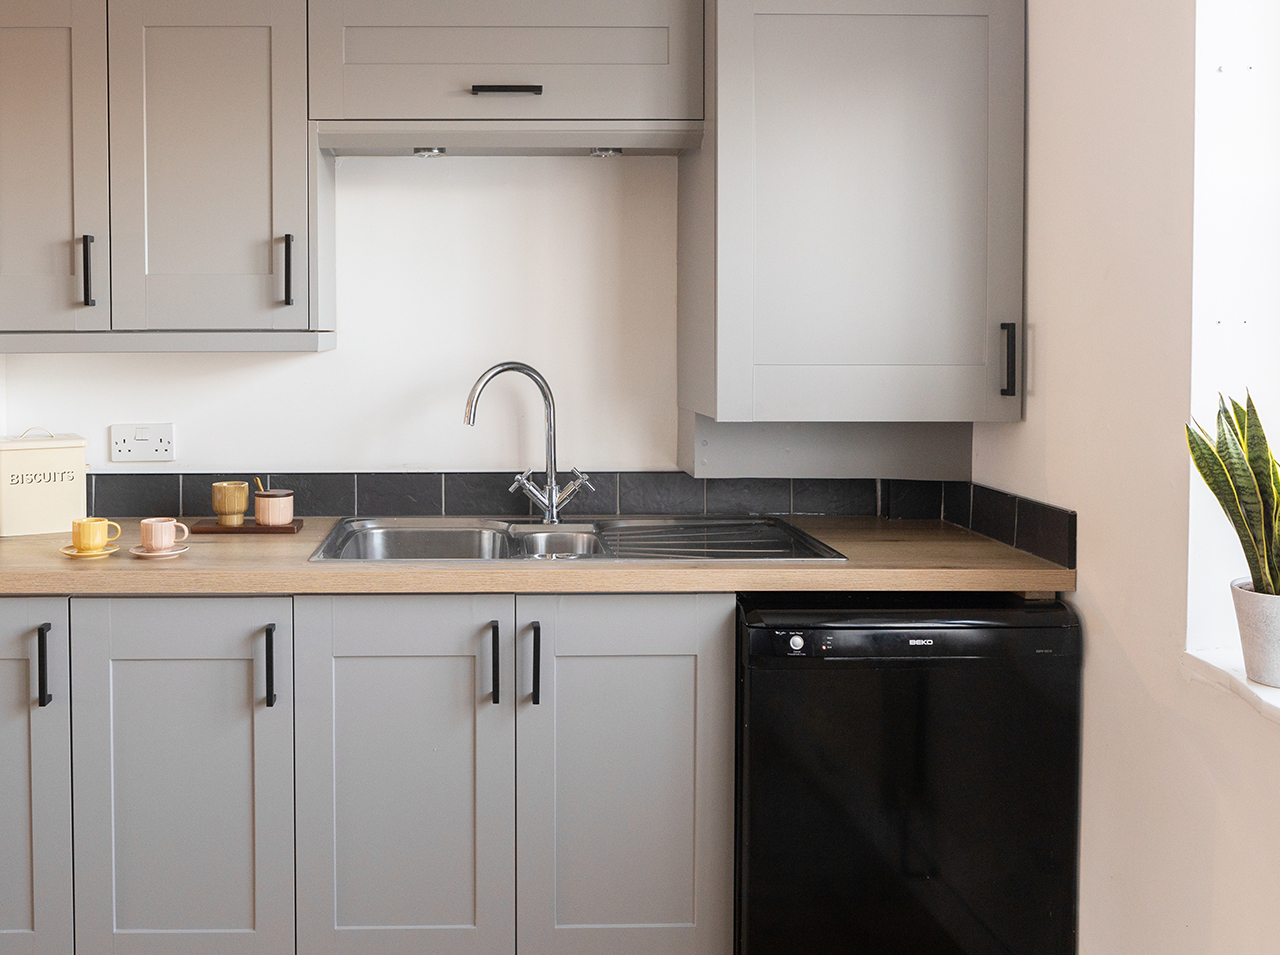
New style: chic look in gray for your kitchen!
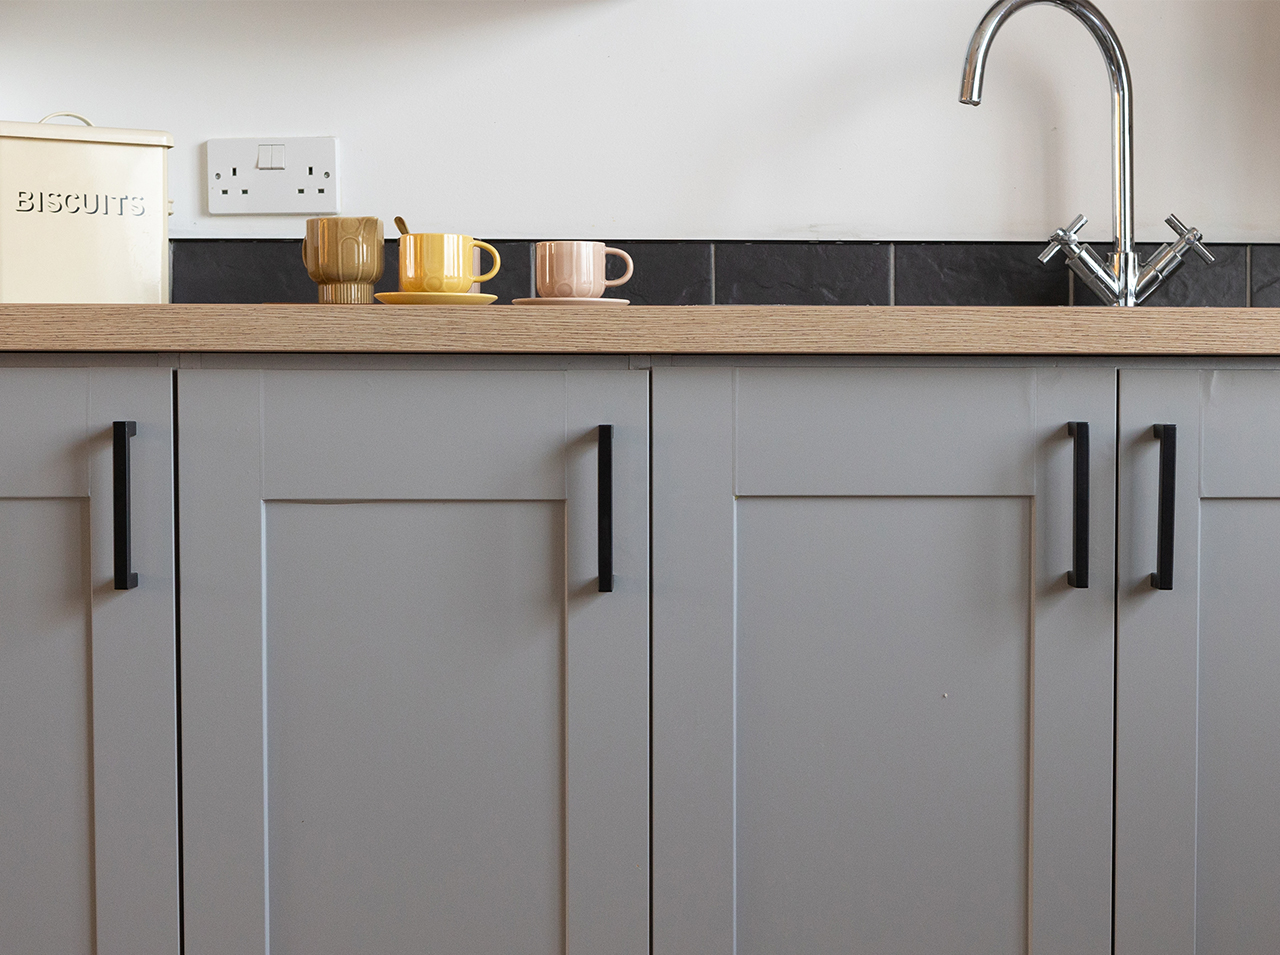
Project from Alex - 0 CommentsGuaranteed to always work and bring cool vibes to every home: the color gray in soft-looking, semi-gloss look. Yes, this particular gray is really something, because it transforms aging kitchens into modern cooking oases – and goes well with all types of wood and wall colors. The new matte color of your kitchen will be extra stylish when combined with accessories such as new handles in matte black. This kitchen makeover with the d-c-fix® Uni semi-gloss gray adhesive foil definitely delivers happiness guaranteed!
- d-c-fix® Uni semi-gloss gray adhesive foil
- d-c-fix® application kit with smoothing blade & utility knife
- Pencil
- Scissors
- Ruler
- Hot-air gun
- Measuring tape
- Screwdriver
- Cleaning products
Let’s go!
Find our tutorial for the kitchen front makeover here
 Preparation
You have everything you need? Then get started!
 Step 1
First, thoroughly clean the surfaces of the kitchen fronts to be covered.
 Step 2
Now determine the dimensions of the inner surfaces of the kitchen fronts.
 Step 3
Use a ruler to transfer the measurements to the backing paper of the adhesive foil.
 Step 4
Now cut the foil pieces to size.
Tip: if you use a utility knife, it is best to use a cut-resistant base – this makes cutting to size easier.
 Step 5
Now peel off the backing paper on the foil piece and position the latter on the inner surface of the kitchen front.
 Step 6
Work your way forward piece by piece with the adhesive foil and smooth it firmly into place using the smoothing blade.
 Step 7
Cut the adhesive foil at the corners using scissors or a utility knife.
 Step 8
Smooth down the edges firmly using the smoothing blade.
 Step 9
Now carefully cut off the excess adhesive foil along the edge using the utility knife.
 Step 10
Determine the dimensions of the side surfaces, cut the foil pieces accordingly and apply them to the kitchen front.
 Step 11
Cut the adhesive foil at the corners of the kitchen front. Then pull the foil around the edge and fold over one of the cut sides – next, smooth down using the smoothing blade and apply the other side in the same way.
 Step 12
As a finishing touch to the covering, heat the foil slightly using a hot-air gun and press the adhesive foil well onto the inner edges of the door front using the smoothing blade.
 Step 13
Finally, mount the previous handles or new ones if you prefer.
You’re done!




No Comments