You will need…


Enter the search term and press "ENTER" .
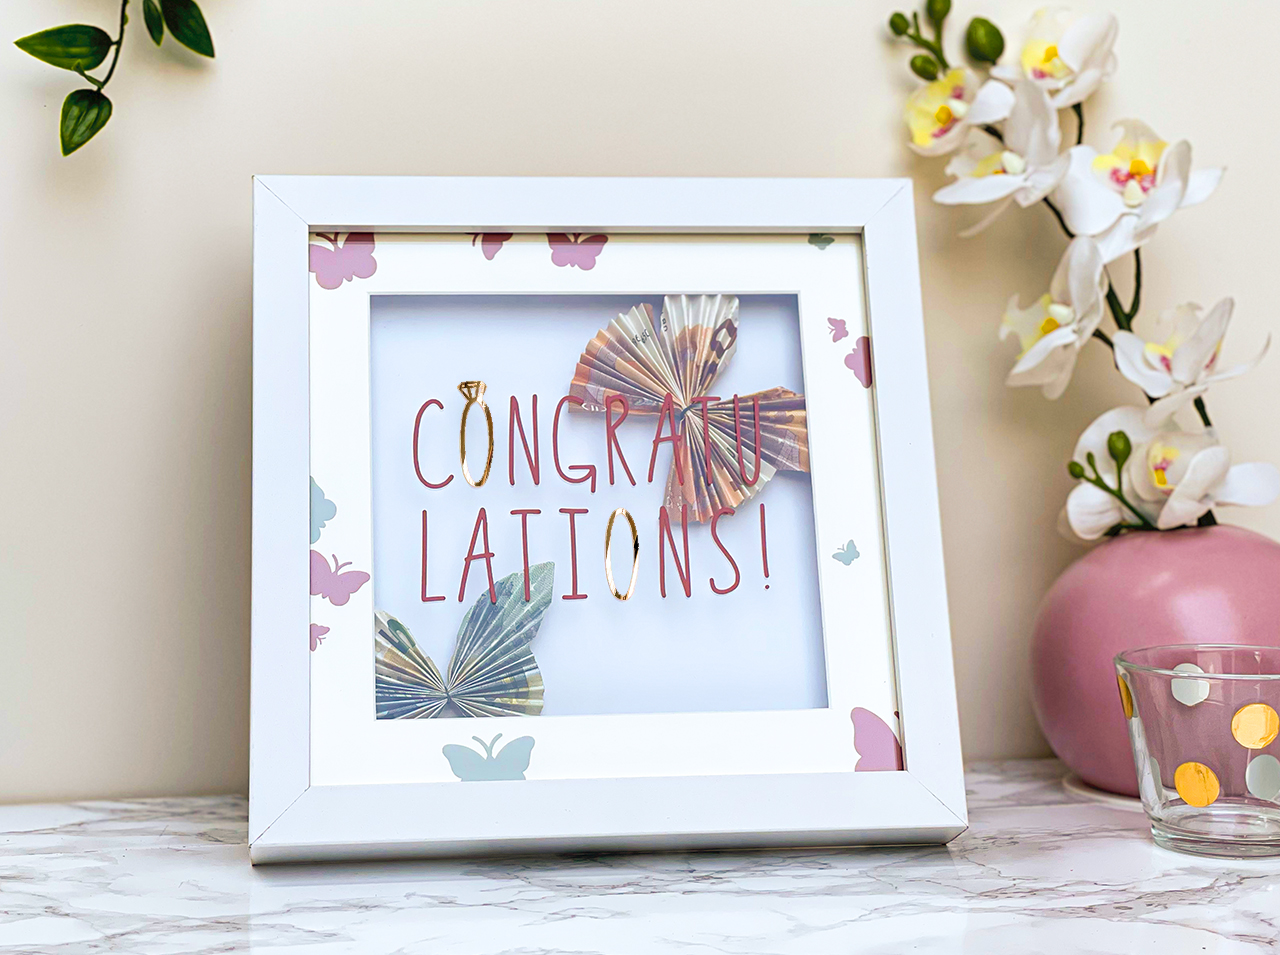
DIY gift: A unique gift – it’s possible with this picture frame!
Project from Cintia - 0 CommentsWhat makes a successful gift? That it comes from the heart. And that it matches the wishes, plans, and personality of the person receiving the gift. Our DIY project creates the perfect picture frame for a unique gift!
A good basis for individual gifts for a wide range of occasions is the deep Ribba picture frame from Ikea in square format. Together with our d-c-fix® adhesive foils in Ash Rose, Sage and Gold, the redesign is wonderful for personal surprises on all kinds of occasions. Designed in line with your motto — or, as we’ve done it, decorated with butterflies — you’ll be gifting an individual picture frame that will be remembered with joy. This frame will surely find a nice little place to spread its “good vibes.”
The great thing is that this gift is guaranteed to be unique, it can be converted into a monetary gift, and gives twice the joy — both to you while creating and to those who receive it!
The great DIY gift: The right frame for every occasion!
- One roll of d-c-fix® Ash Rose
- One roll of d-c-fix® Sage
- One roll of d-c-fix® High-Gloss Gold
- d-c-fix® Application kit with doctor blade and cutter
- Ribba picture frame (IKEA)
- Pencil
- Scissors
Let’s go
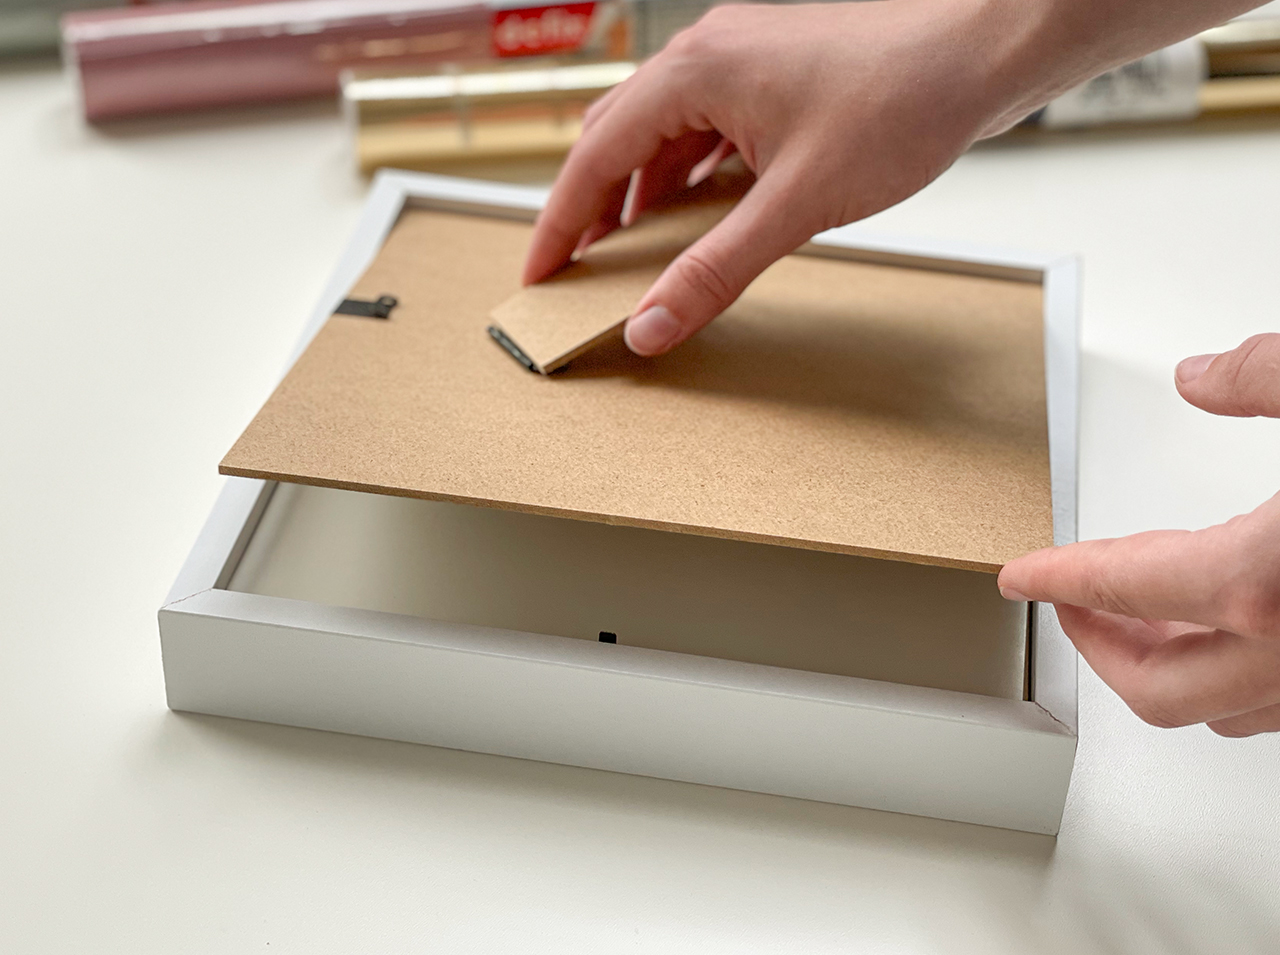 Step 1
First disassemble the picture frame and clean the transparent pane thoroughly before decorating.
 Step 2
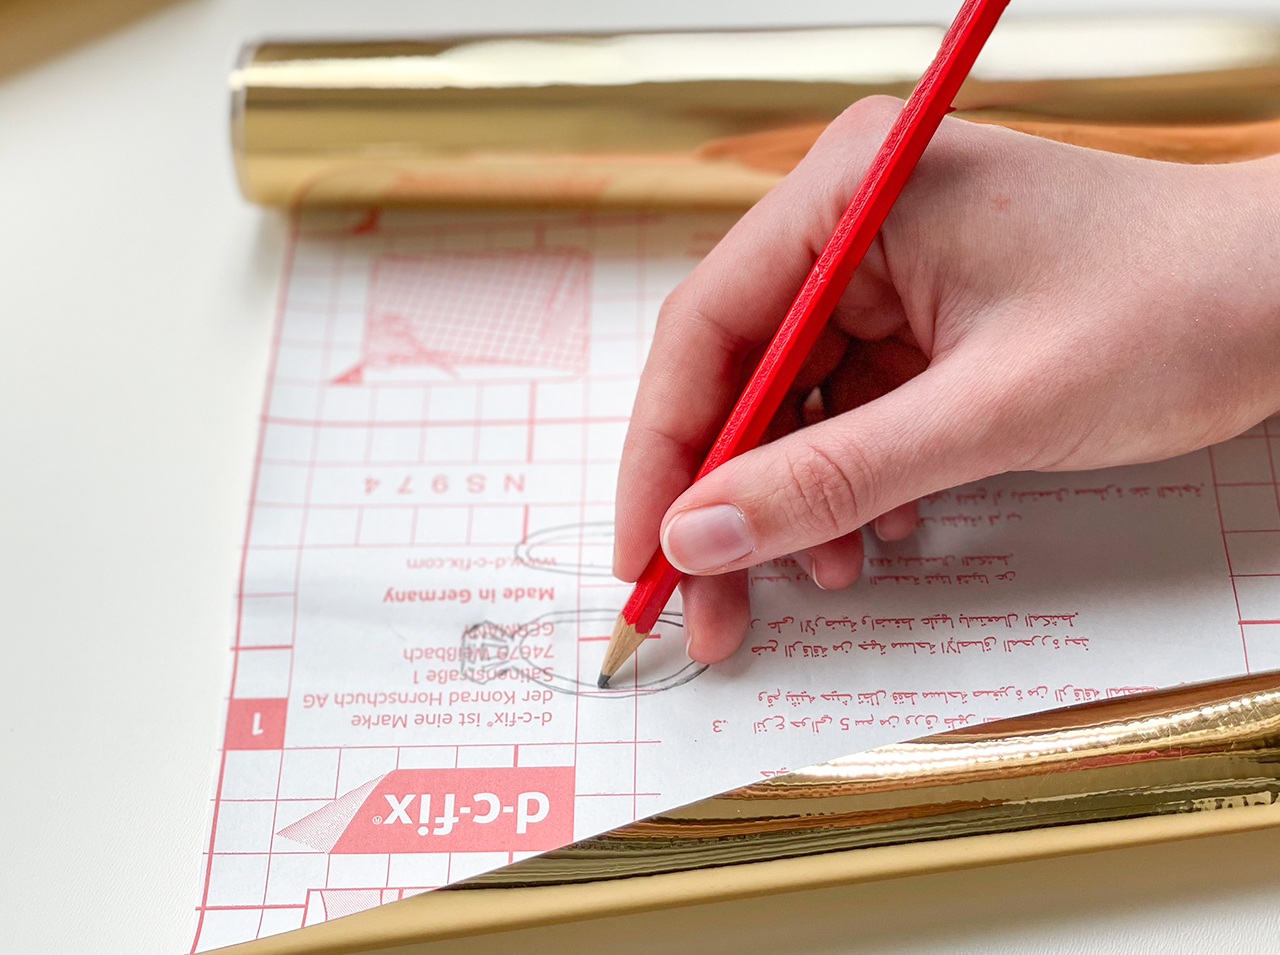
Then use the pencil on the backing paper of the d-c-fix® Ash Rose and Sage adhesive foils to draw the outlines of butterflies in different sizes.
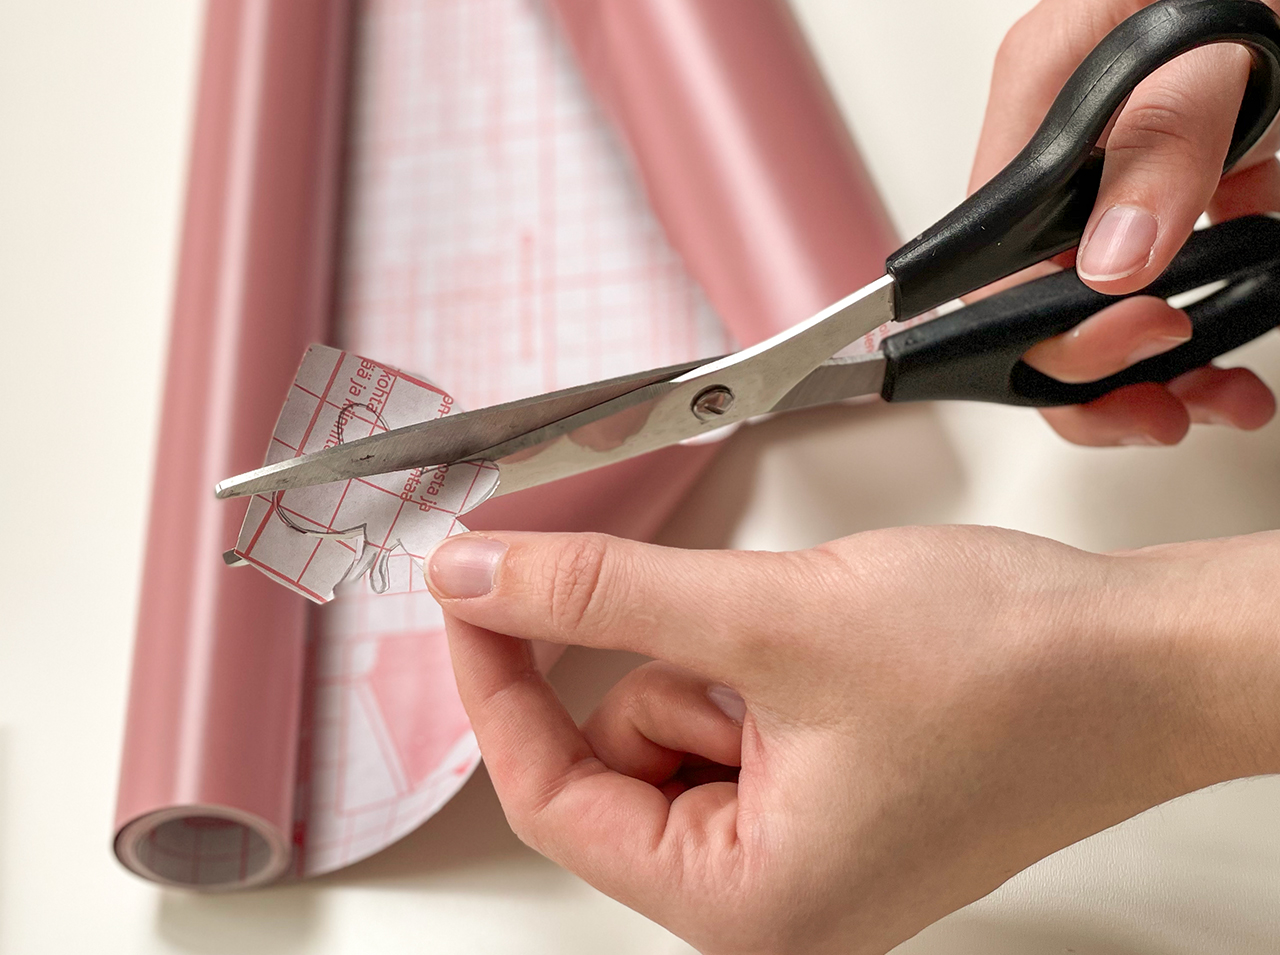 Step 3
Now cut out the butterflies and decide on how you’d like to arrange and stick them on the transparent pane and on the inside of the back wall of the picture frame.
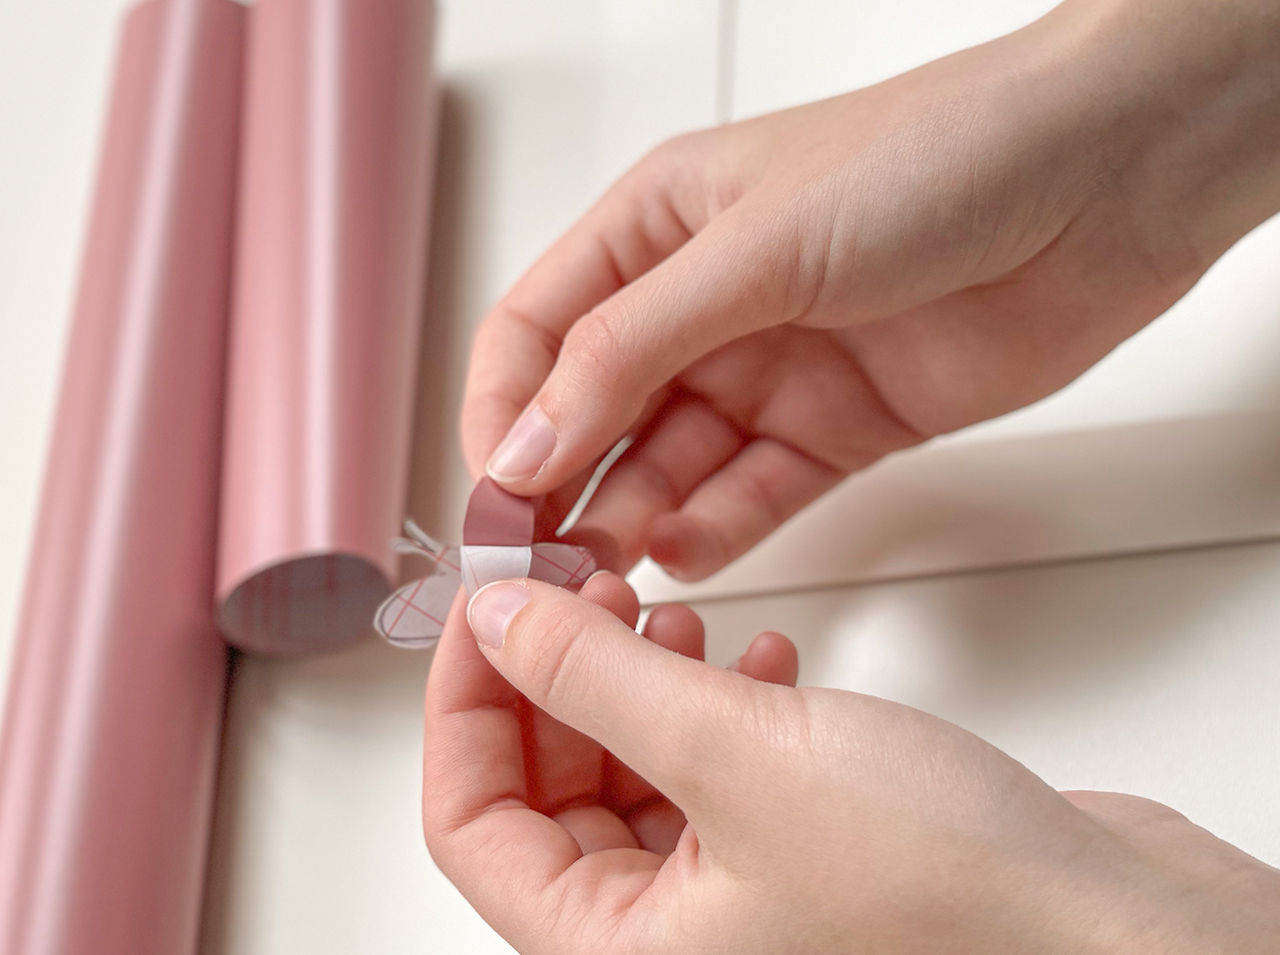 Step 4
Then remove the backing paper of the first butterfly a little, place it on the transparent pane of the picture frame and use the doctor blade to apply it firmly. Repeat until all other shapes have been applied to the pane or inside of the back wall of the picture frame.
 Step 5
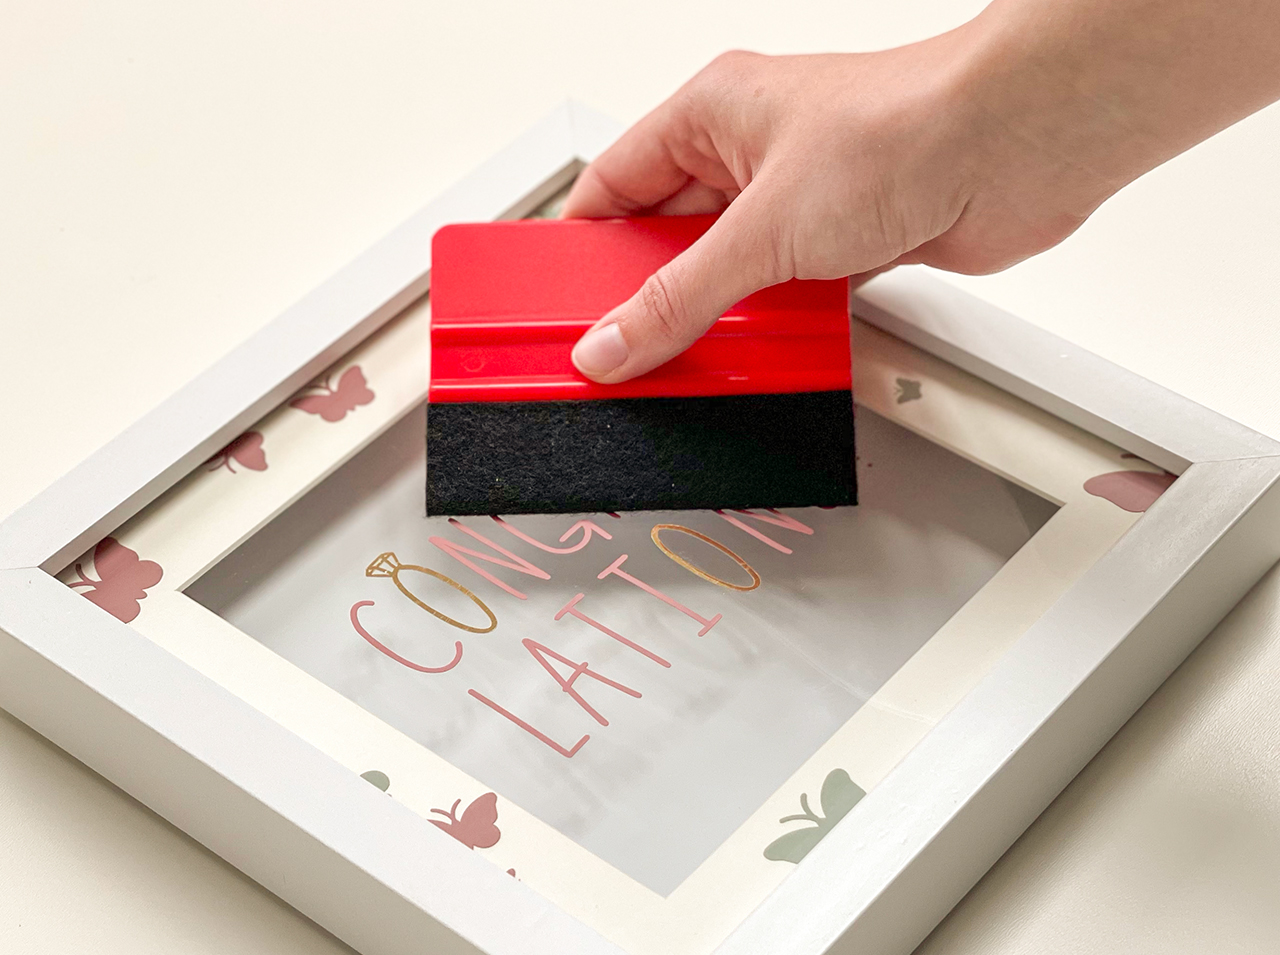
Now it’s time to draw the letters required for the motto or message on the backing paper of the golden d-c-fix® adhesive foil, cut them out and apply them on the outside of the transparent pane.
 Step 6
Use the doctor blade to firmly apply all the attached elements one more time and reassemble the picture frame.
You’re done!

Post A Comment
EXPERT ADVICE
A unique way to gift money? Here’s how: Simply use banknotes to fold little butterflies and place them inside the picture frame. That’s it! Your unique money gift is ready!
Preparation time
10 min
Execution
10 min
Difficulty level
Beginner
Costs
medium
Projects you might like

No Comments