You will need …


Enter the search term and press "ENTER" .
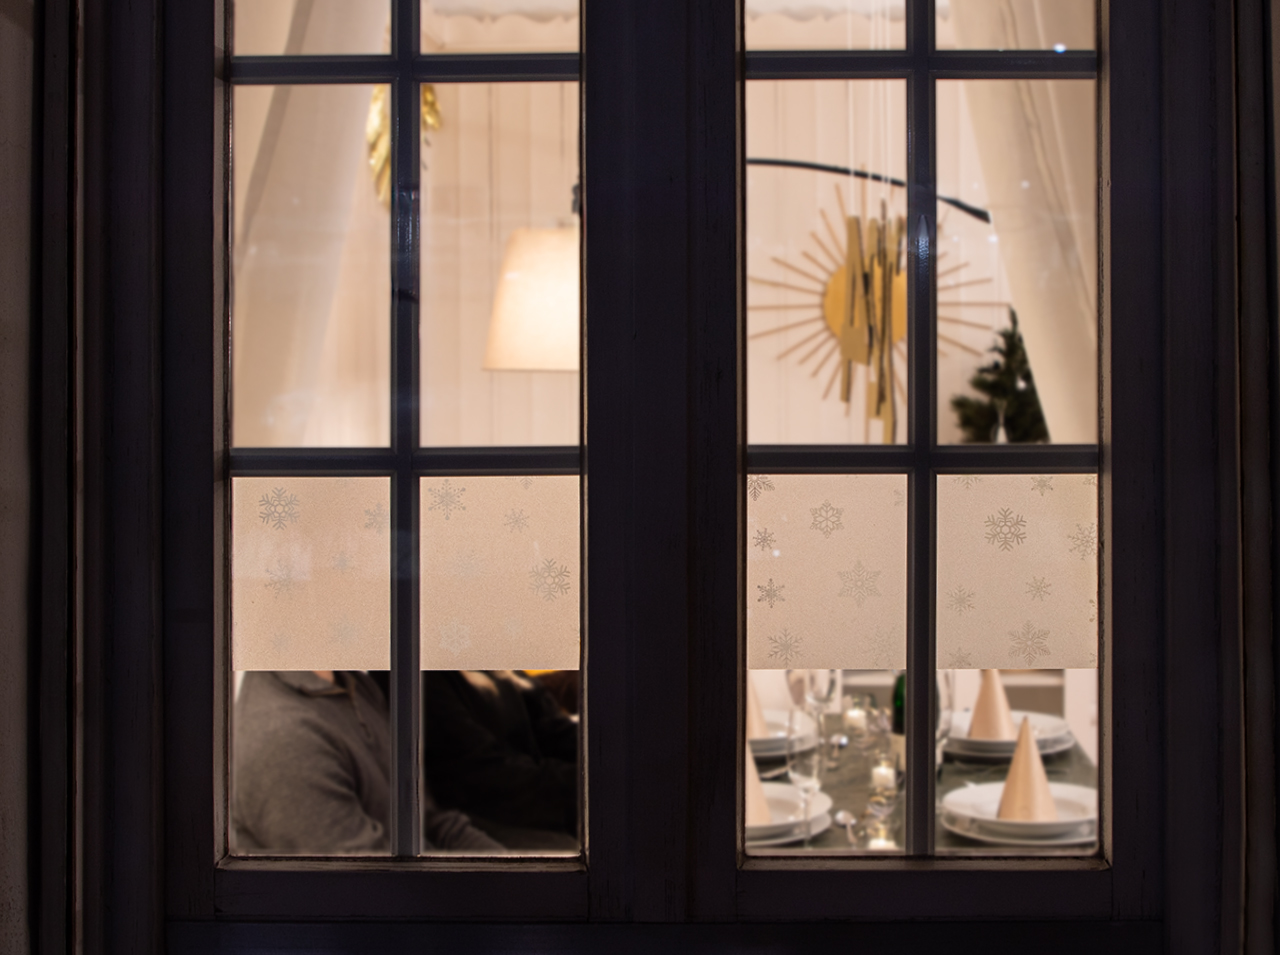
Magical winter screen: Let it snow!
Project from Chris - 0 CommentsThe snow is gently falling… that’s exactly what you see when you look out of the window – whether it’s snowing outside or not. How does that work? Quite simply thanks to the statically adhesive border with privacy function from d-c-fix®: It gives you more privacy in the mornings and evenings during the dark season by blocking prying eyes from peering into your home. The beautiful snowflake design creates a cozy winter vibe that is perfect for the coming weeks. So: Let it snow!
- d-c-fix® Static Window Border Snowflakes
- d-c-fix® application kit with doctor blade and utility knife
- d-c-fix® application fluid or spray bottle with water
- Pencil
- Measuring tape
- Rule
- Cloth
Let’s go!
Create wintry privacy protection in no time:
 Preparation
You have everything you need? Then get started!
 Step 1
Measure the width of the window you would like to be peep-proof.
 Step 2
Cut the Window Border Snowflakes privacy film using a utility knife and rule.
 Step 3
Spray the window thoroughly with d-c-fix® application fluid or water.
 Step 4
Peel off the backing paper from the Snowflakes window foil.
 Step 5
Now place the privacy film onto the window pane.
 Step 6
Press down the window foil firmly using the doctor blade until the trapped moisture between the window pane and foil has been squeezed out.
 Step 7
Dry off the excess water from the window using a cloth.
You’re done!


Post A Comment
Preparation time
10 min
Execution
15 min
Difficulty level
Easy
Costs
Low
Projects you might like


No Comments