

Enter the search term and press "ENTER" .

Do you want to give your kitchen, bathroom or any other area in your home a whole new look, with minimum expense and disruption? Then “Self-Adhesive Wall Tiles” from d-c-fix are the perfect solution for you and your wallet. They are available in two sizes: 15.25×15.25 cm and 30.5×30.5 cm. Applying them couldn’t be easier. No specialist tools or adhesives are required, so you can simply apply them yourself!
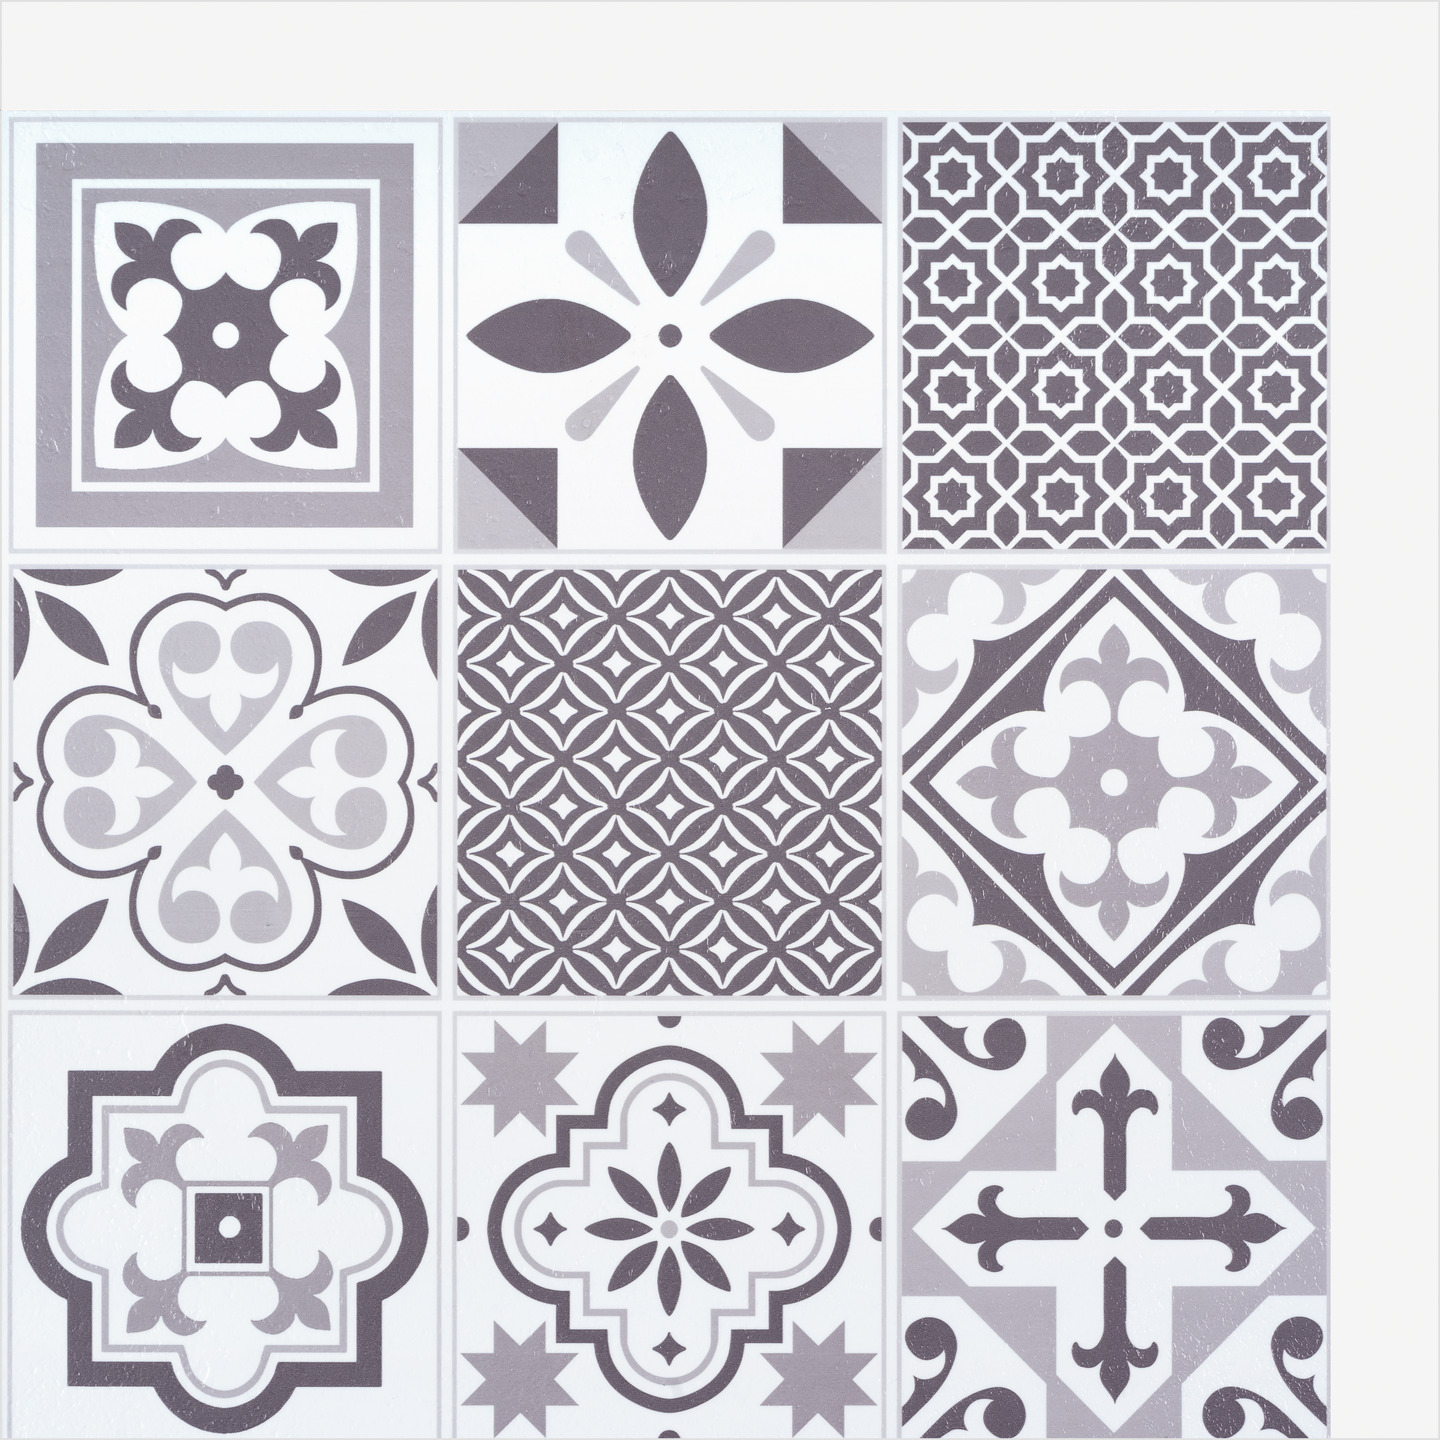
d-c-fix® Self-Adhesive Wall Tiles – now available in small 15.25×15.25 cm size
NEW 15cm x 15cm d-c-fix self-adhesive wall tiles offer great designs for you to mix and match to suit your taste and mood, creating your own individual look and style.


Advantages of d-c-fix® wall tiles
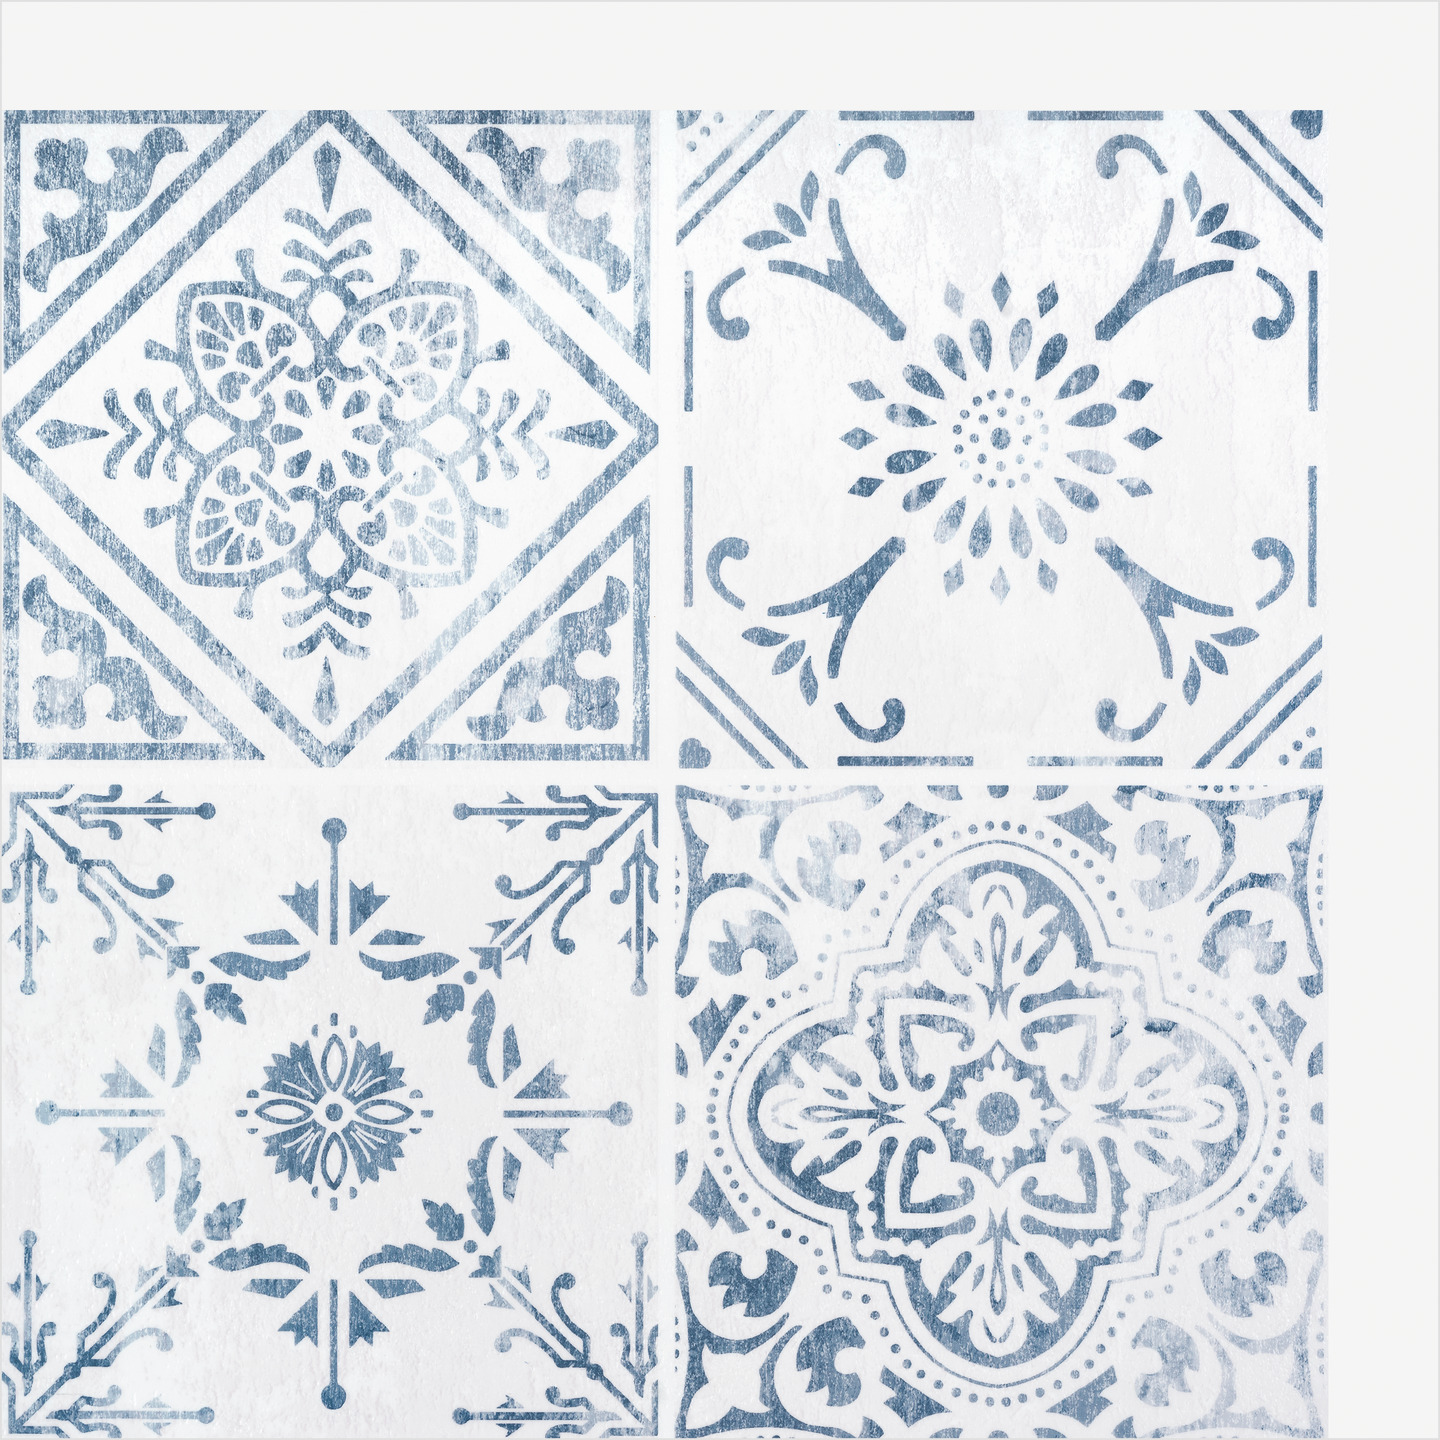
The following applies to large 30.5cm x 30.5cm Self-Adhesive Wall Tiles
- Watertight due to a special clear membrane which forms a waterproof barrier behind the joins
- Visually almost indistinguishable from conventional tiles made of ceramic, stone, concrete or wood, but much cheaper
- Score points with their low weight
- Easy to apply thanks to the self-adhesive application
- Can be cut individually with a utility knife
The following applies to small 15.25cm x 15.25cm Self-Adhesive Wall
- Look deceptively like conventional ceramic tiles,but are much cheaper.
- Quick and easy application thanks to the self-adhesive application
- The mix and match principle of 15 modern designs enables endless combinations
Step-by-step instructions for d-c-fix®Self-Adhesive Wall Tiles

1. Measuring:
Measure the wall to determine the amount of material required. Allow for 10% waste. Store the tiles for at least 24 hours at room temperature (20°C-22°C) in the room where installation is due to take place.

2. Tools required:
- cutter knife
- ruler
- pencil
- tape measure
- optional: squeegee, paint roller

3. Prepare the surface:
Prepare the surface so that it is clean, level, free of dust, oil, grease, holes and cracks, and ensure it is permanently dry. Level out any unevenness with a suitable filler prior to application.
Smooth surfaces, eg flat wall tiles, are suitable for bonding. Self-adhesive wall tiles are not suitable for use outdoors, around fires, behind gas stoves with open flames, radiators, or in rooms with permanent high levels of sunlight (e.g. conservatories).

4. Peel off the backing paper:
Small size: Remove the backing paper from the tile.
Large size: Remove only the paper backing, leaving the clear membrane to the top and right hand side of the tile in situ.
t.
Tip: To separate the white backing paper from the clear membrane, use a strip of sticky tape on each side to prise the two apart

5. Applying the wall tiles:
Position the first tile in the lower left-hand corner and press it onto the wall with even pressure over the entire surface.
Tools: smoother or clean paint roller.

6. Applying the pattern:
Small size: Do not have an overhanging backing film and apply edge to edge.
Butt join the tiles together.
The small tiles are water resistant but should not be used in showers, behind bathtubs or in very wet areas.
Large size: Butt join the tiles together, ensuring you overlap the clear membrane each time to form a waterproof barrier behind each join.

7. Cutting the wall tiles to size
Cut the wall tiles as required using a ruler and utility knife to score and snap the tile.

8. Making cut-outs for wall sockets:
Hold the tile at the place where it is to be applied. Measure the position and size of the electric socket and transfer the dimensions onto the tile with a pencil. Position the ruler, score the surface of the tile with a utility knife and break through the cutout backward. Apply the tile to the wall and seal the transition from tile to wall socket with silicone.

9. Edge finishing (applies only to large size):
For a clean edge finish, trim away the excess clear membrane from the top row of tiles.

10. Sealing:
Particularly in wet rooms, seal all outer edges with silicone to prevent moisture infiltration. Air the room well afterwards.

11. Cleaning and care:
Finally, clean the wall tiles with a light, commercially available liquid cleaner or soapy solution. Then rinse thoroughly with clear water.
Caution: Avoid acetone, benzine and abrasive cleaning agents and sponges.

12. Removing:
Using a flat tool (e.g. flat head screwdriver), prise the tiles away from the wall. Remove any residual adhesive with a label or adhesive remover.
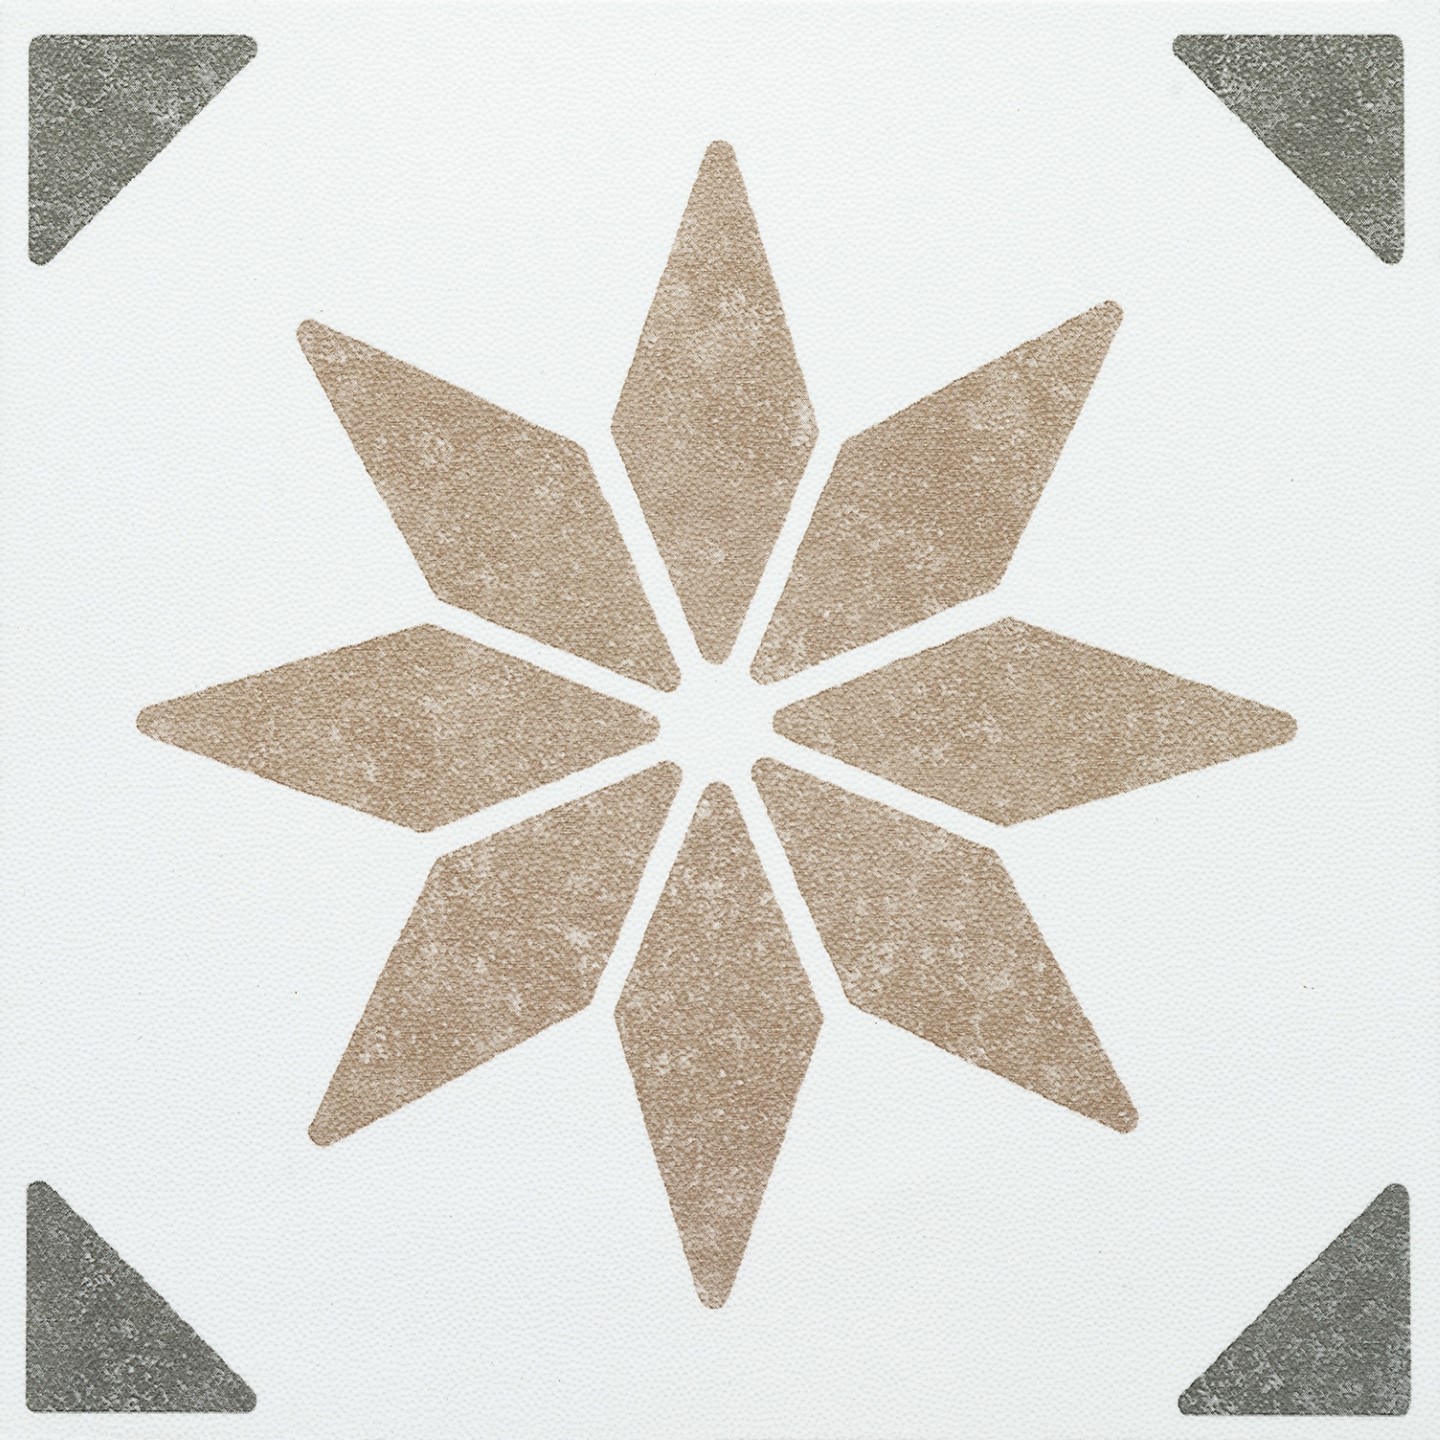
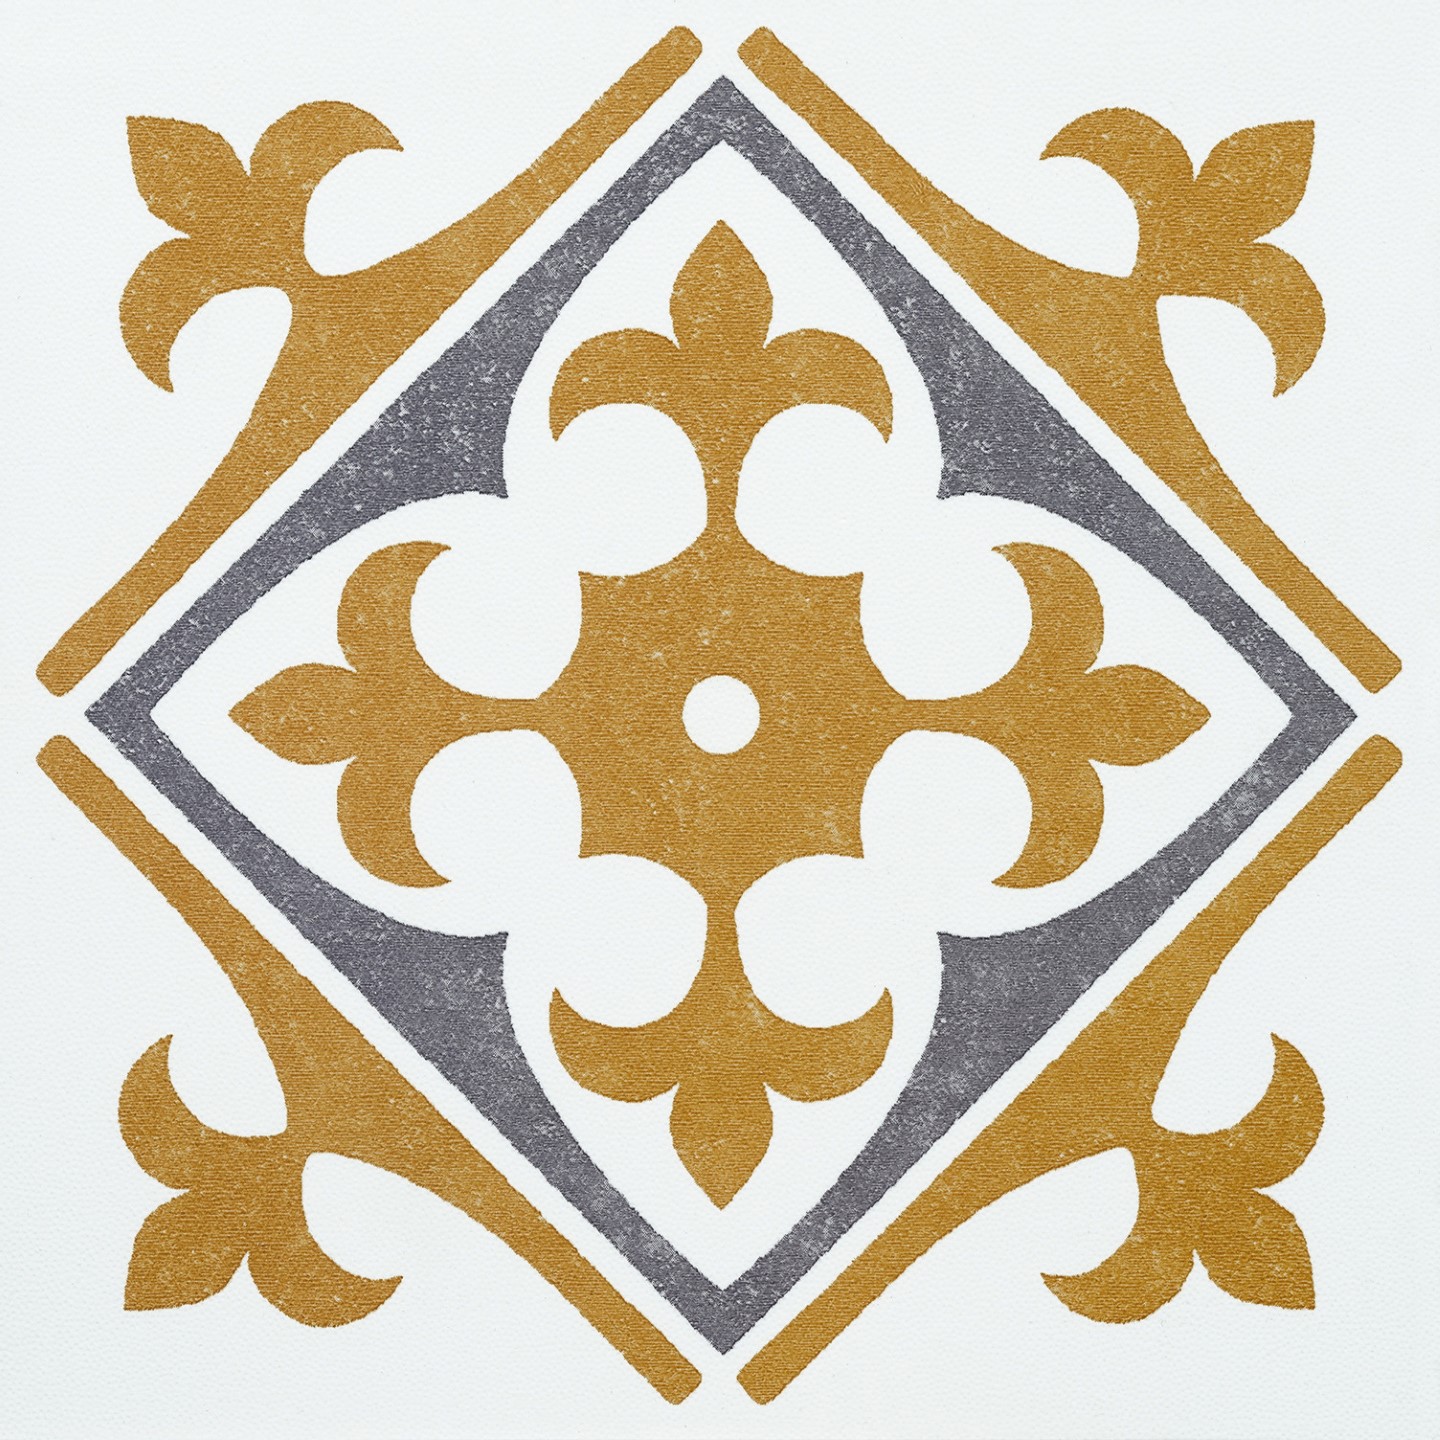
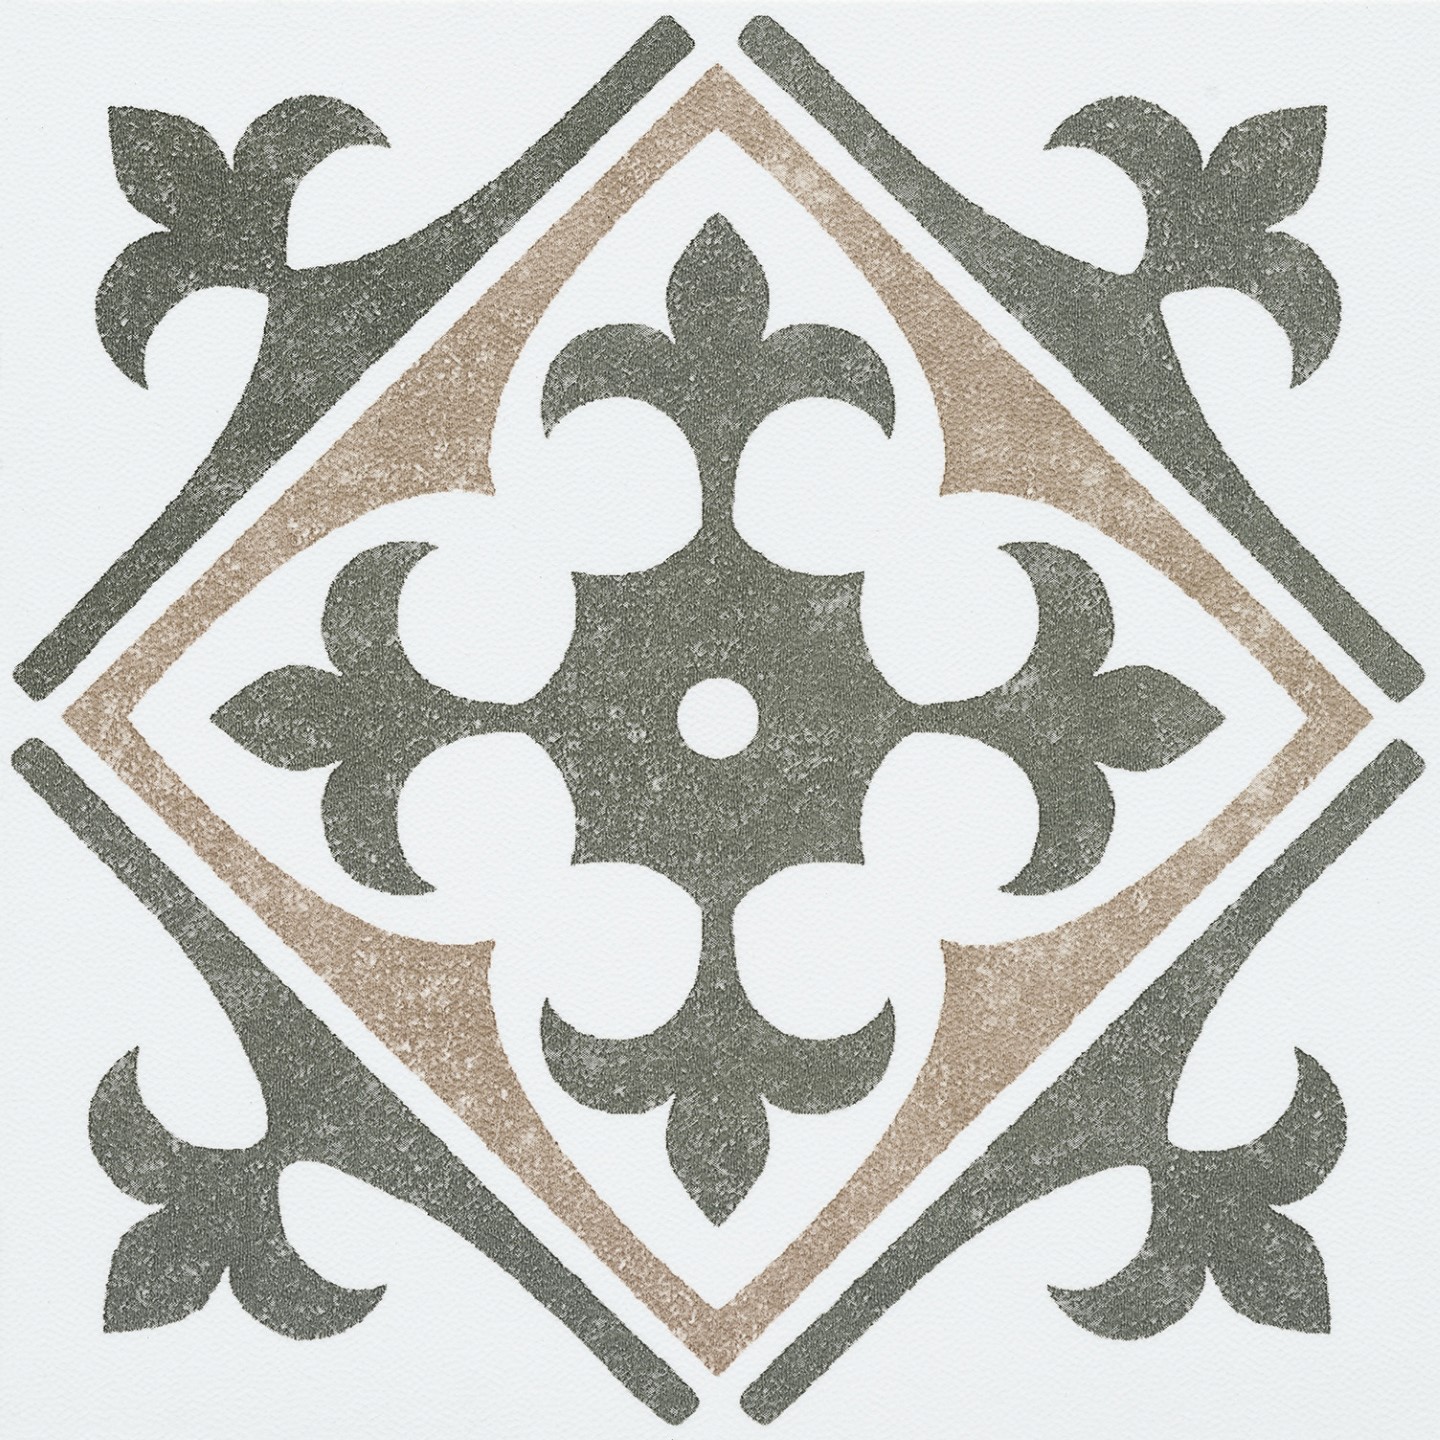
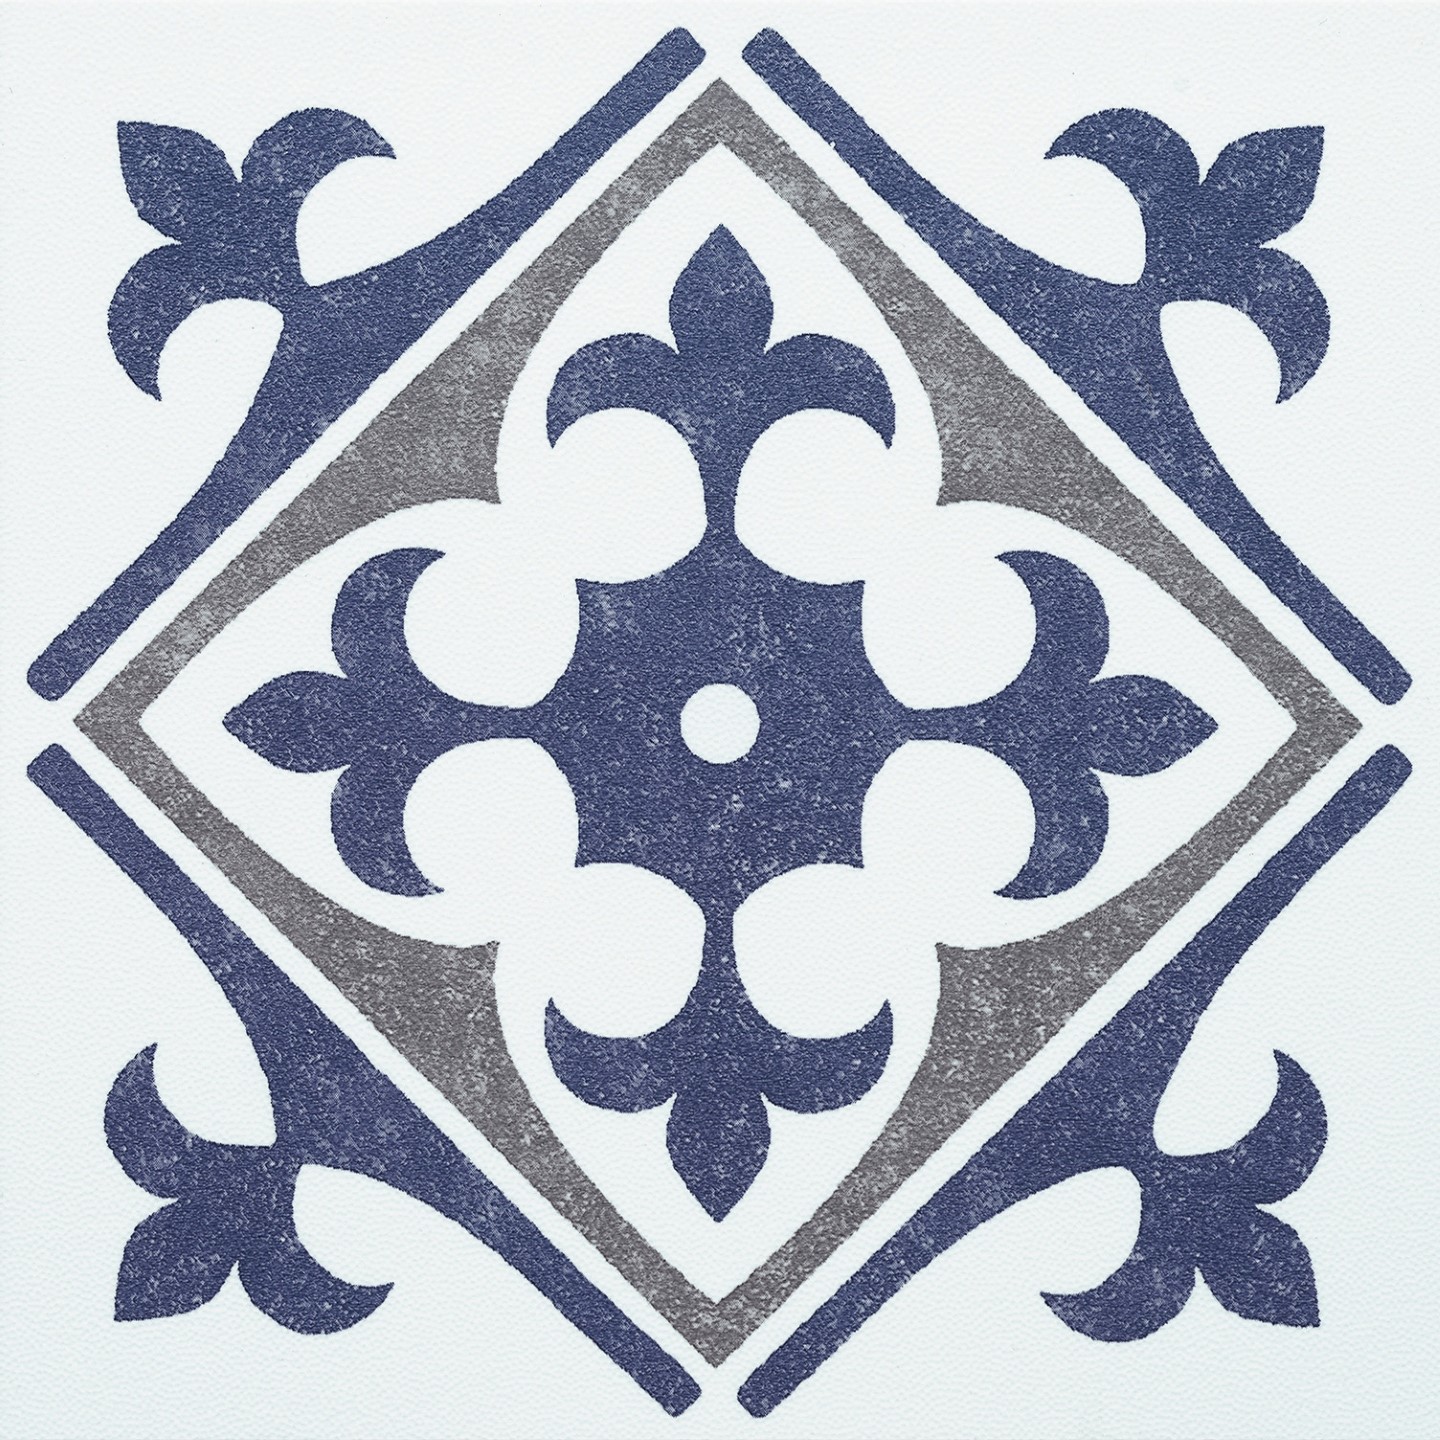
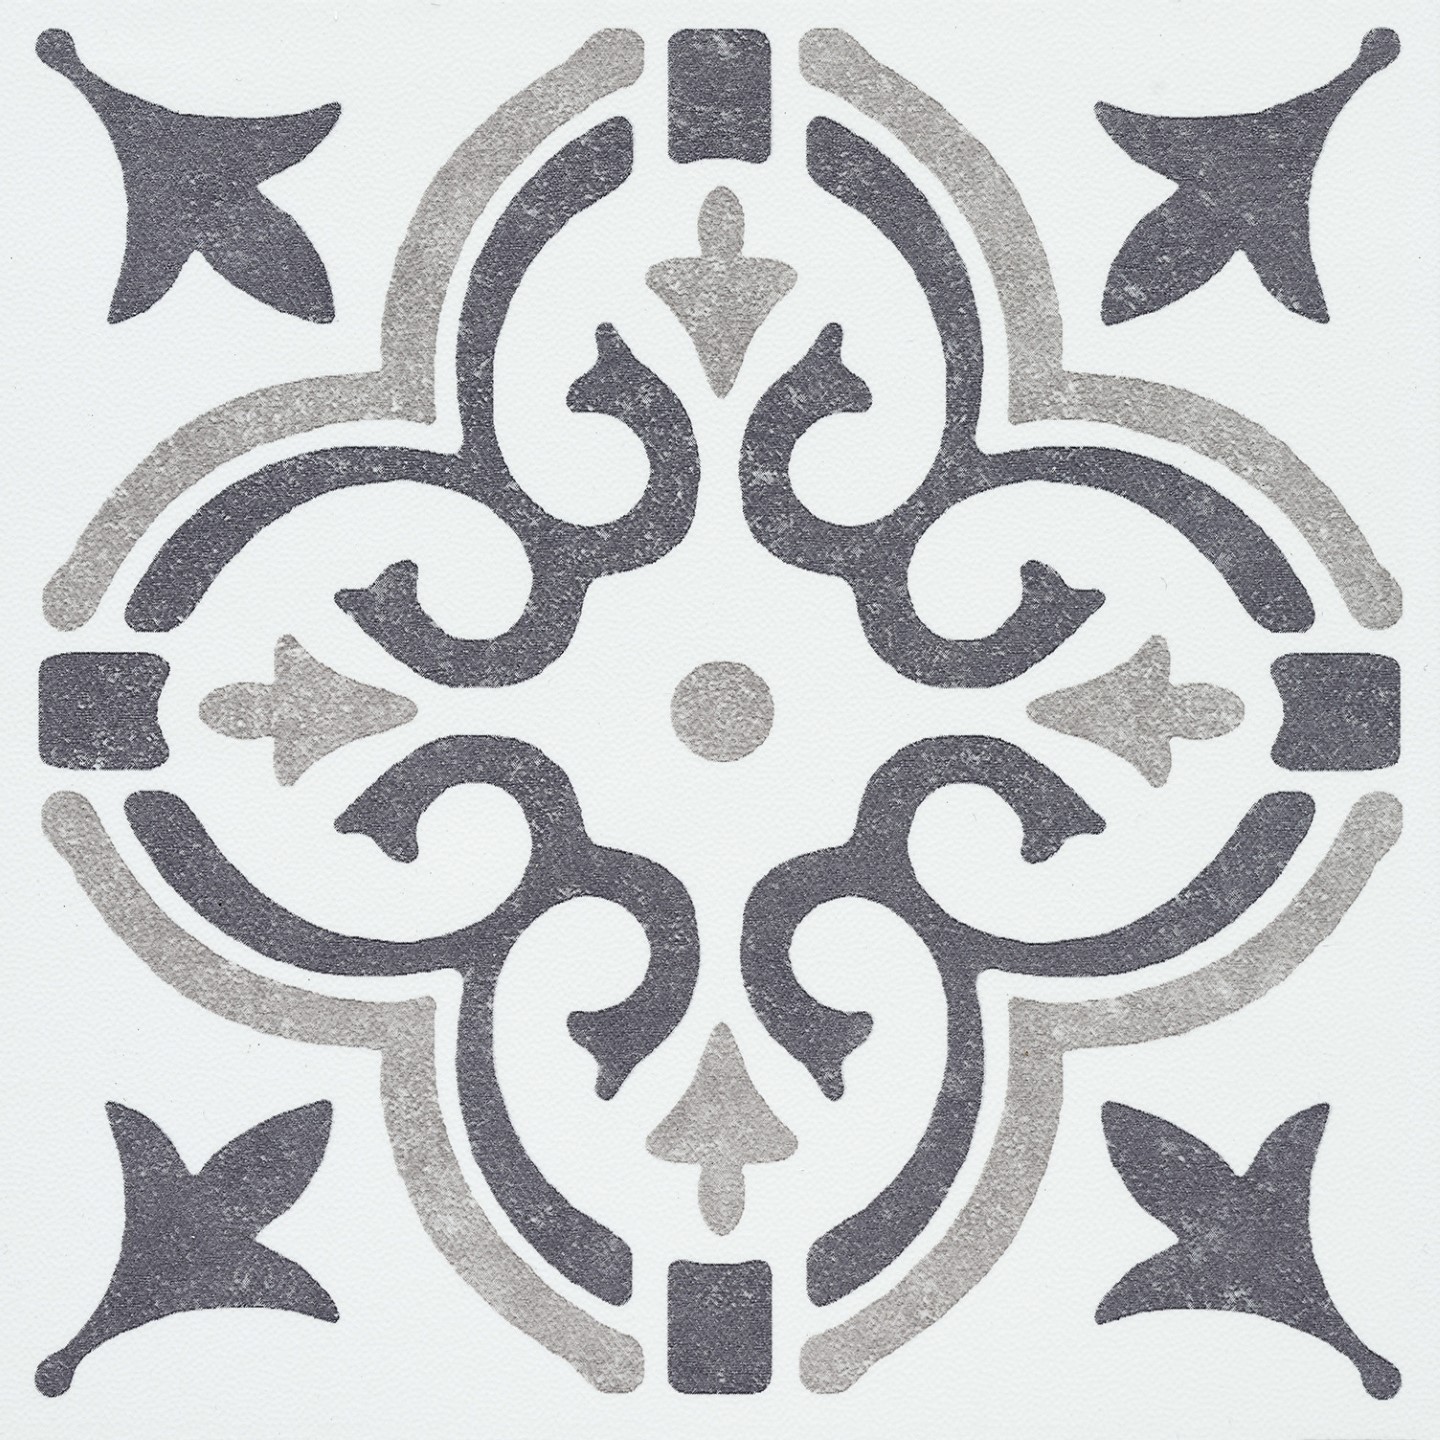
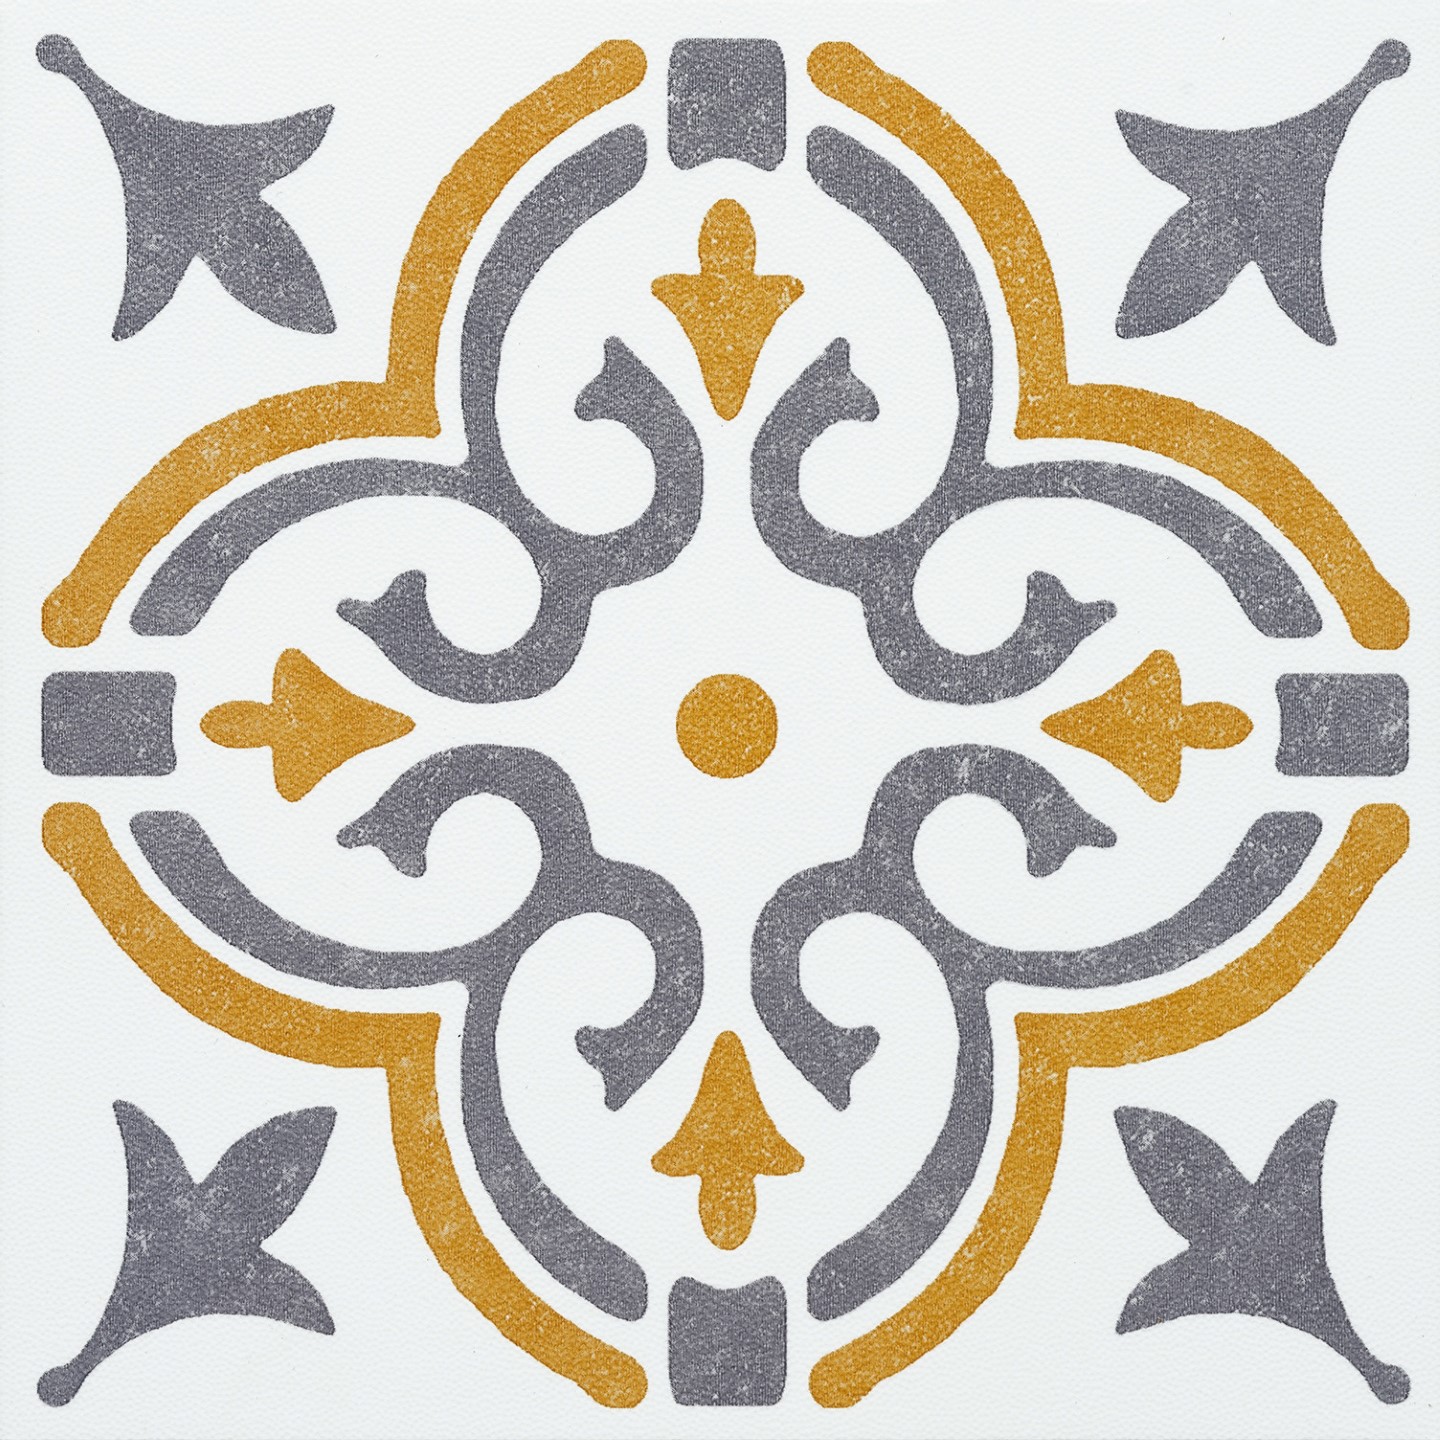
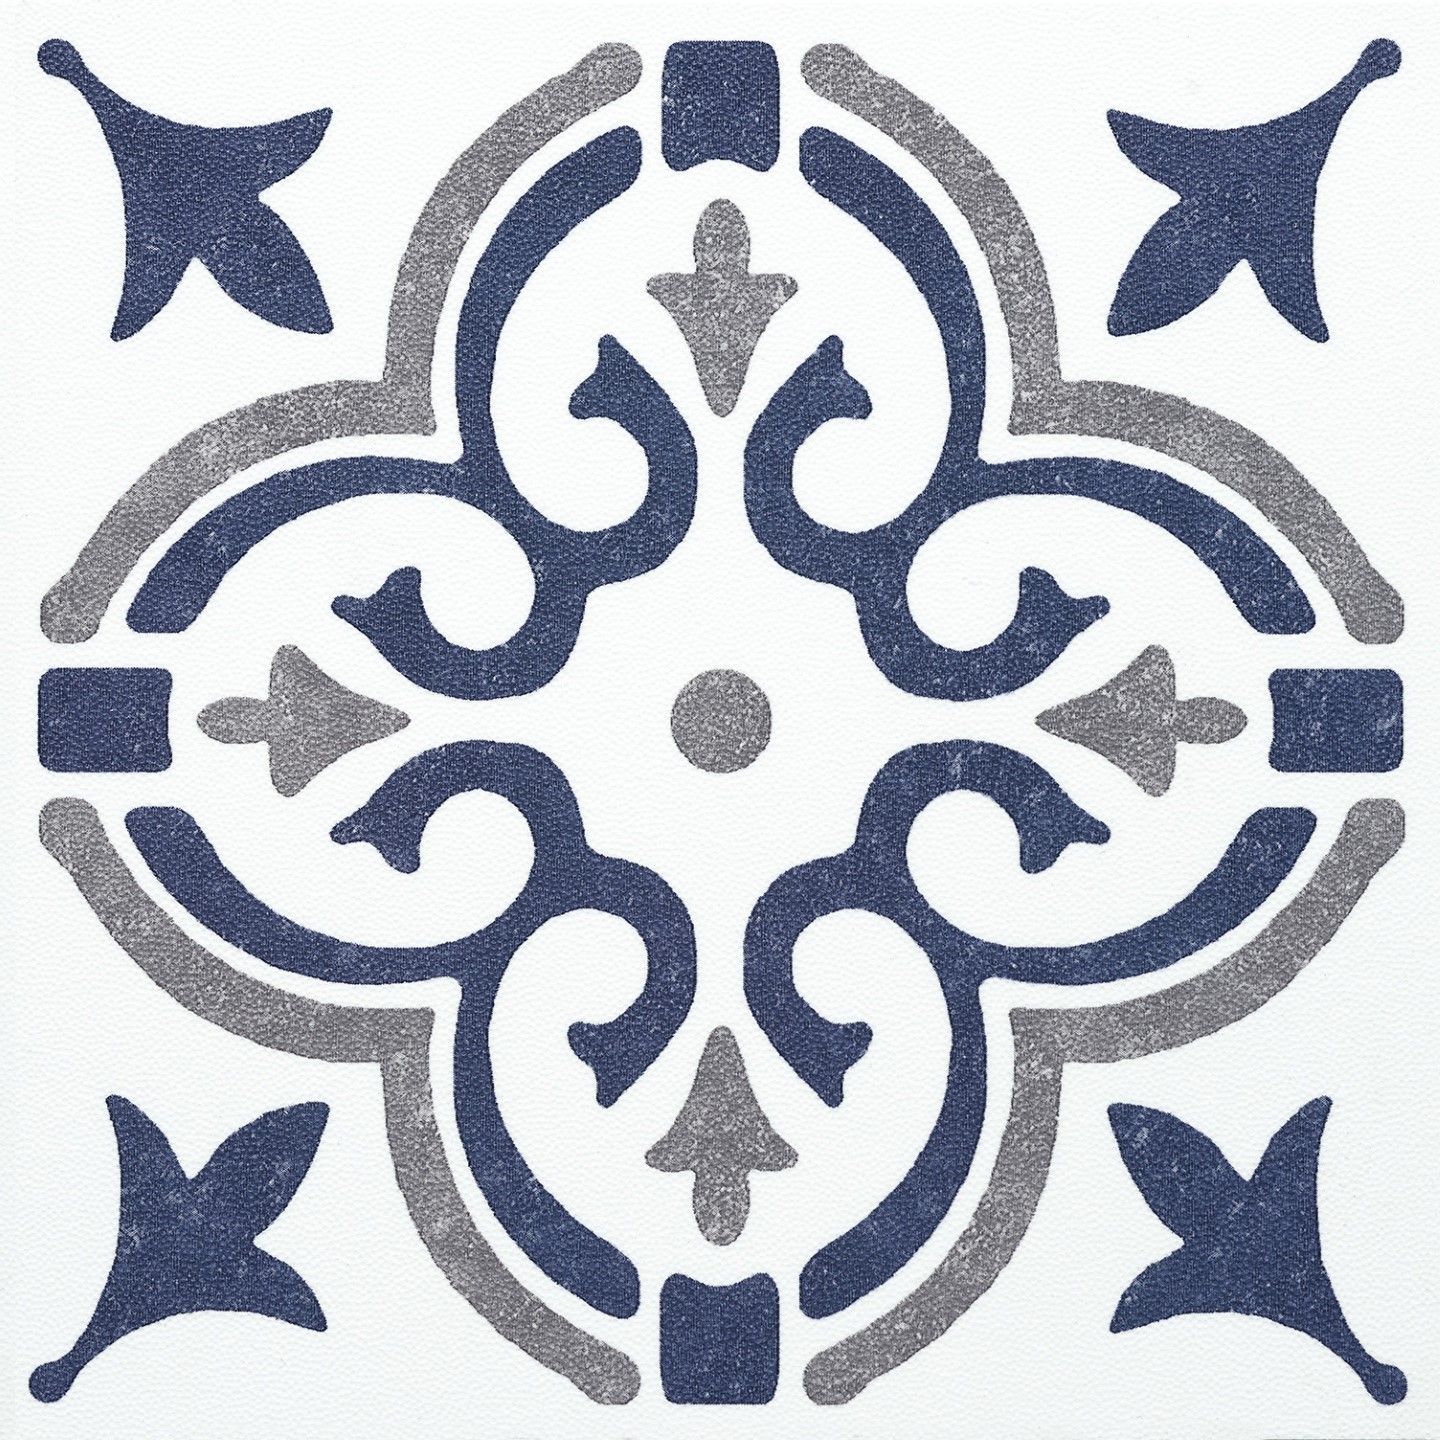
Mix and match – find your perfect design combination with 15.25×15.25cm peel & stick wall tiles!
15 different designs, hundreds of possible combinations – create your own unique mix with self-adhesive wall tiles from d-c-fix® and express your style and personality to give your splash back a real WOW factor!
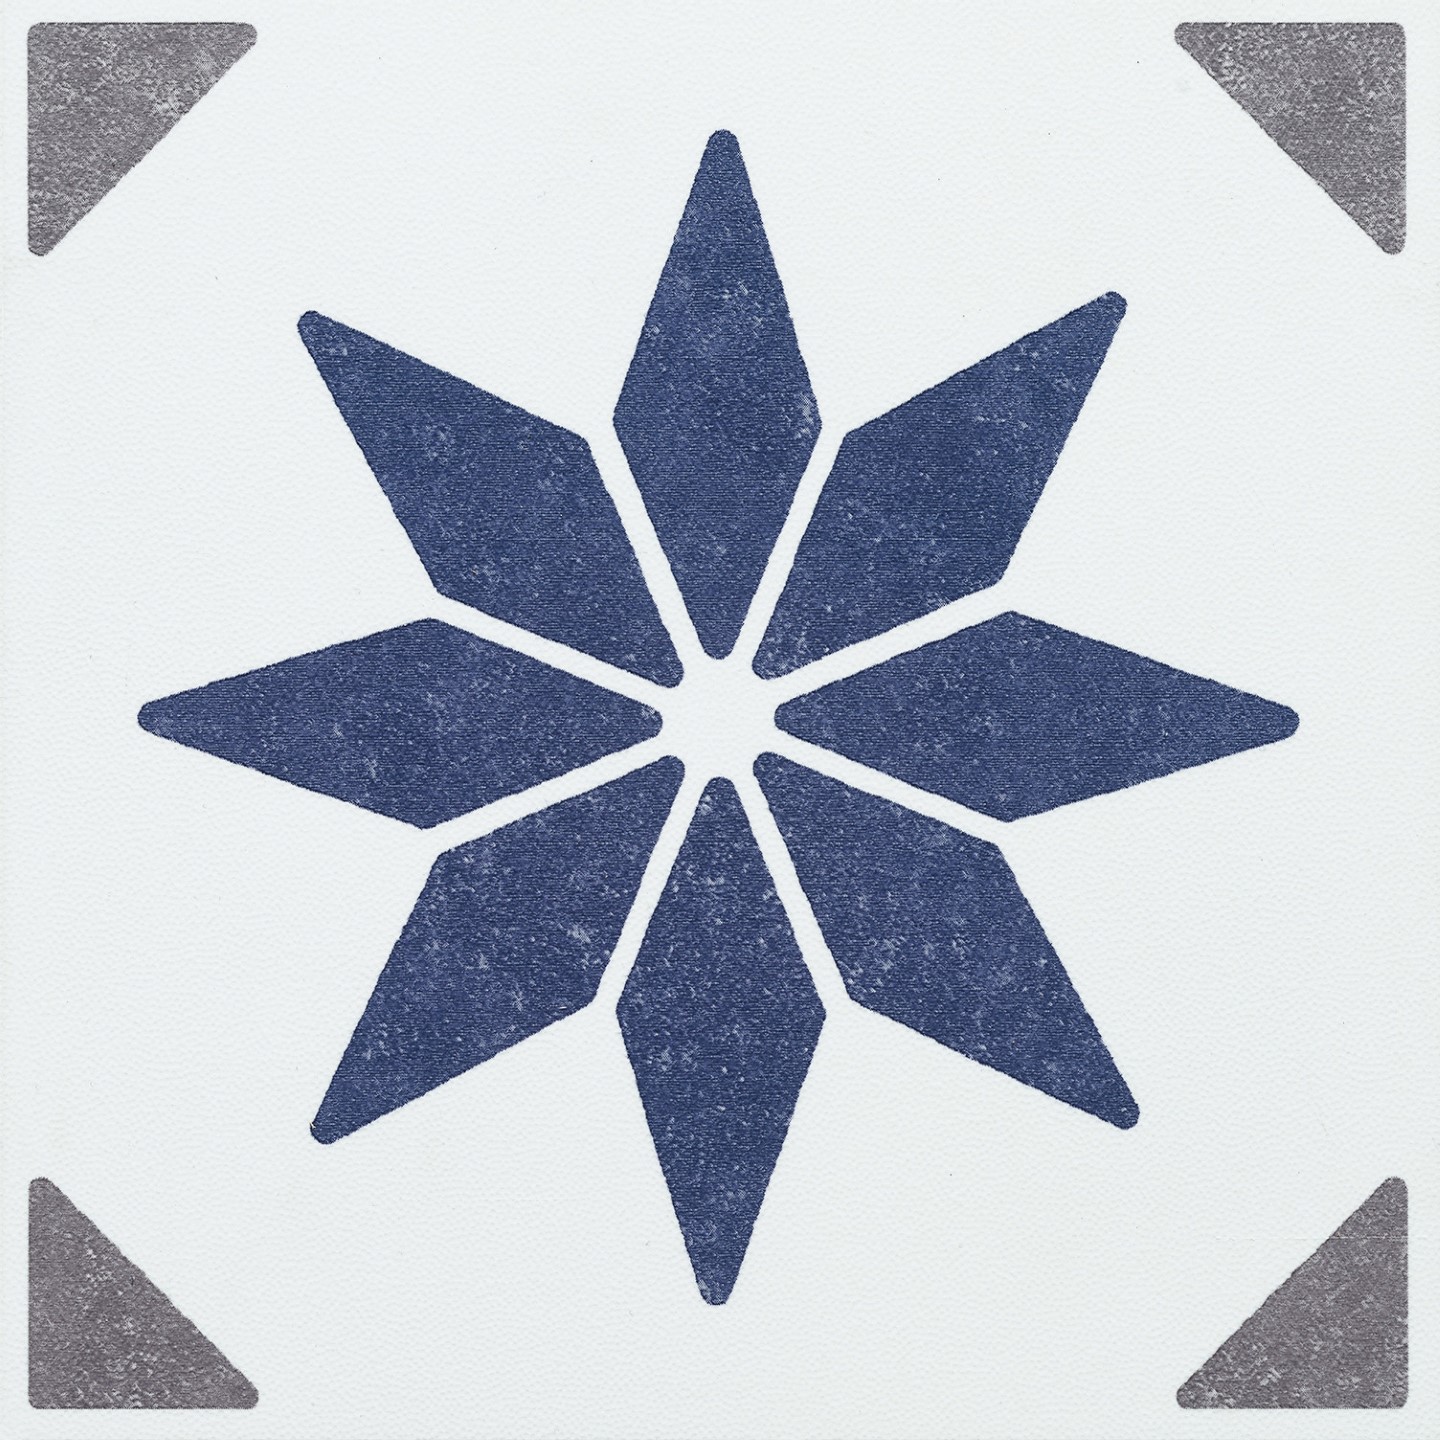
Alia blue |
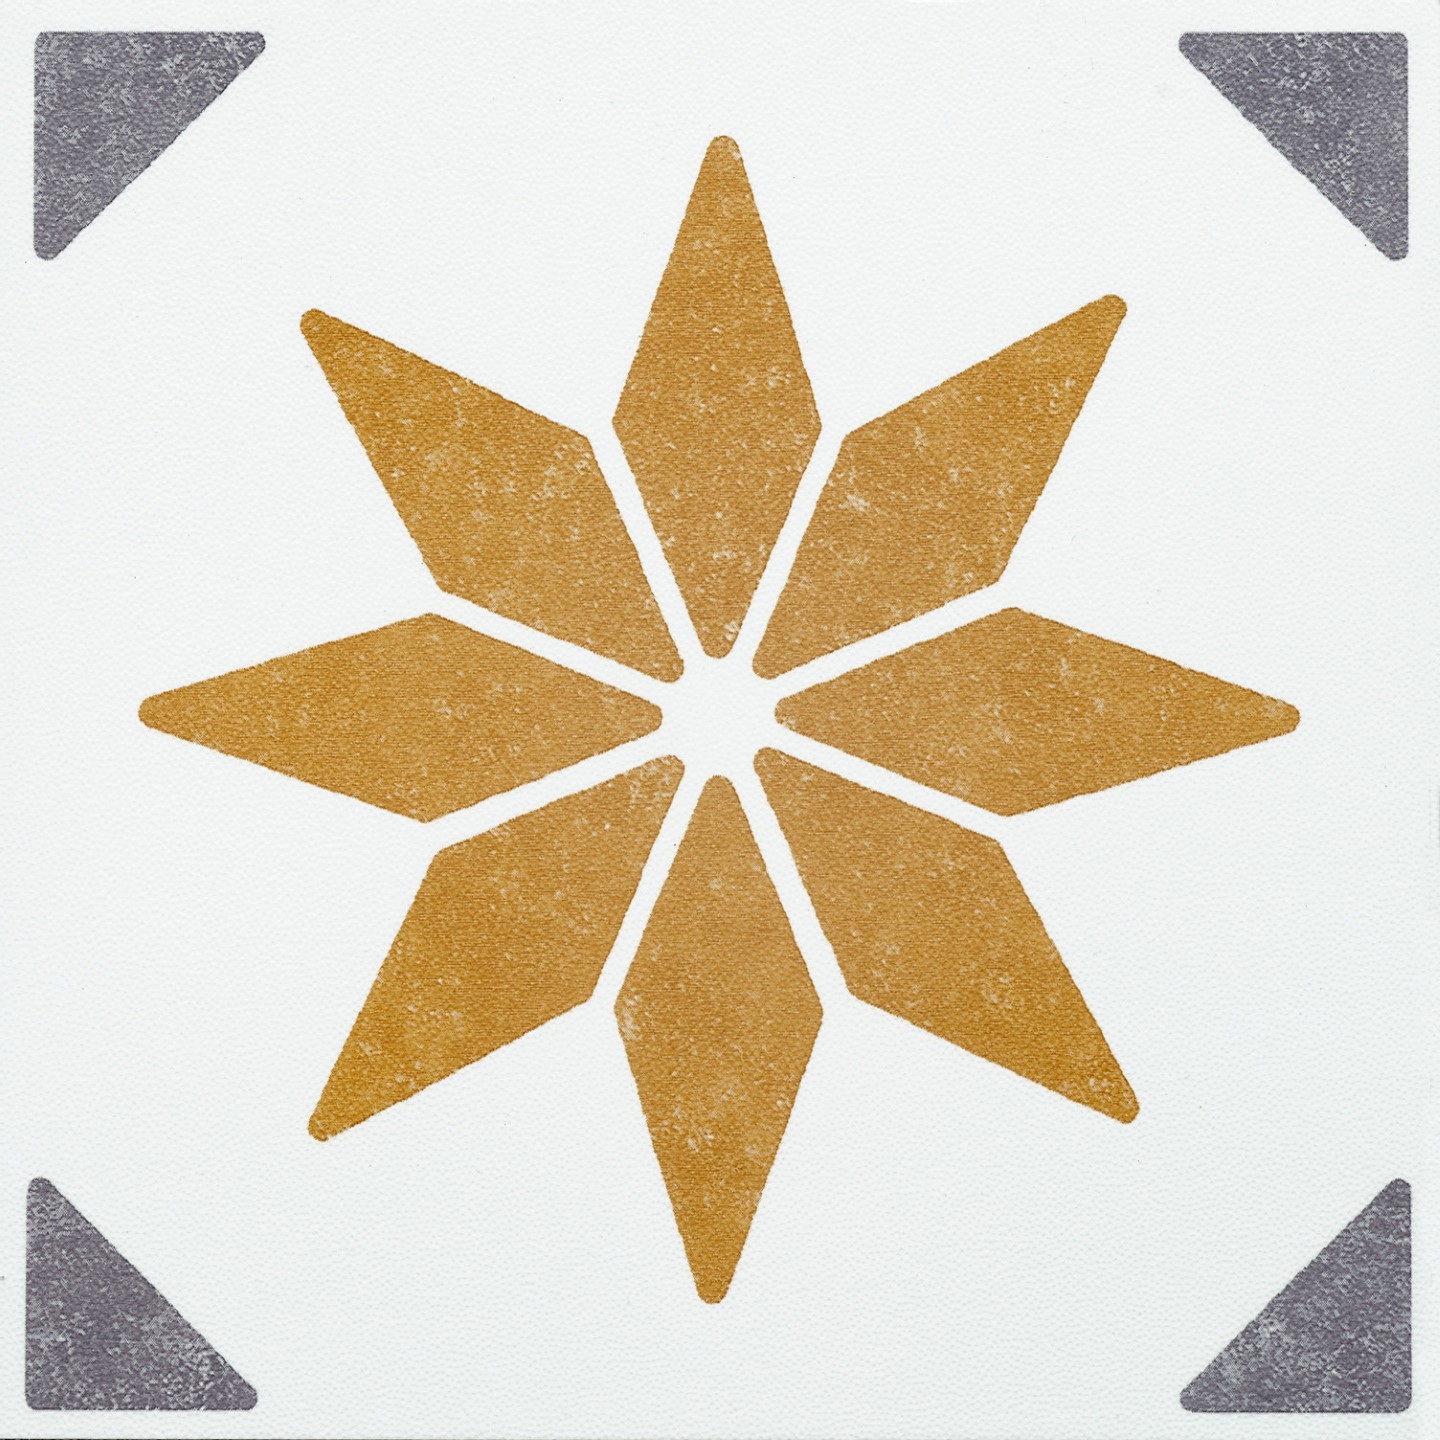
Alia gold |
Alia sage green |
Nadia gold |
Nadia sage green |
Nadia blue |
Lina Beige |
Lina grey |
Amira grey |
Jamila grey |
Jamila gold |
Jamila blue |
Jamila sage green |
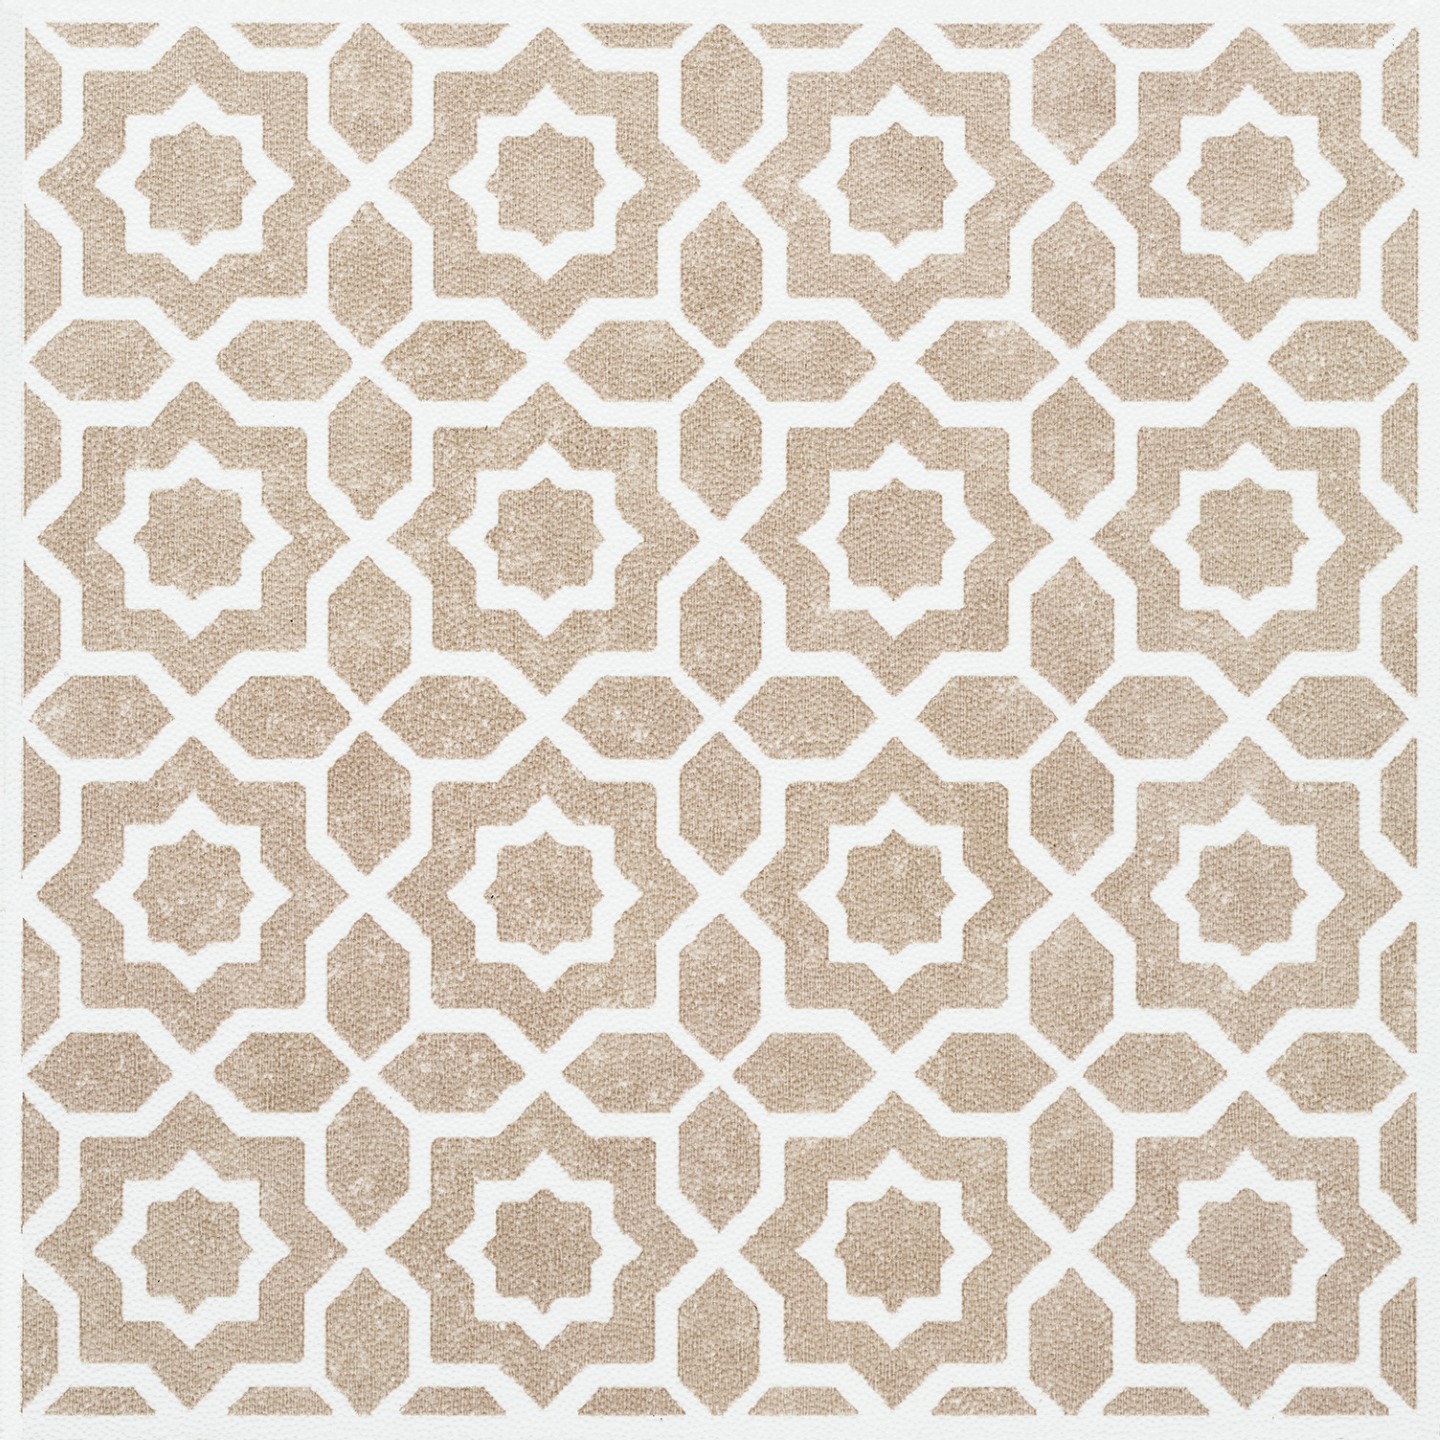
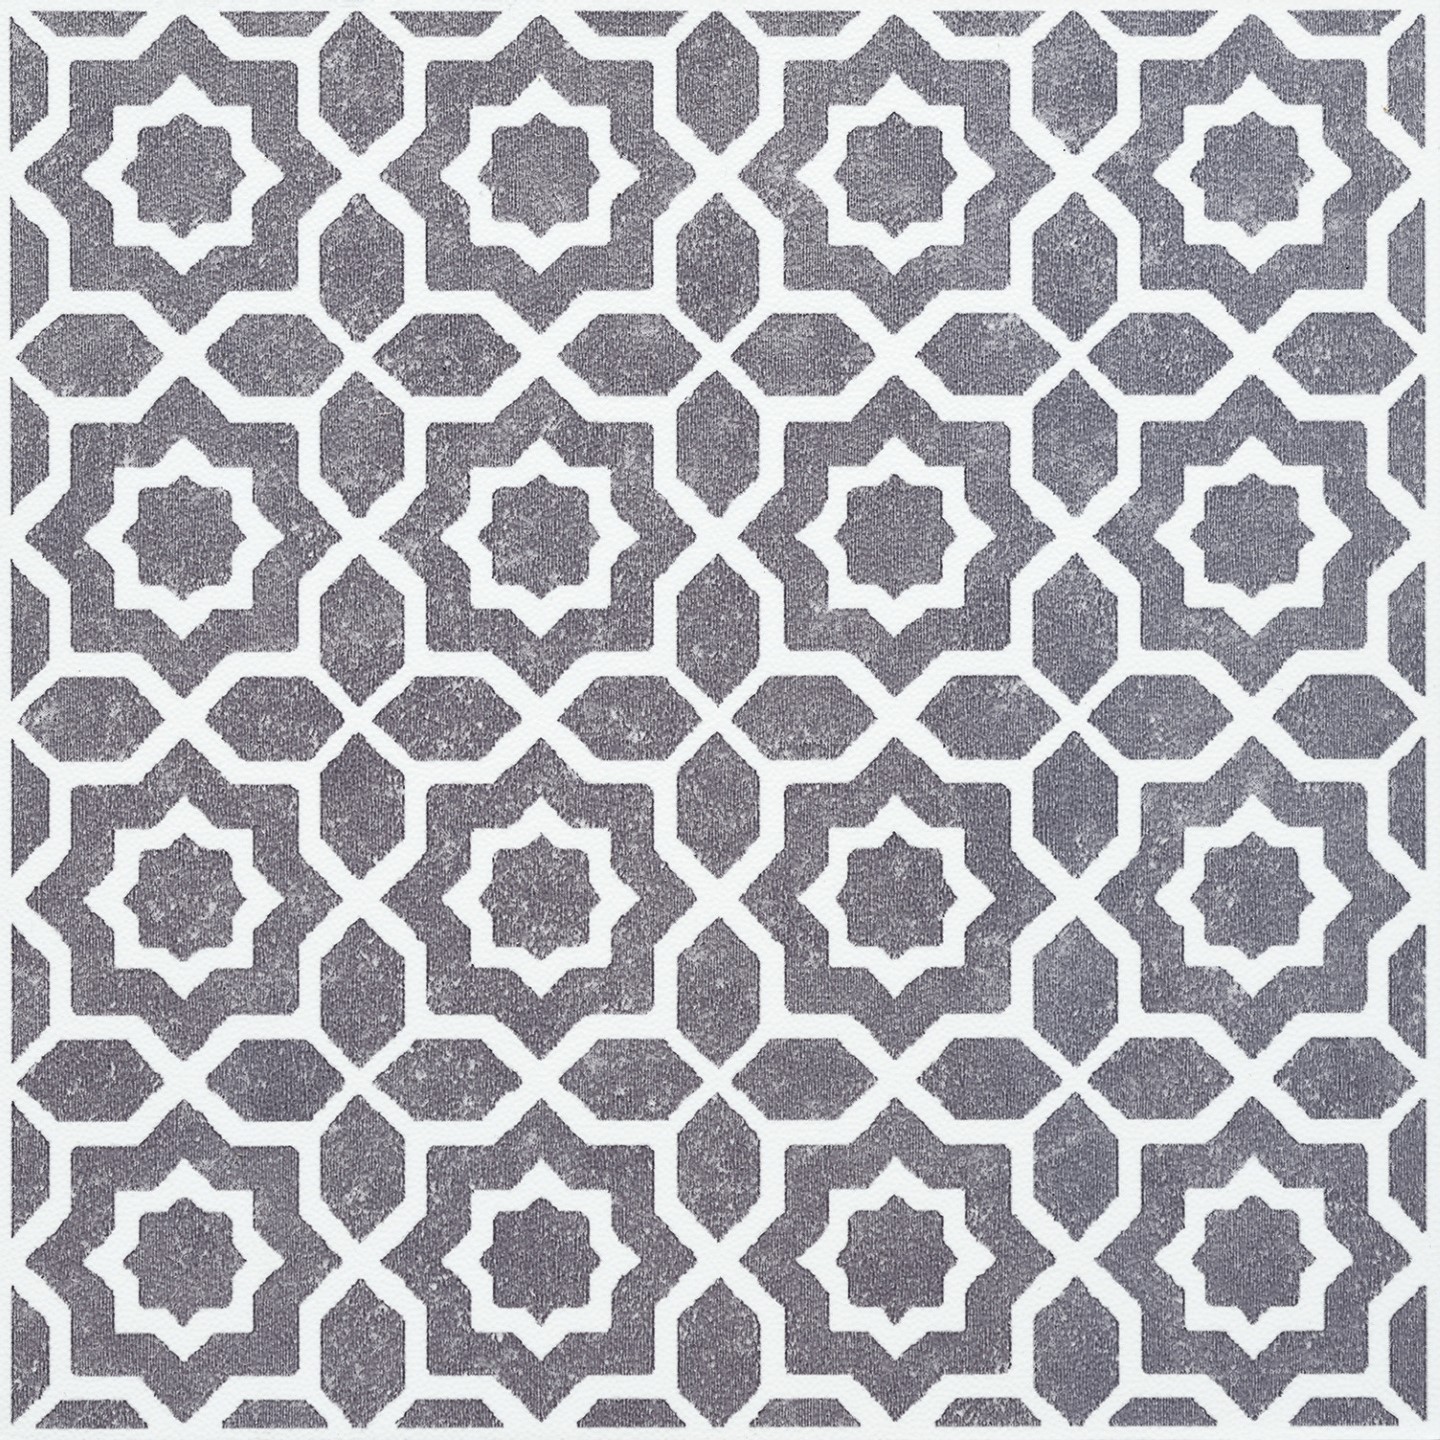
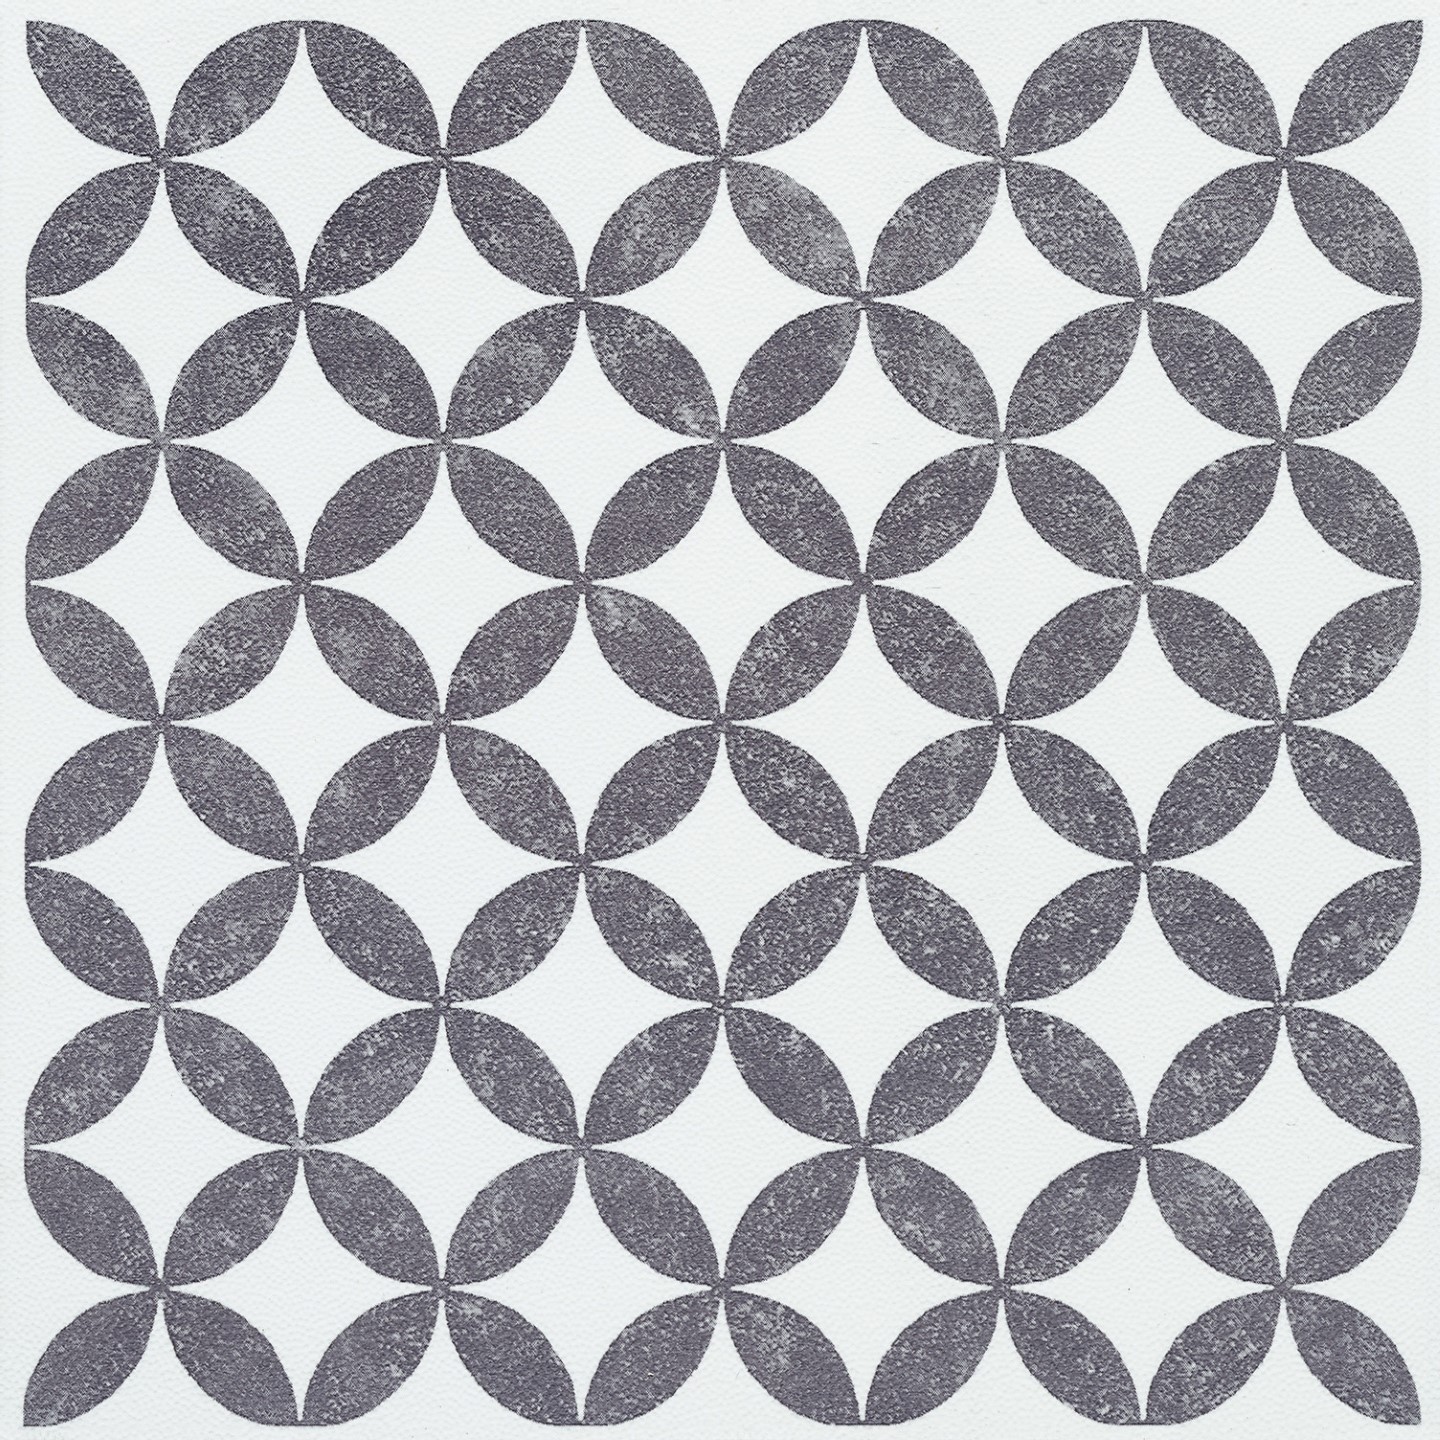
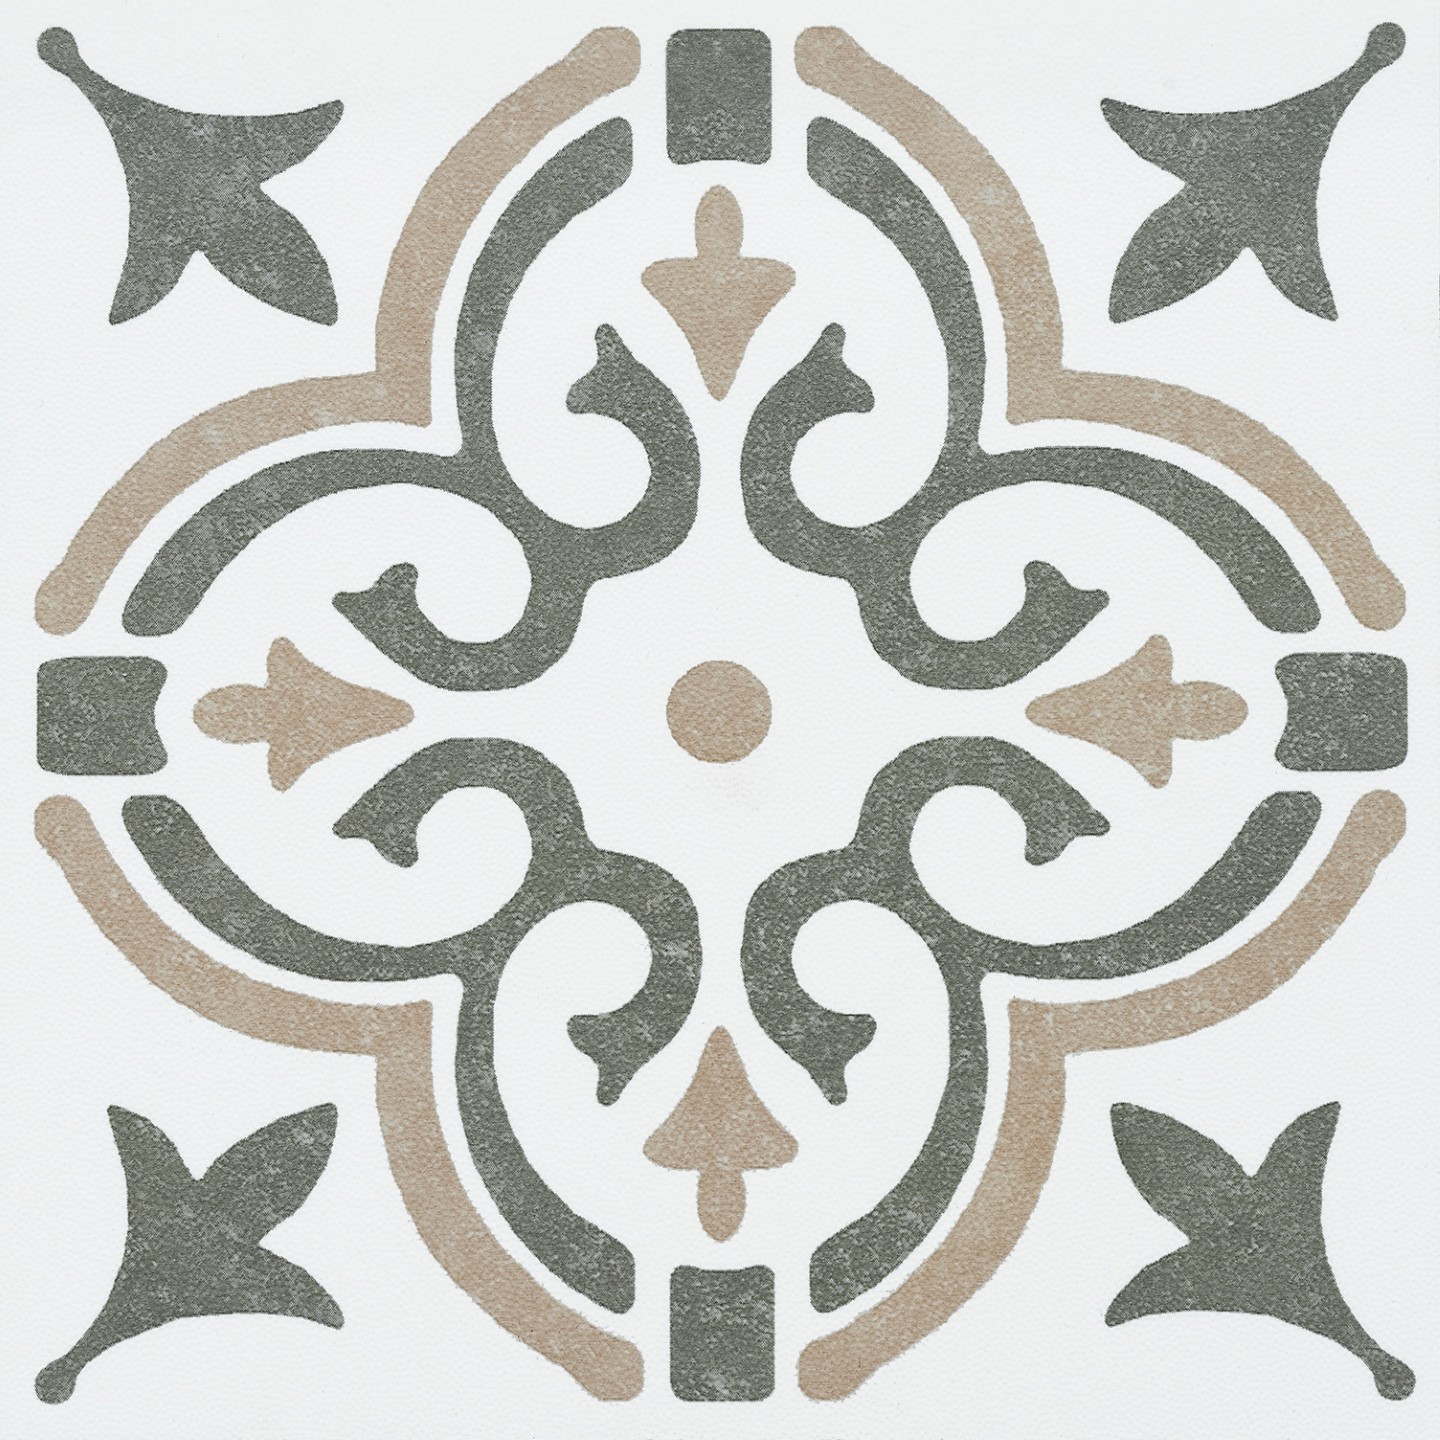
d-c-fix® 30.5cm x 30.5cm wall tiles in all colors and designs
With attractive modern designs inspired by current home trends, d-c-fix® Self-Adhesive Wall Tiles are the stylish, practical and easy-to-apply solution for renovating or designing walls that are subject to wear and tear. Create a splash back panel in a bathroom around sink or bath or make a design statement in the kitchen.
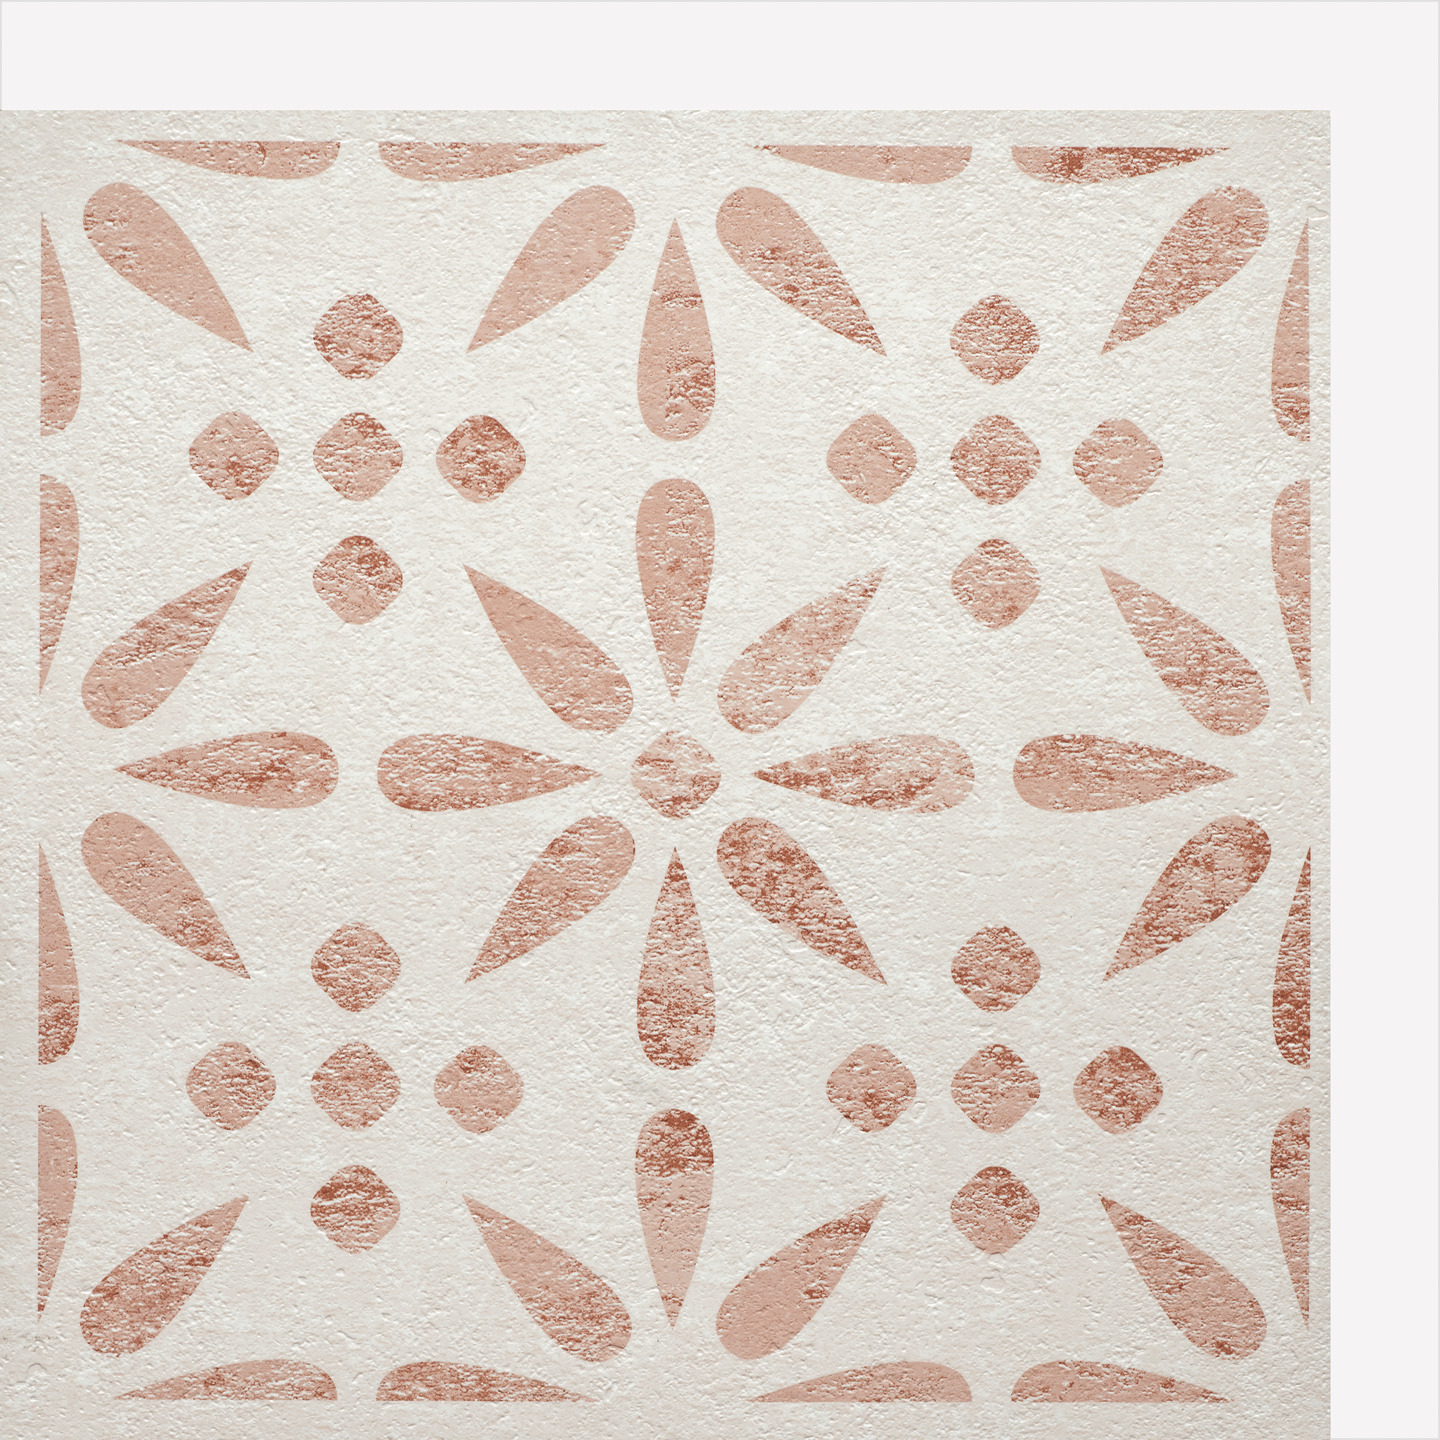
VINTAGE FLOWERS |
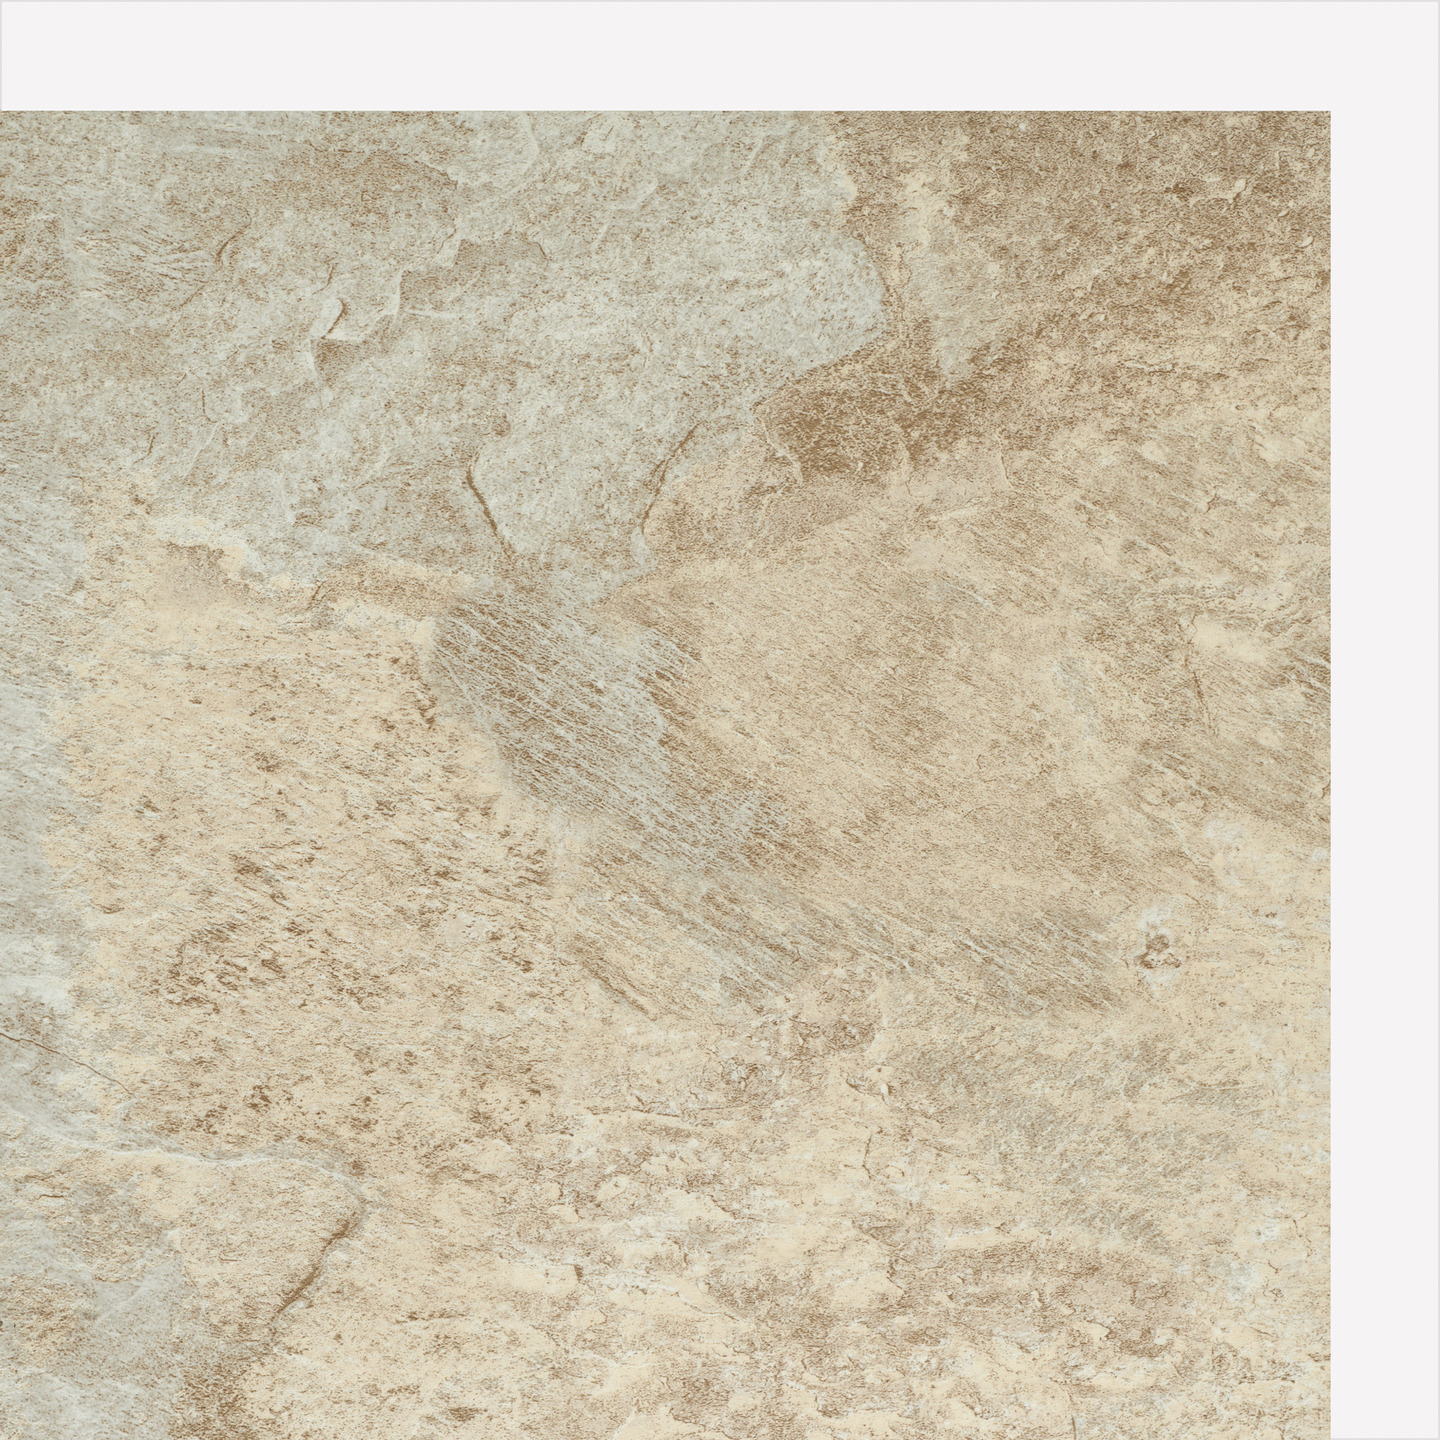
LIGHT SLATE |
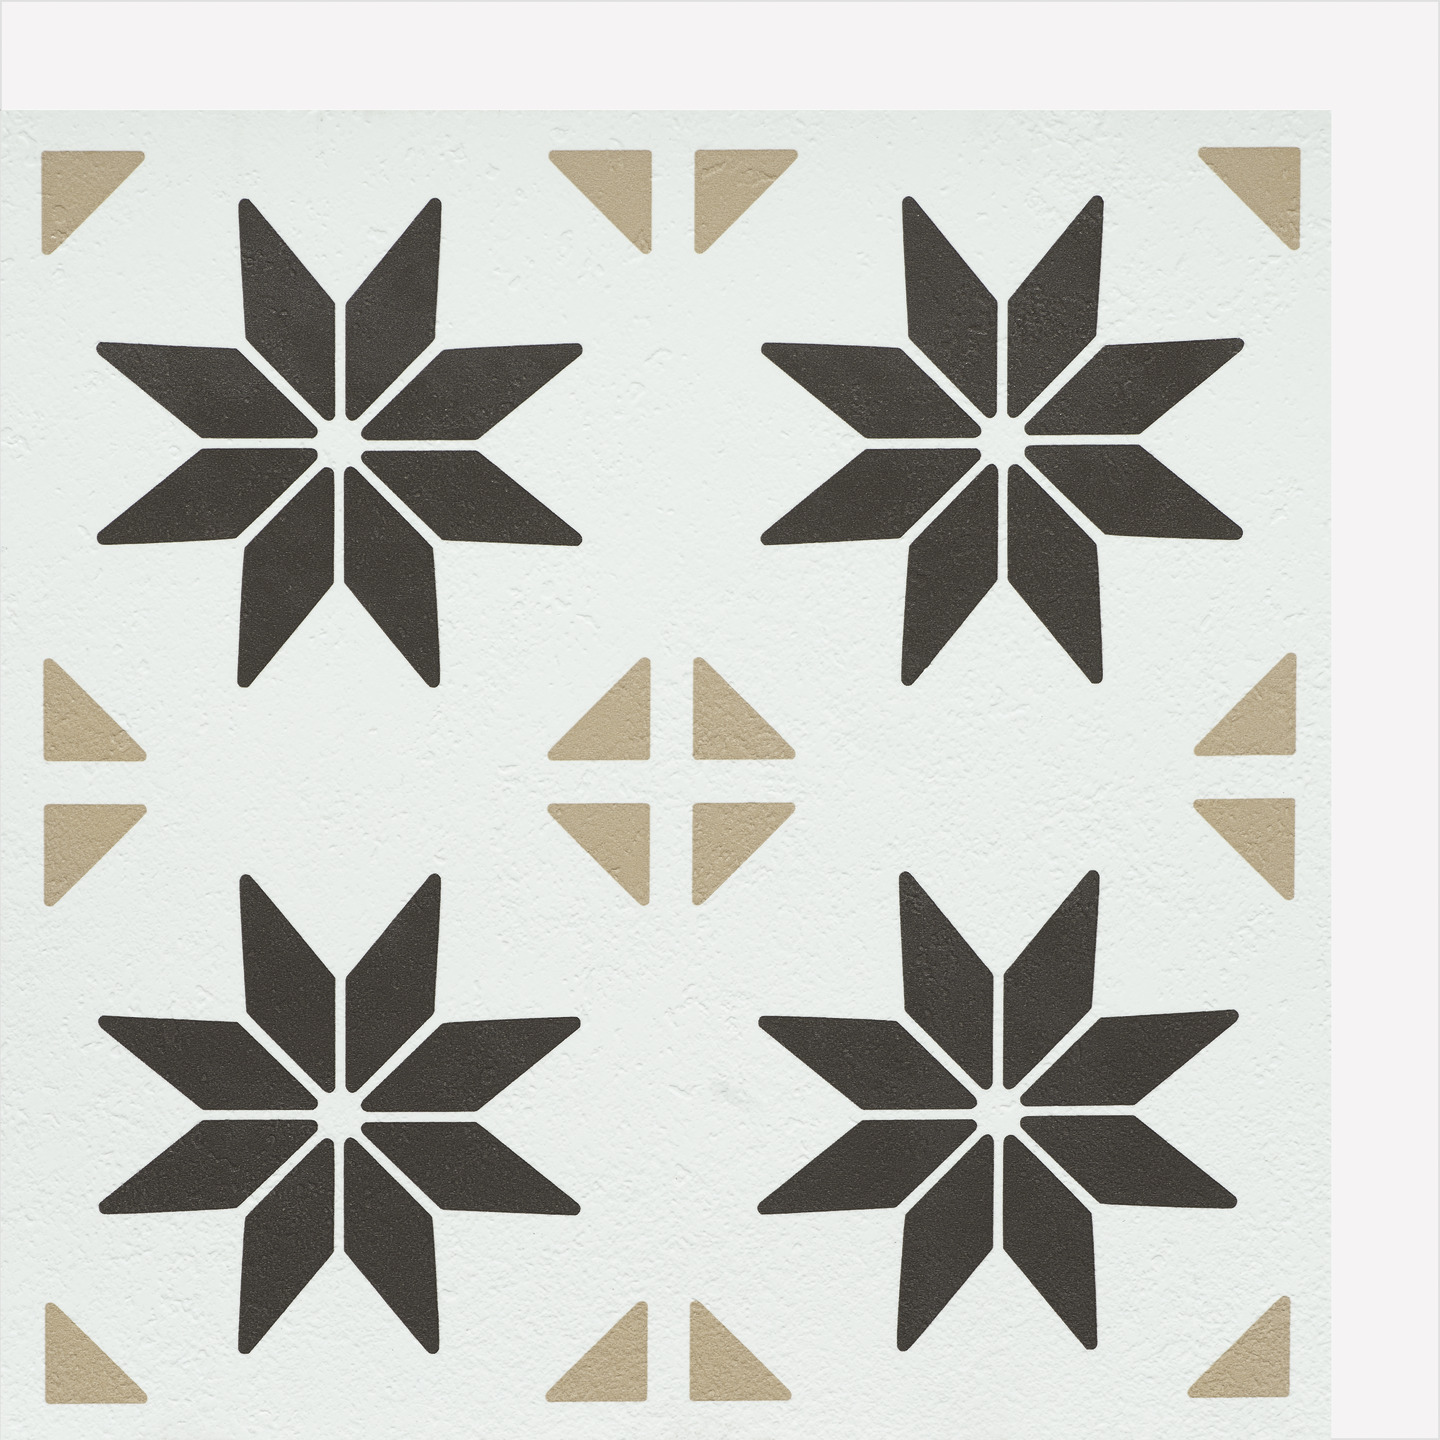
VIVID STARS |
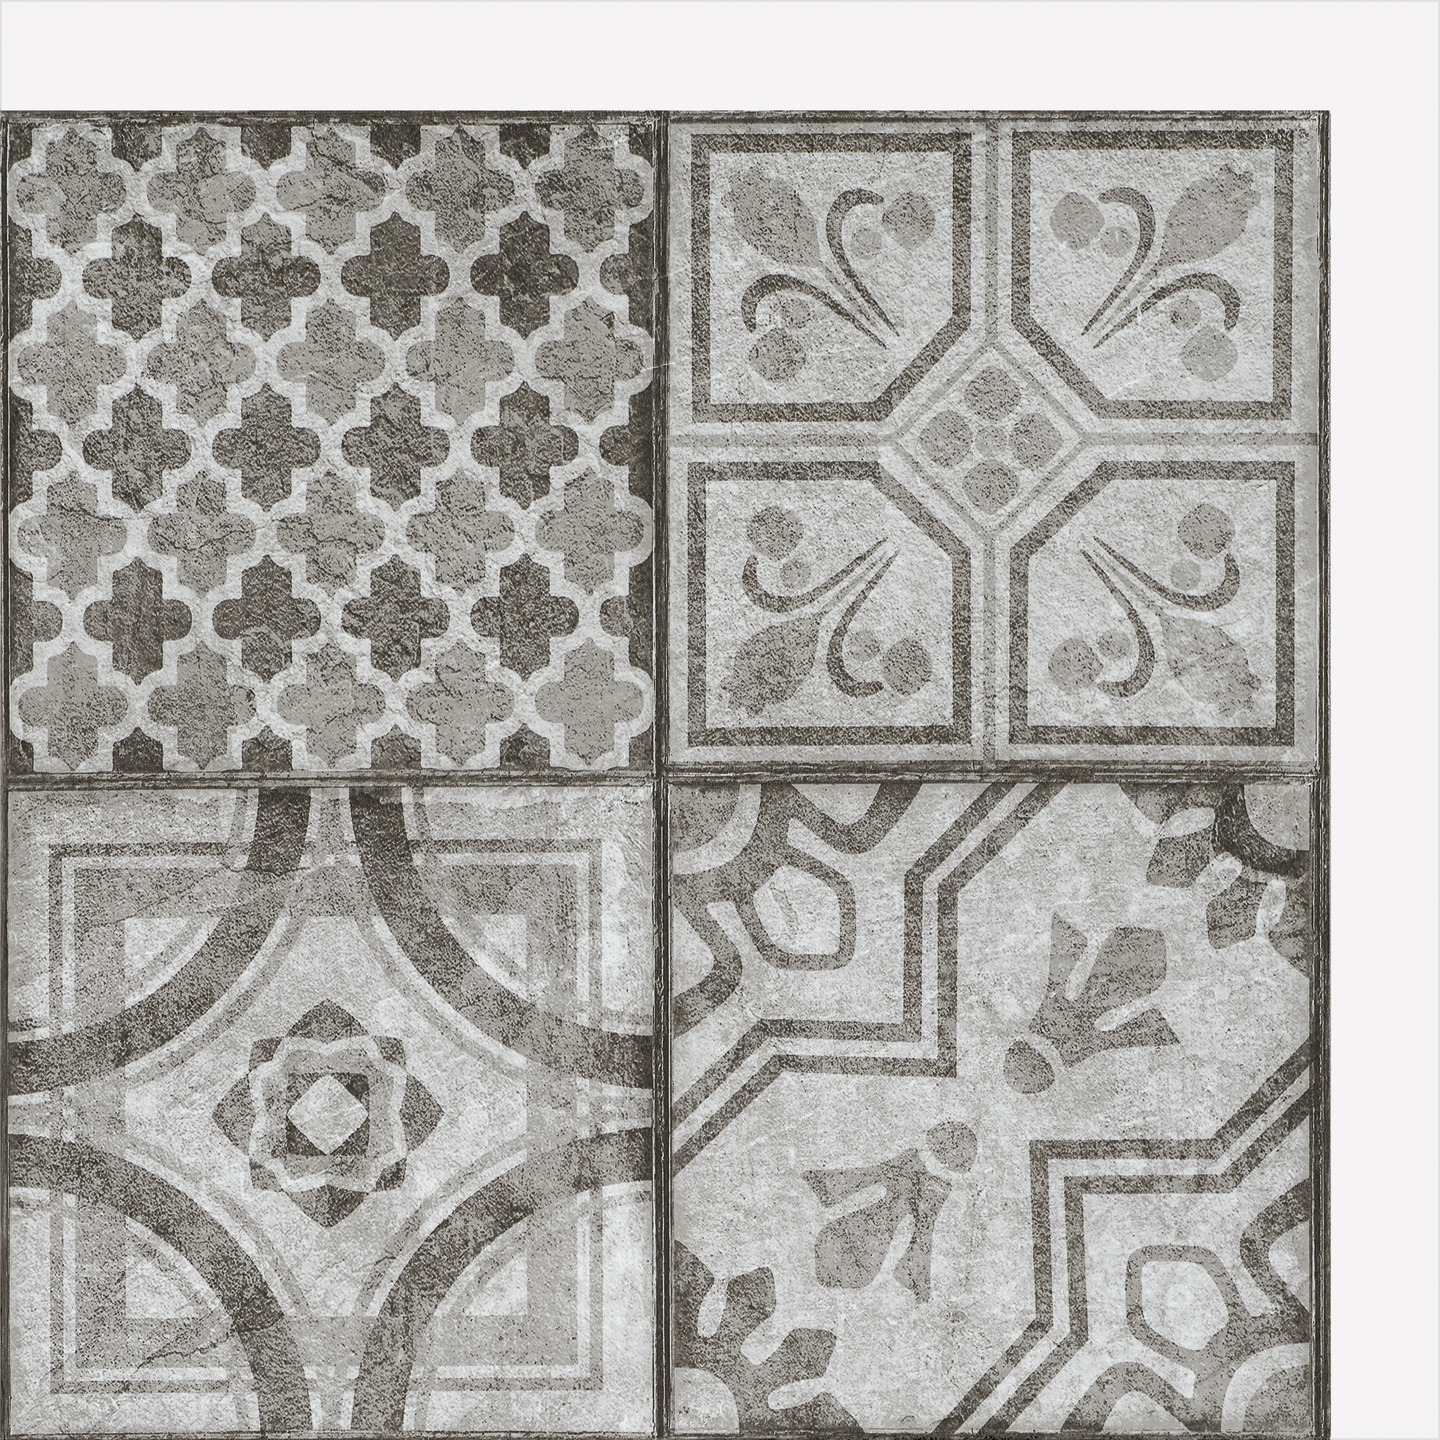
MOROCCAN STYLE |
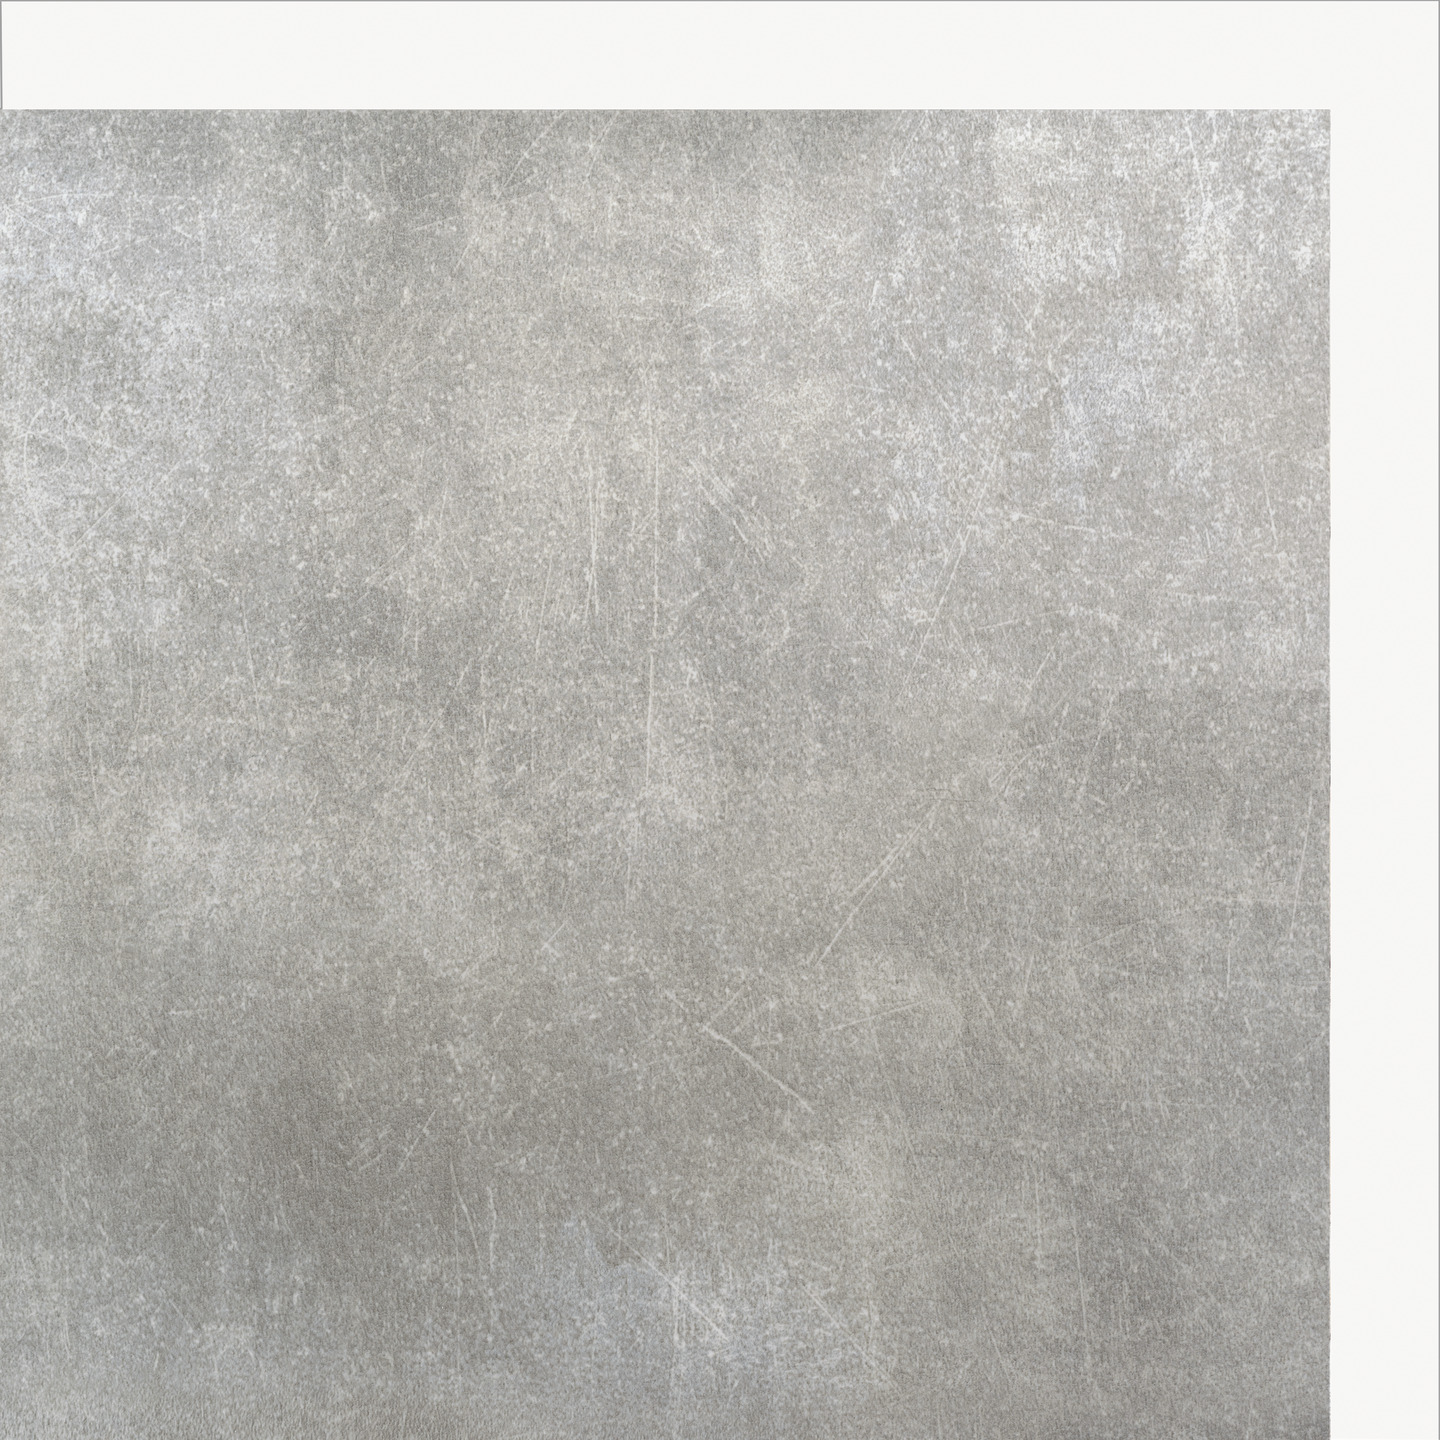
Solid Concrete |
Oriental Tiles |
VINTAGE STYLE |
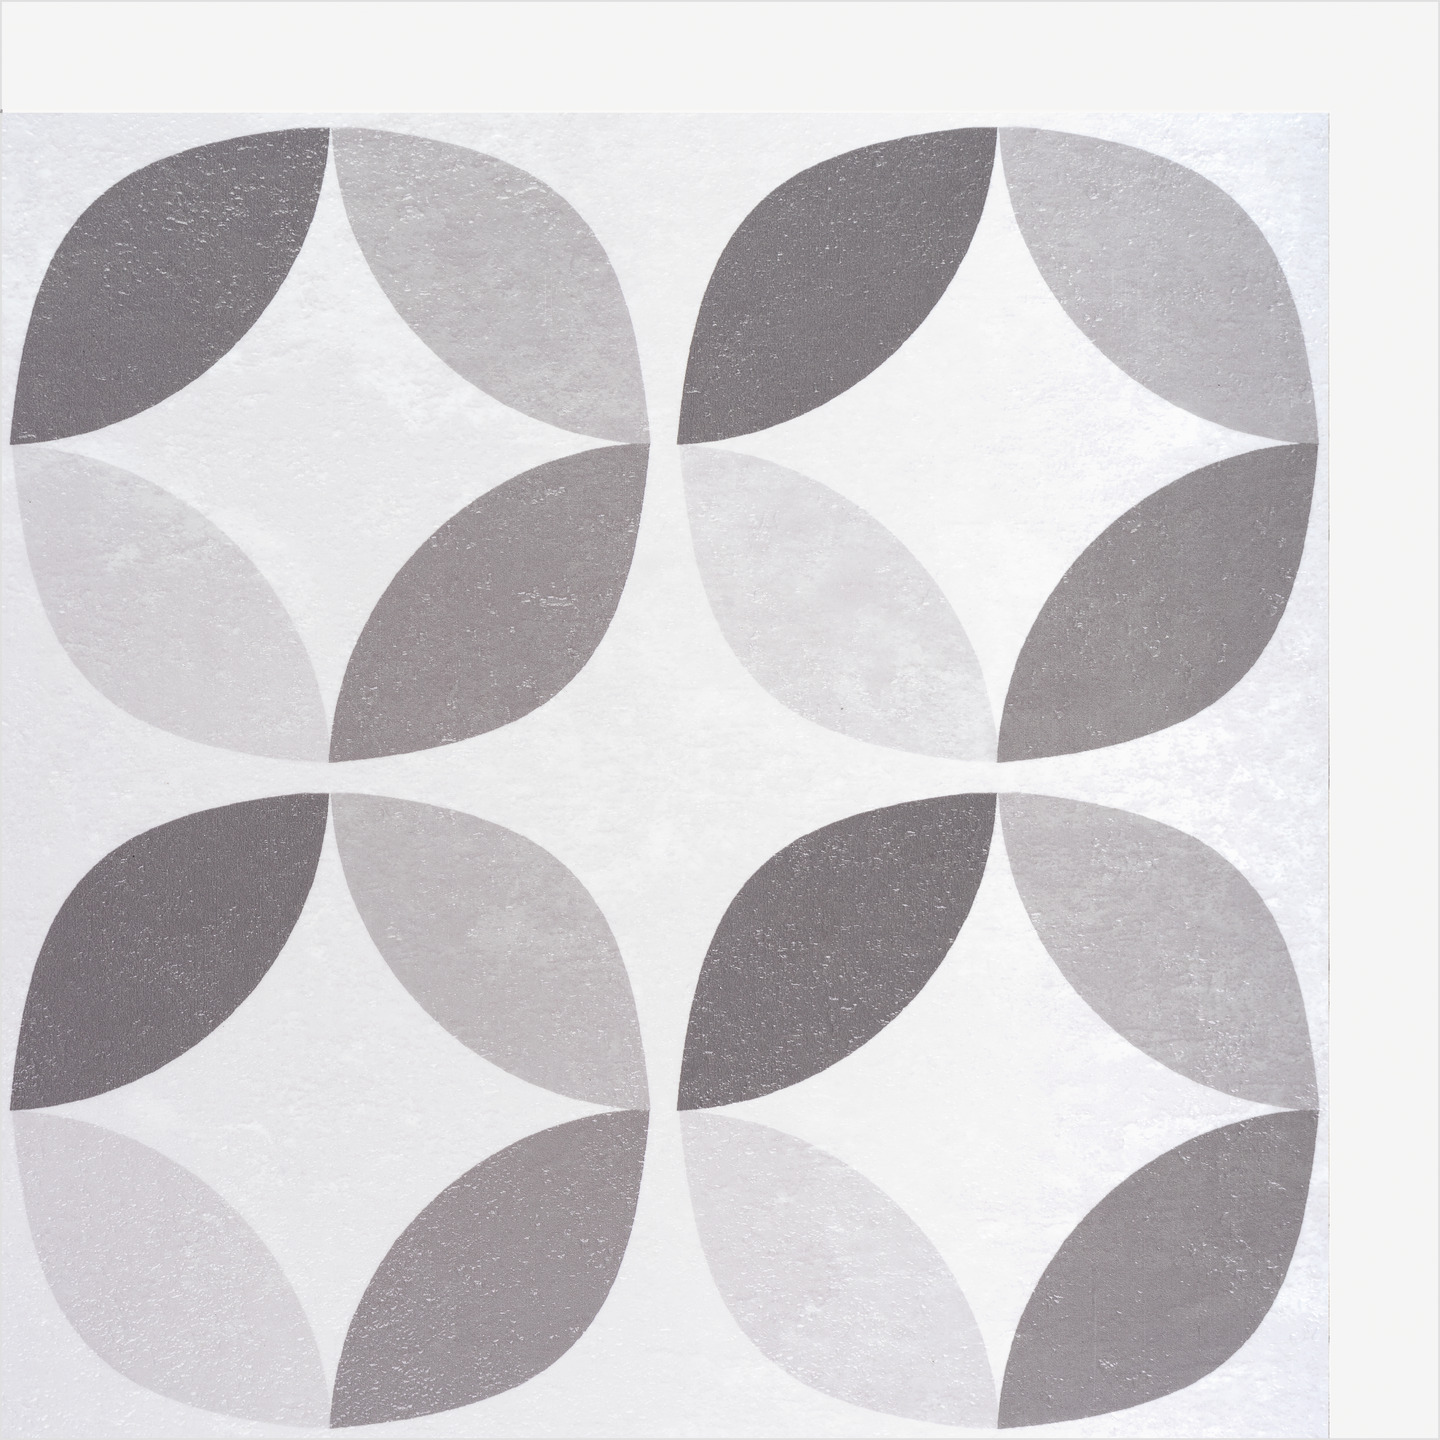
Geometric Style |
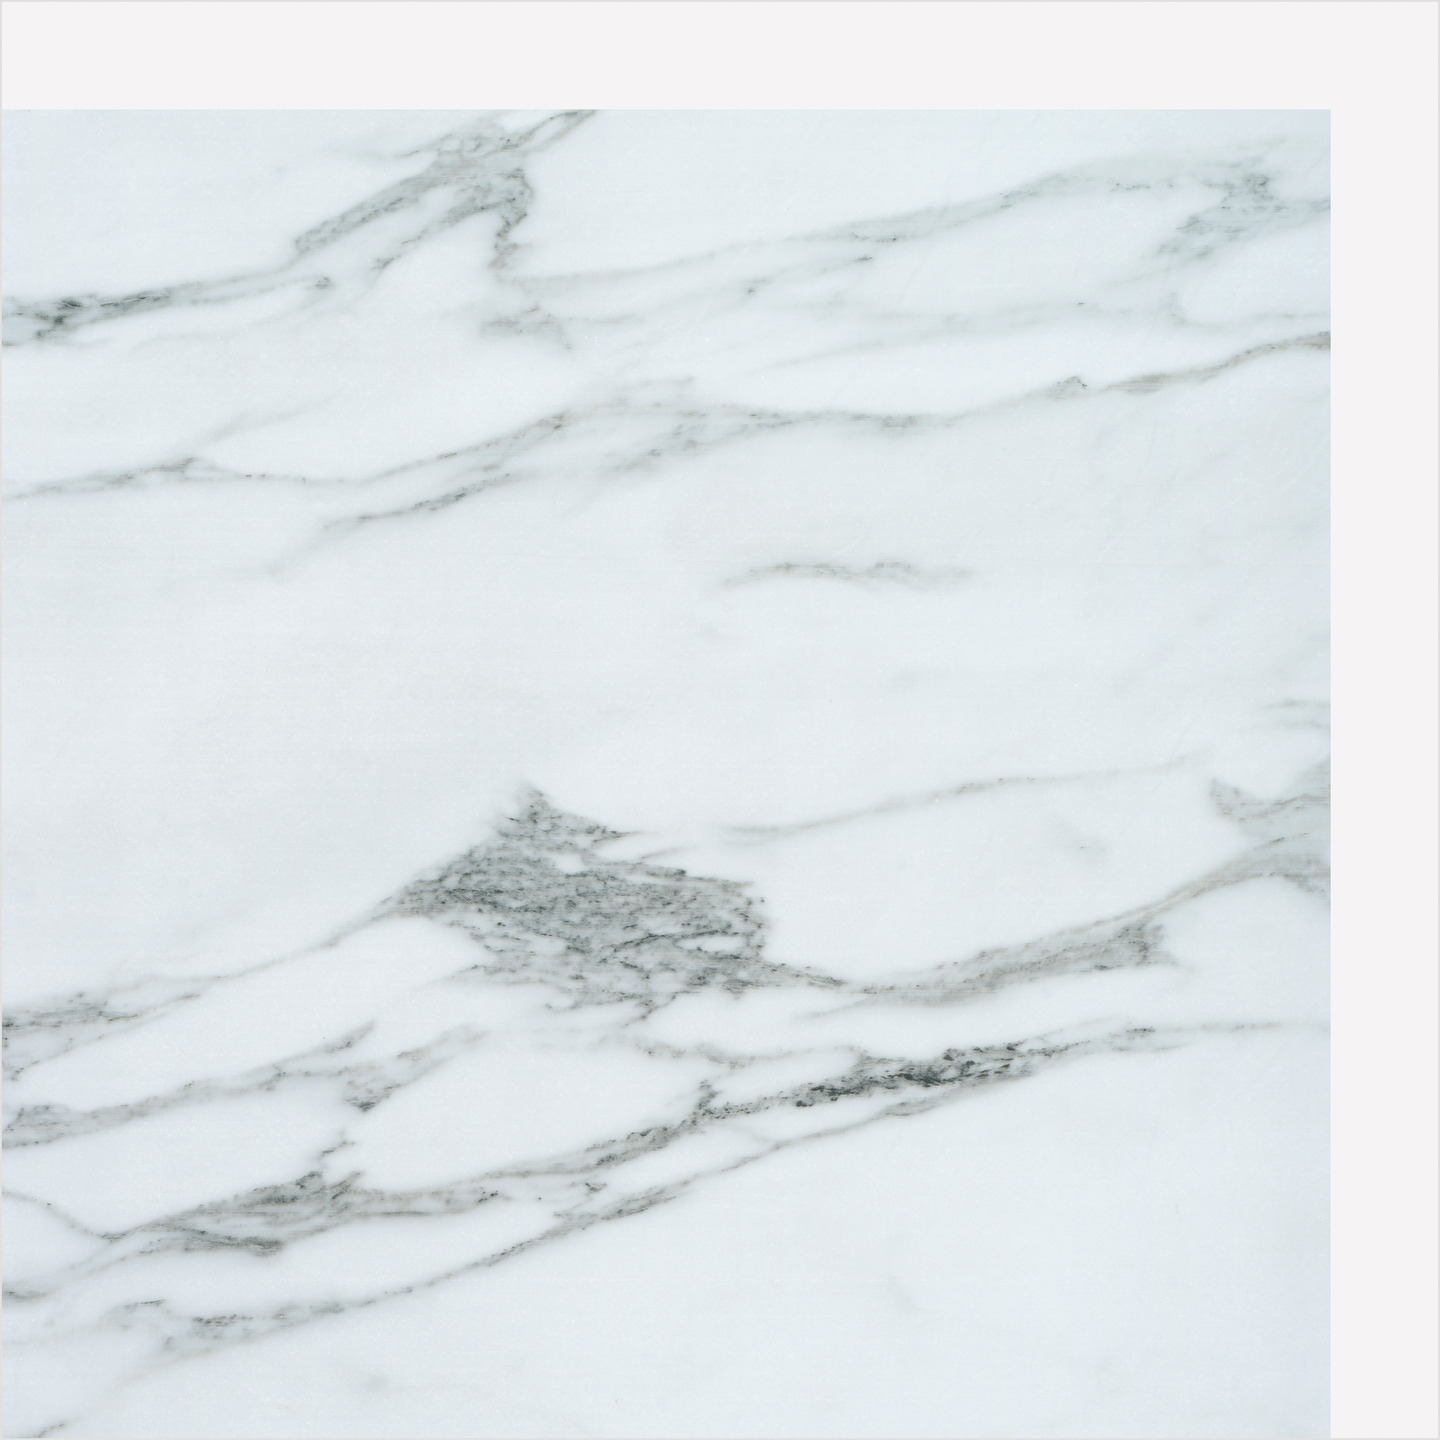
Premium Marble |
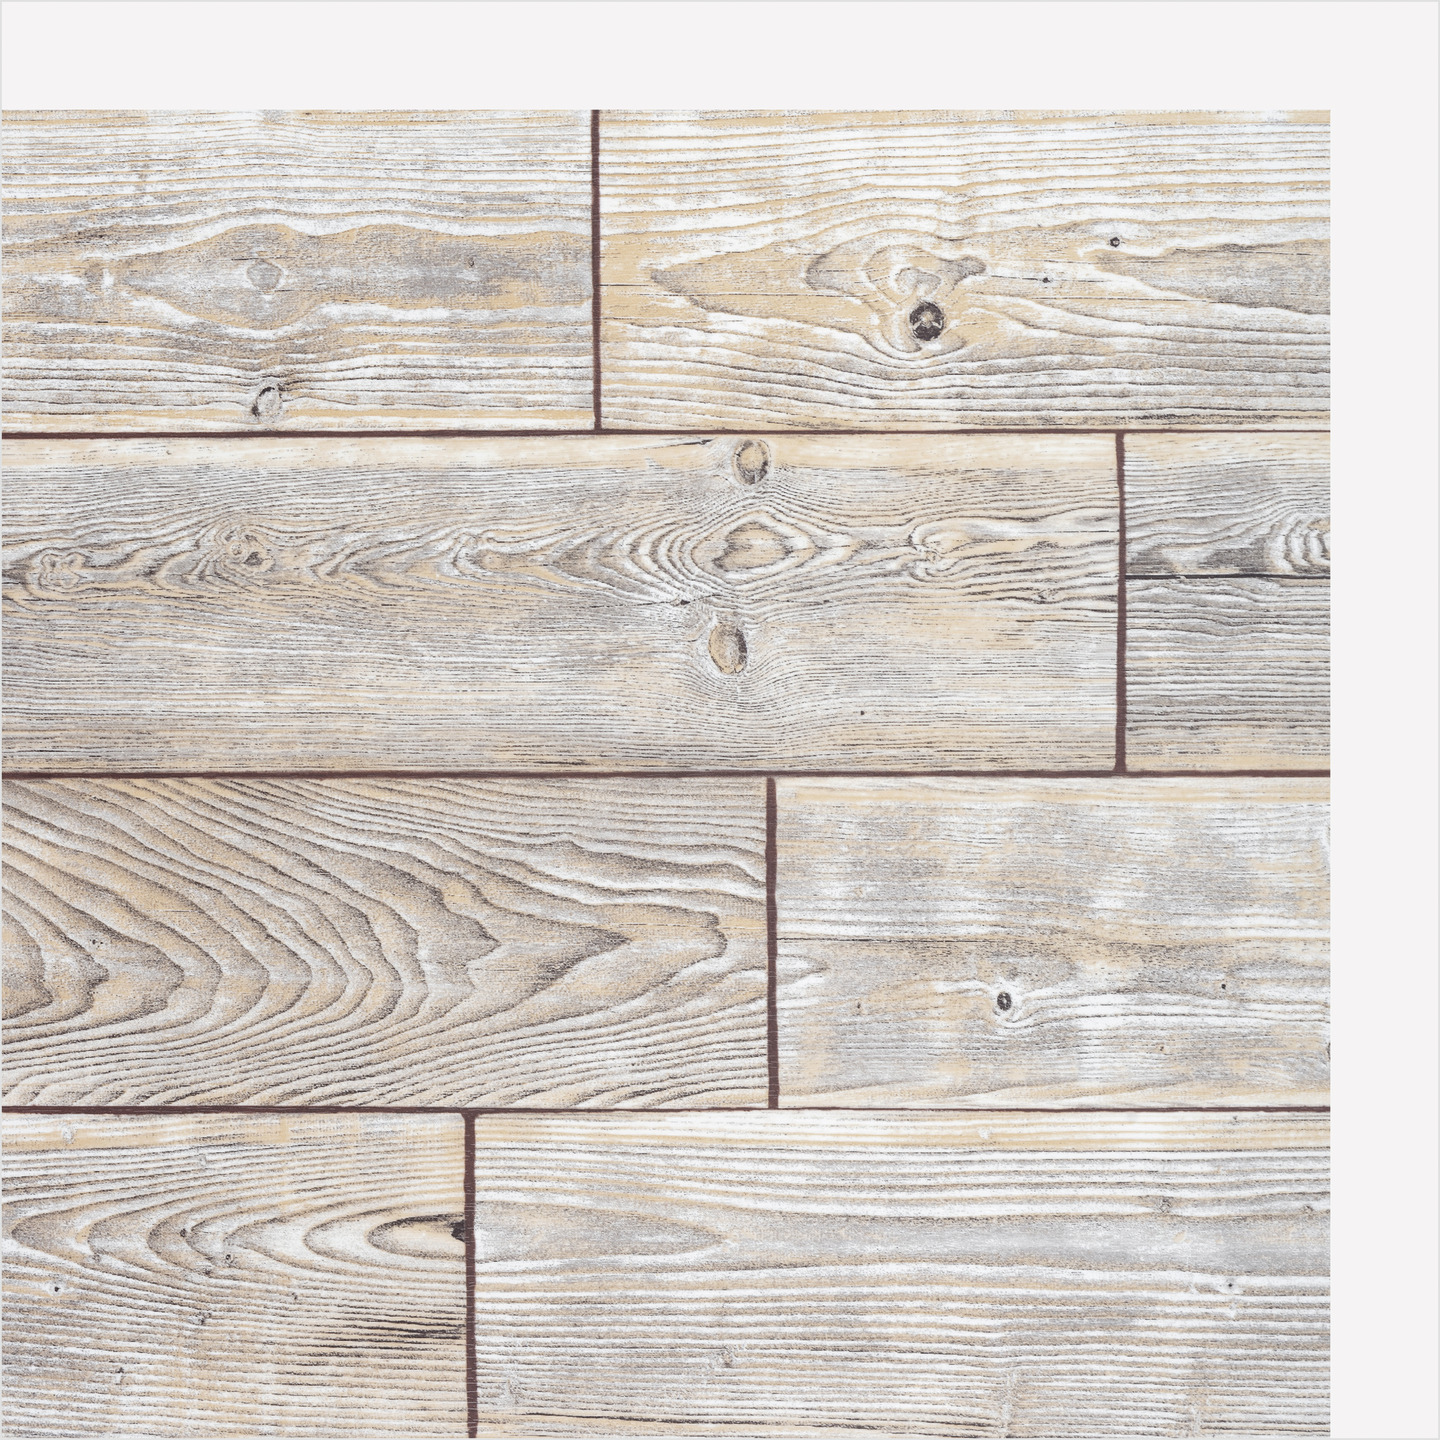
Rustic Oak |