You will need …


Enter the search term and press "ENTER" .
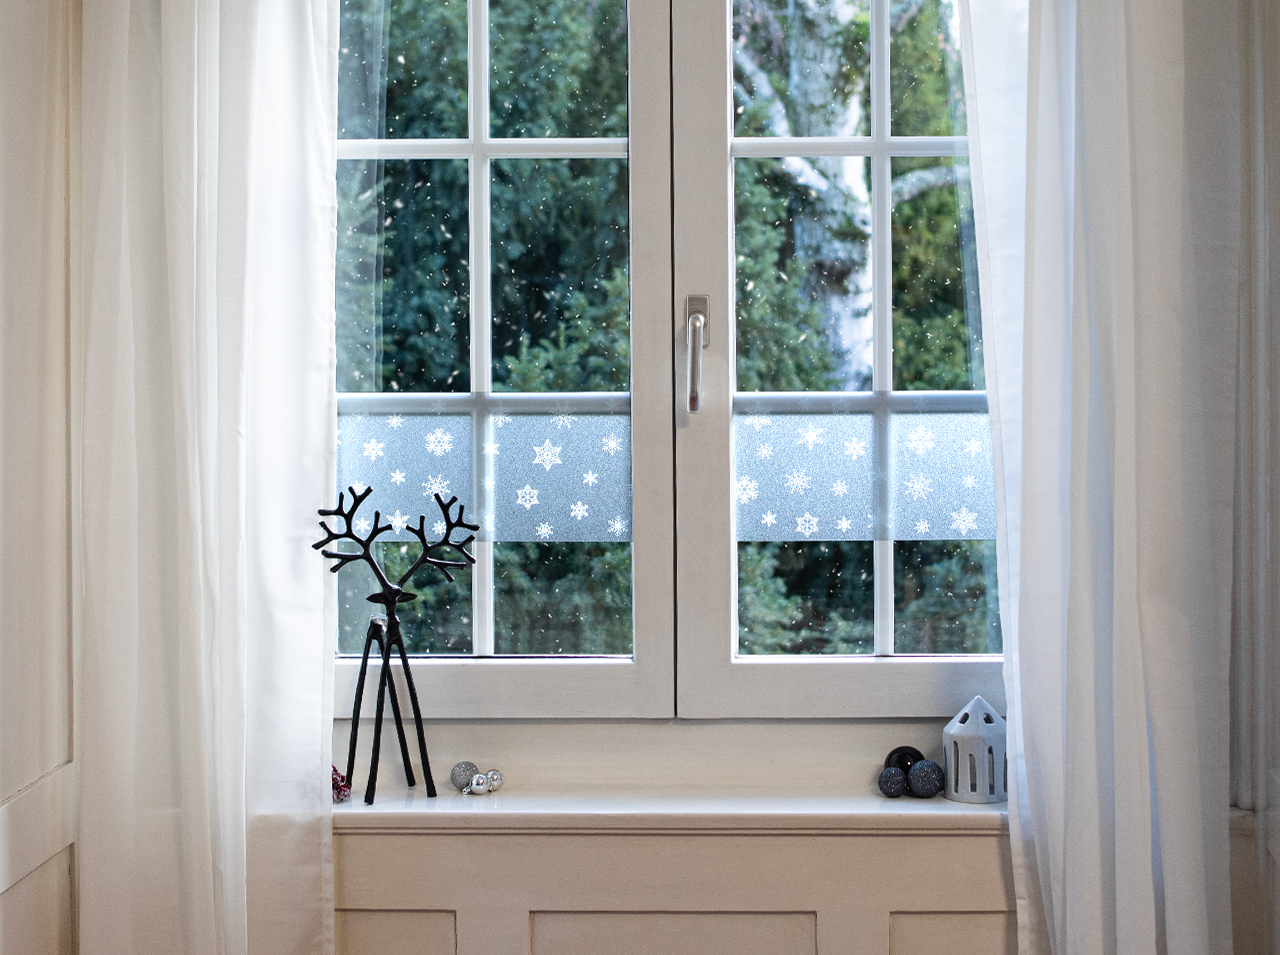
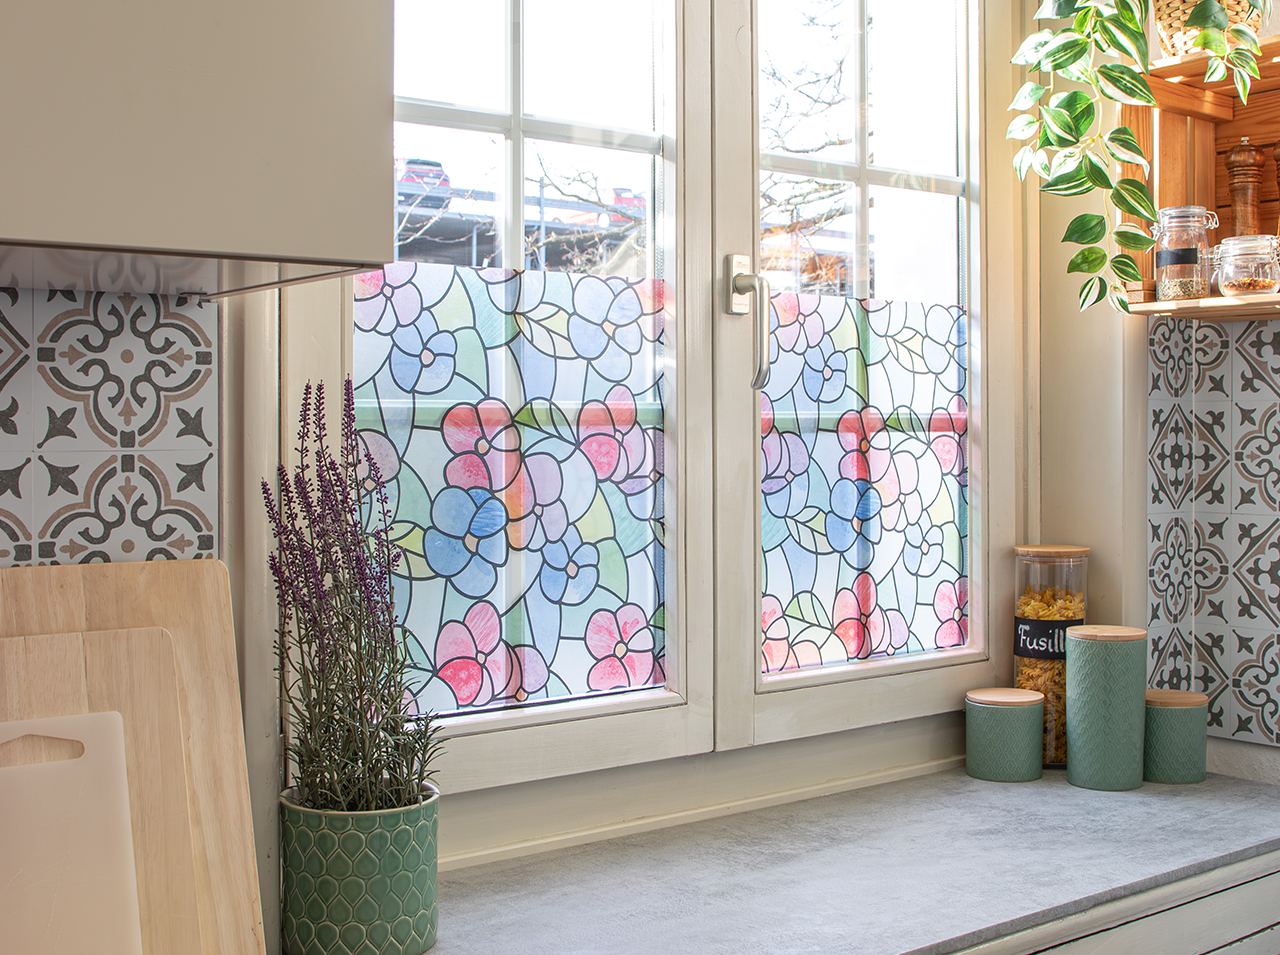
Gentle snowy magic for your windows
Project from Chris - 0 CommentsCan’t quite get into the Christmas mood because you haven’t found much time for decorations due to all the everyday stress? Well, you’re not alone in that. But no worries, we have some great clever tricks for easily and quickly bringing that Christmas spirit into your home with winter decorations. With the d-c-fix® Winter Border glass foil, you can quickly and easily decorate your windows, for example, with thick and fine snowflakes in white.
The window border with dancing snowflakes will perfectly accompany you through the contemplative Christmas and winter season!
- d-c-fix® Winter Border
- d-c-fix® application kit with scraper and utility knife
- Spray bottle with water
- Ruler
- Measuring tape
- Pencil
- Cloth
Let’s go!
Start the tutorial for the window decoration with snowflakes now!
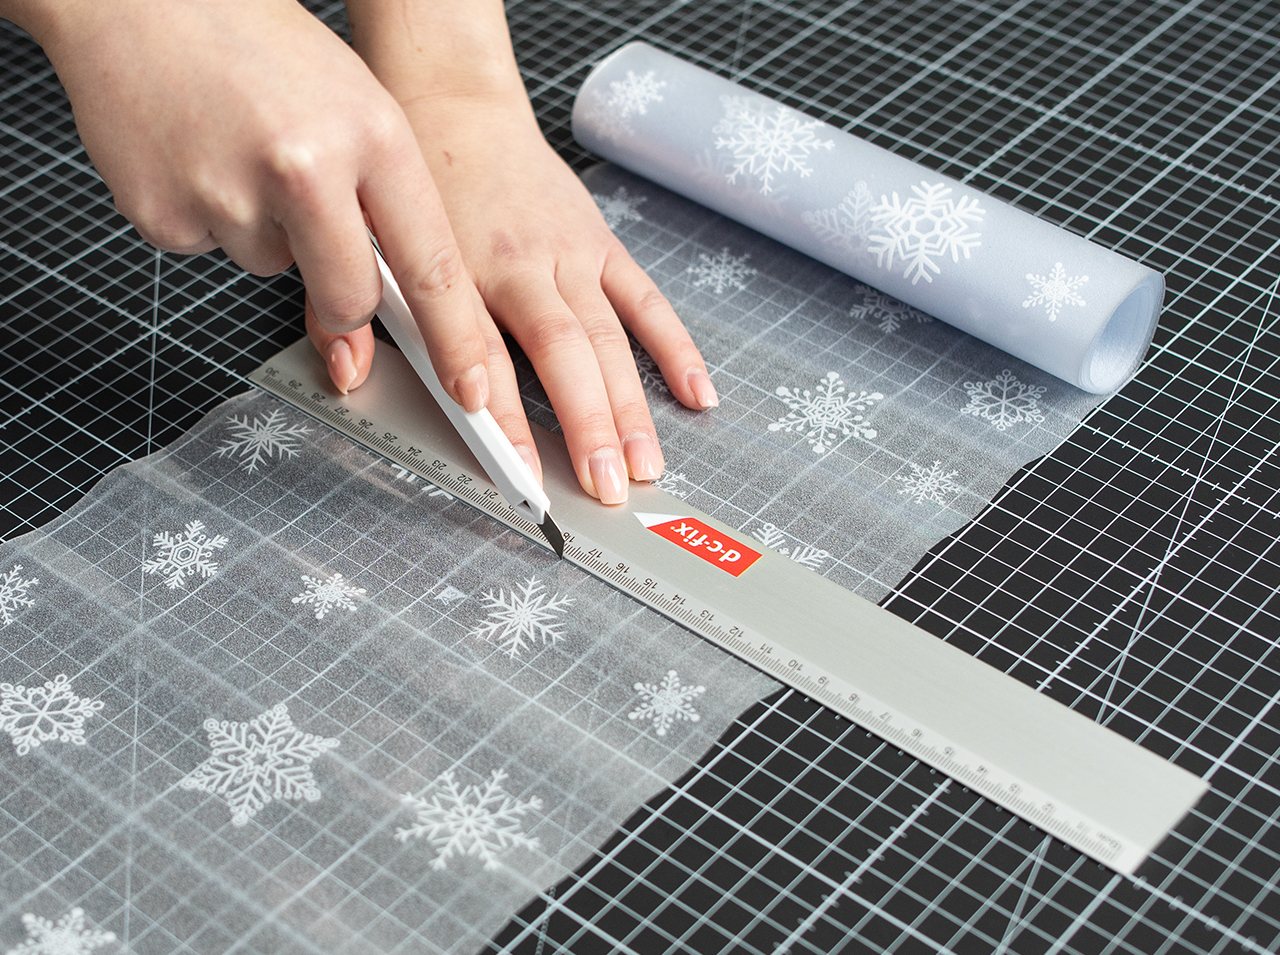 Step 1
Measure the dimensions of the glass area to be decorated with the window foil. Cut the Winter Border accordingly with the utility knife by cutting away an additional 2 mm from the left and right of the foil edge. This will ensure that the foil remains at a sufficient distance from the silicone window joints when applying it.
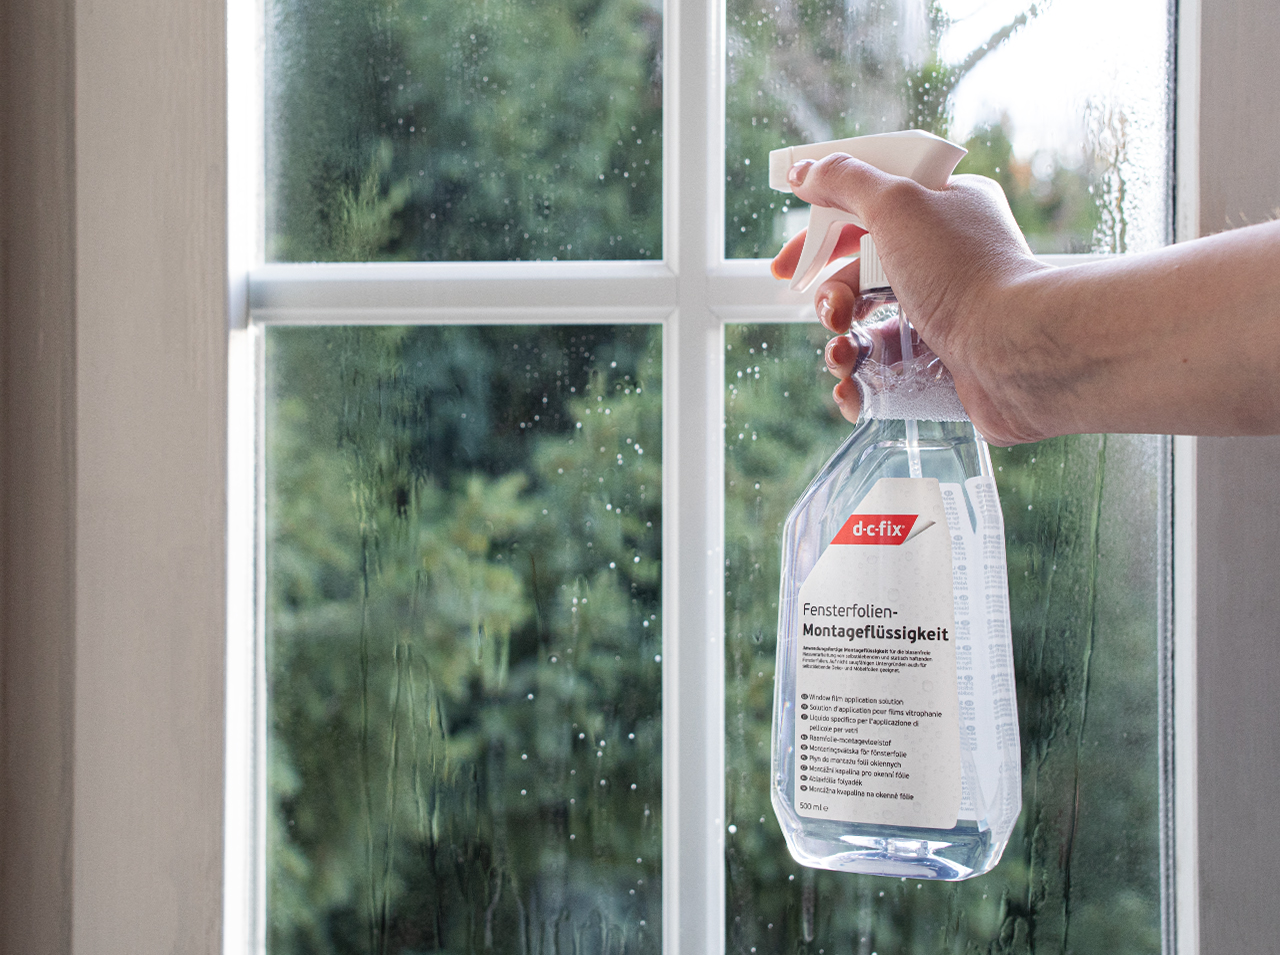 Step 2
Then moisten the thoroughly cleaned window with water from the spray bottle.
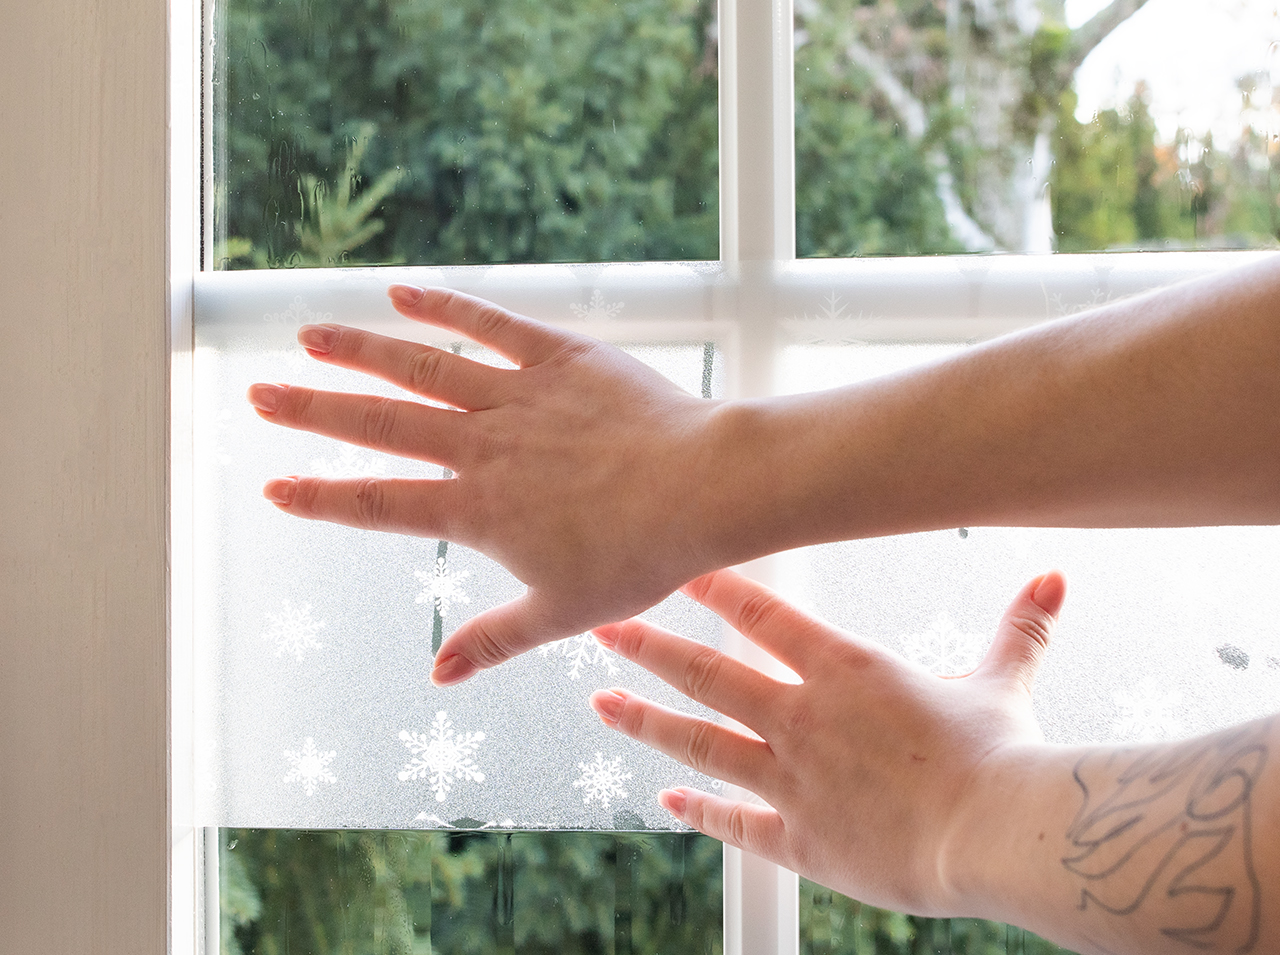 Step 3
Apply the Winter Border onto the window surface and smooth down the length of foil by hand over the entire width of the window.
 Step 4
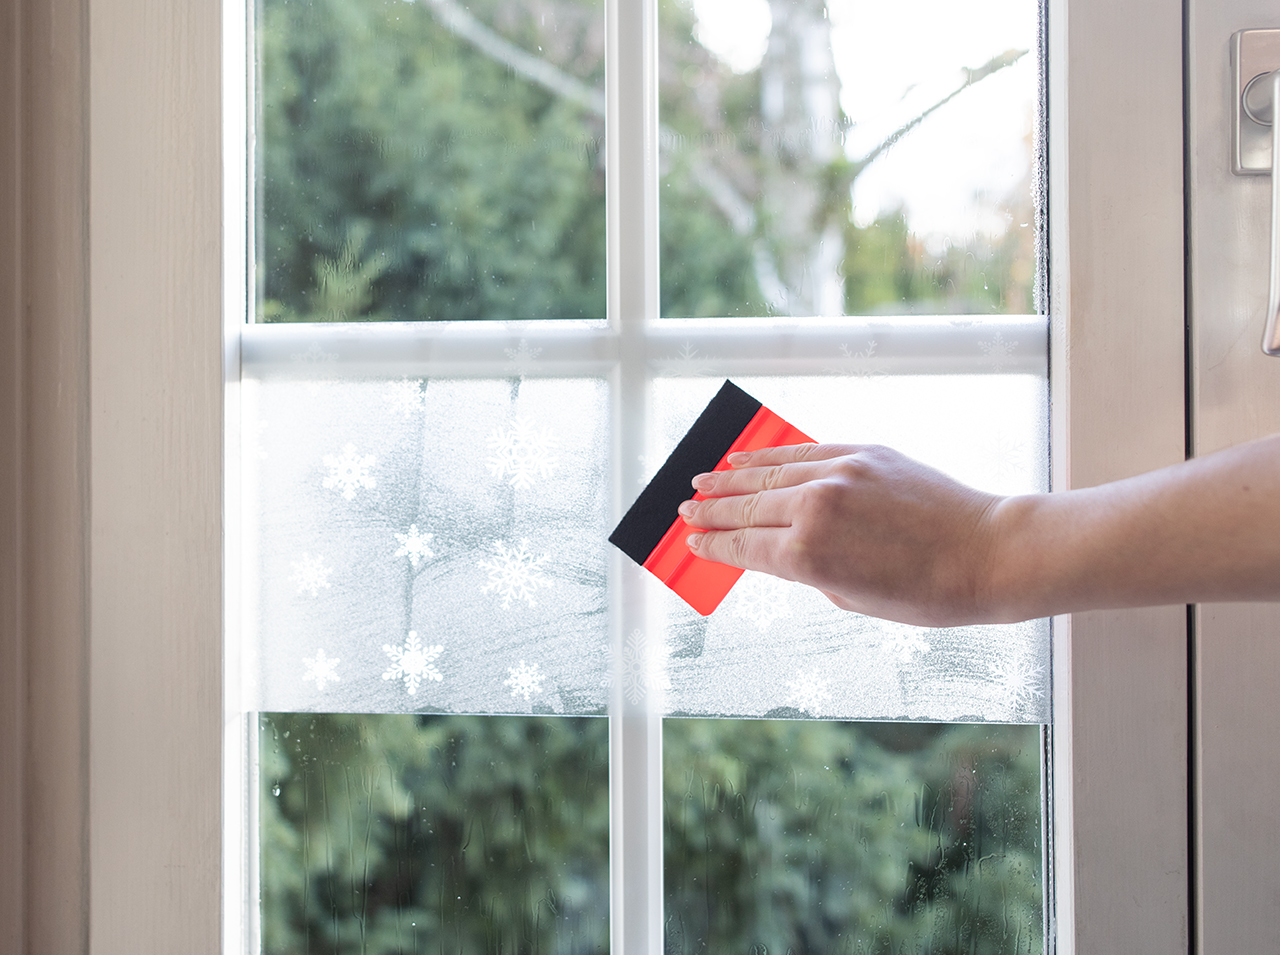
Now squeeze out the excess water between the back of the foil and the window pane using the scraper.
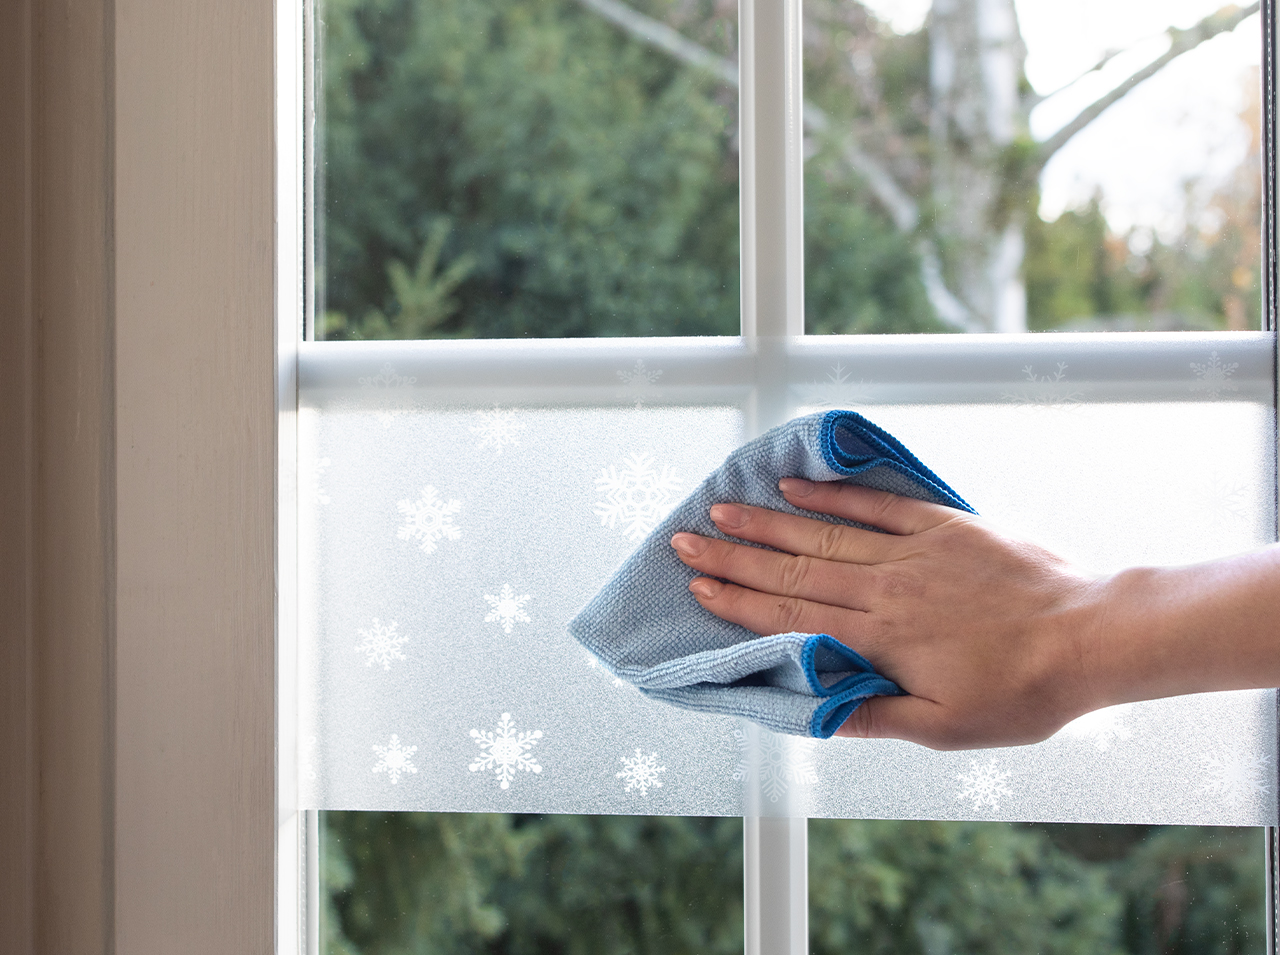 Step 5
Finally, rub the window completely dry using the cloth – and enjoy your DIY decoration with snowflakes!
You’re done!

Post A Comment
Preparation time
10 min
Execution
15 min
Difficulty level
Easy
Costs
Low
Projects you might like


No Comments