Step one: Check room and application surface


Enter the search term and press "ENTER" .
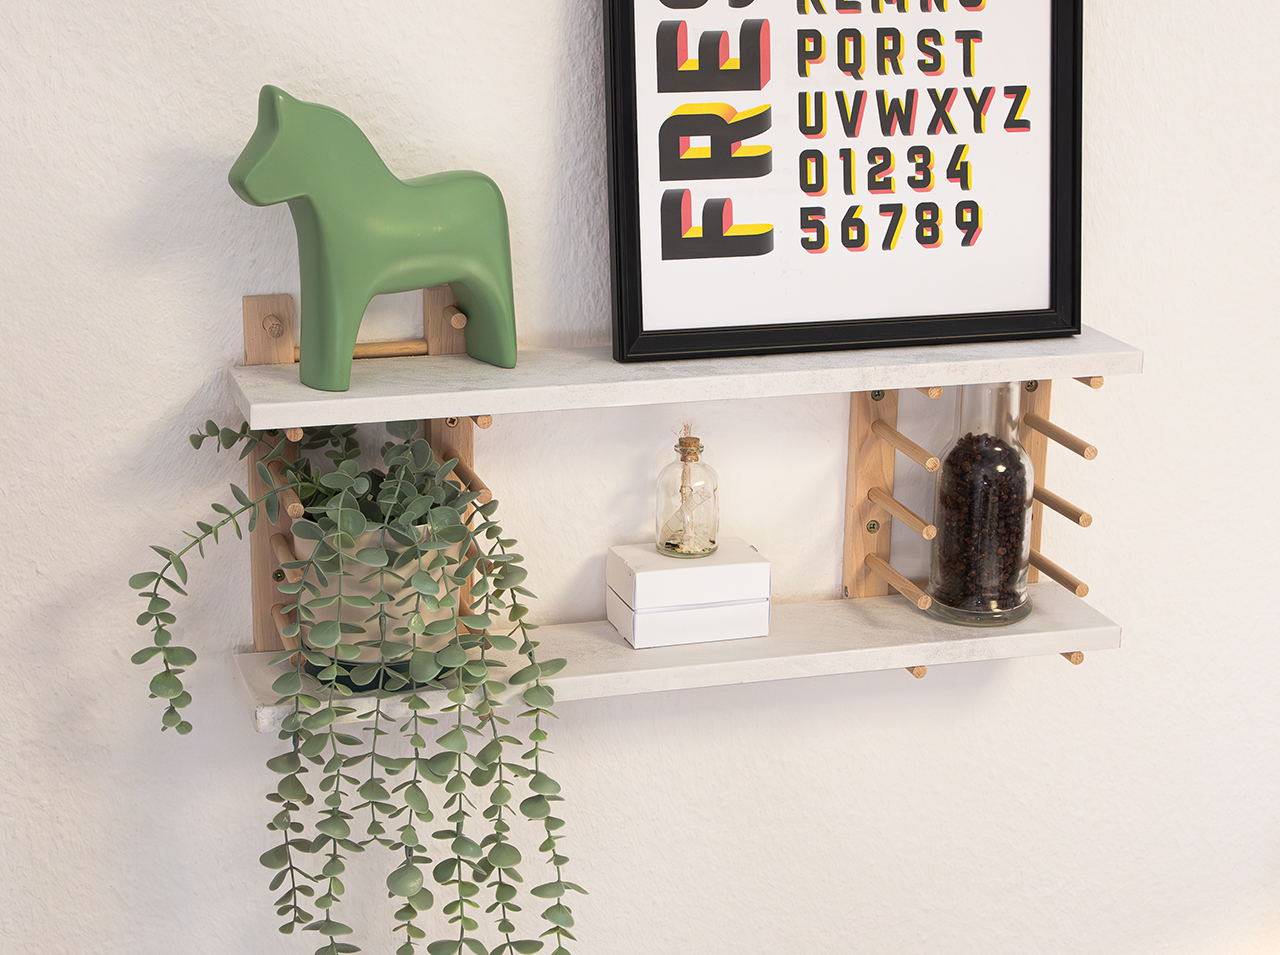
DIY decoration: memo board for everything important & beautiful!
Project from Cintia - 0 CommentsThe nicest way to remember important dates and events. Keep anticipation of a special date high. Or add some beautiful memories to your everyday life with photos, tickets and other souvenirs: Your own, self-designed memo board in stylish concrete with d-c-fix® Concrete White adhesive film or in chic stone with d-c-fix® Avellino Stone adhesive film makes it possible! With a good dose of creativity, you can give your memo board a modern look that fits perfectly into your home and brings everything important to life. A great eye-catcher, especially in your home office! The instructions for your DIY creative memo board can be found here:
Create the every day must-have now!
Room conditions:
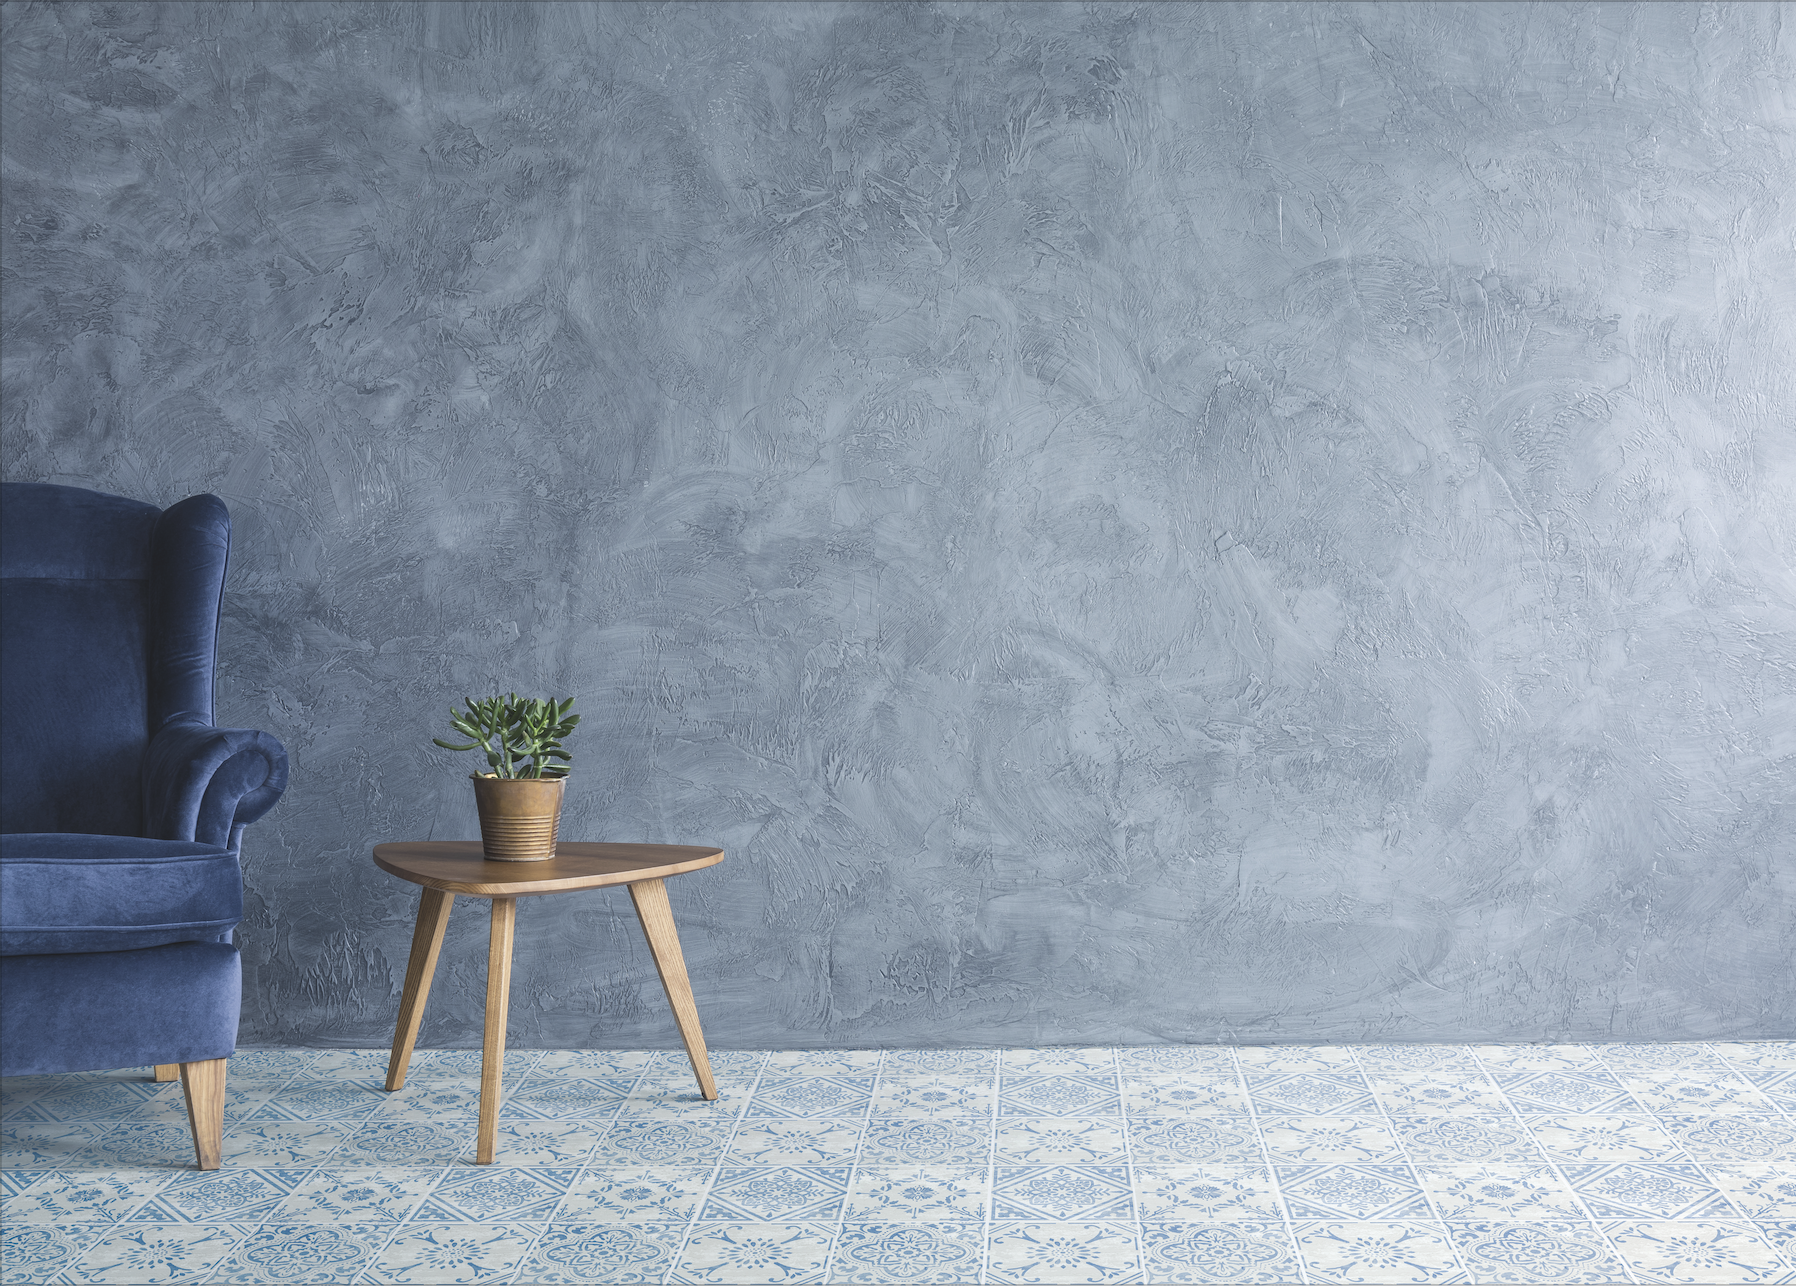
The d-c-fix® Classic floor tiles are suitable for interiors with low floor wear. The room and floor should not be exposed to high temperatures, e.g. by underfloor heating, stove, conservatory or window surfaces with high exposure to the sun. Classic floor tiles don’t like areas with standing moisture either.
What are the requirements for the application surface?
The ideal basis for the self-adhesive floor tiles is a surface that is completely free of dust, dirt, grease, oil, old glue or wax. Unevenness (> 0.5 mm) and tile joints (> 3 mm) as well as cracks and holes must be filled or patched before gluing the tiles.
Suitable application surfaces are: screed, floating screed, polished concrete, smooth joint-free wooden floor and ceramic tiles with a smooth surface and a joint width of up to 3 mm.
Unsuitable substrates are: laminate, Click Vinyl, parquet, linoleum and carpeting.
The basics for laying Classic floor tiles
Preparation
After selecting your design, check the batch numbers on the back of the boxes are the same when buying.Store your Classic floor tiles for acclimatization for 48 hours in the room where they will be laid. The ideal room temperature is between 20 – 22 °C.
Prepare the application surface according to the info “What are the requirements for the application surface?”. For better adhesion, the application surface can be pretreated with primer, holding primer or double-sided adhesive tape.
Laying
Place the first Classic floor tile, then press firmly, first in the middle, then at the edge. A clean paint roller can be used to give better pressure. Then lay all the other floor tiles, edge to edge without joints. Trim the floor tiles at the edges of the area with a cutterCleaning & care
Wait five days before cleaning Classic floor tiles for the first time – then you can clean your new favorite floor with a broom or slightly damp cloth. Make sure to avoid standing moisture on the d-c-fix® floor tiles.Removing Classic floor tiles
If floor tiles have to be removed, e.g. because of moving out of a rental apartment, we have the following tips: Slightly lift the tiles with a cutter or spatula and then peel them off. To make it easier, simply warm the tiles slightly with a hair dryer. Adhesive residues can be removed from the application surface with a spatula, nail polish remover or soapy water.Done!
Post A Comment
EXPERT ADVICE
You can attach notes, tickets, photos, cards and other documents to the cords using small wooden clips, paper clips or metal clips.
Preparation time
5 min
Execution
30 min
Difficulty level
Beginners
Costs
Medium
Projects you might like

No Comments