You will need…


Enter the search term and press "ENTER" .
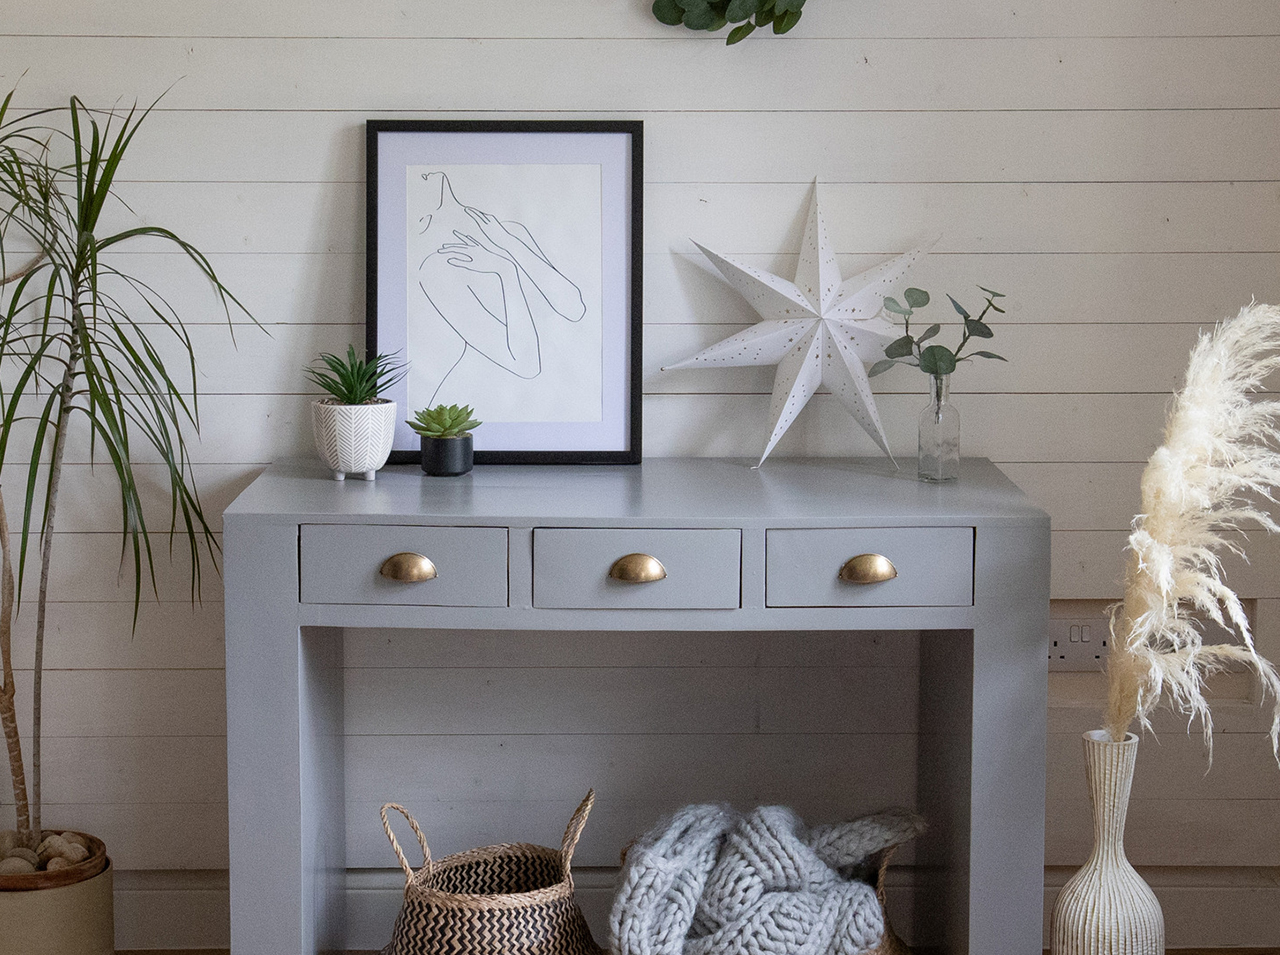
DIY makeover: Treat your sideboard to awesome gray!
Project from Cintia - 0 CommentsDo you love before and after DIYs? So do we! That’s why we have a particularly chic idea for you and your sideboard. And the DIY concept is as simple as it’s brilliant: Give your furniture a complete transformation in trendy gray! Redesigned with d-c-fix® adhesive foil with a gray lacquer effect, your sideboard will have a whole new character of smooth charm. And best of all, your new piece of furniture in soft gray is a wonderfully versatile platform for decoration, bringing a relaxed winter atmosphere to hallway, living room or dining room – simply a great team player for modern living styles. See for yourself how much pleasure your upgraded sideboard can bring you!
Gray gives your sideboard the design look!
- d-c-fix® Uni Lack gray
- Pencil
- Measuring tape
- Scissors
- Boxcutter
- Scraper
Let’s go
 Step 1
Measure all the sideboard surfaces to be covered. Transfer the measurements to the backing paper of the foil, add a little extra for safety, and cut out the individual pieces of foil.
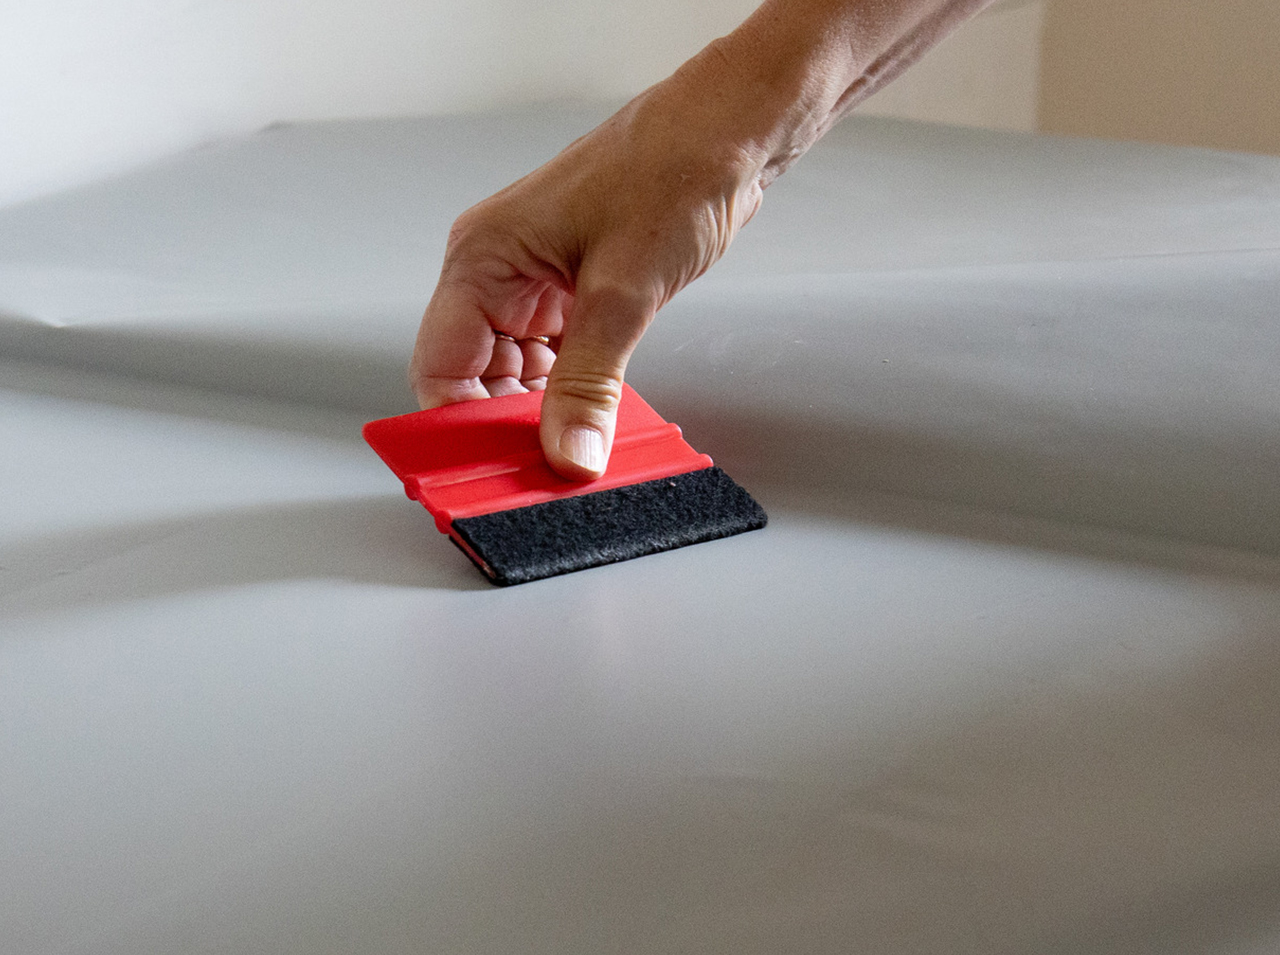 Step 2
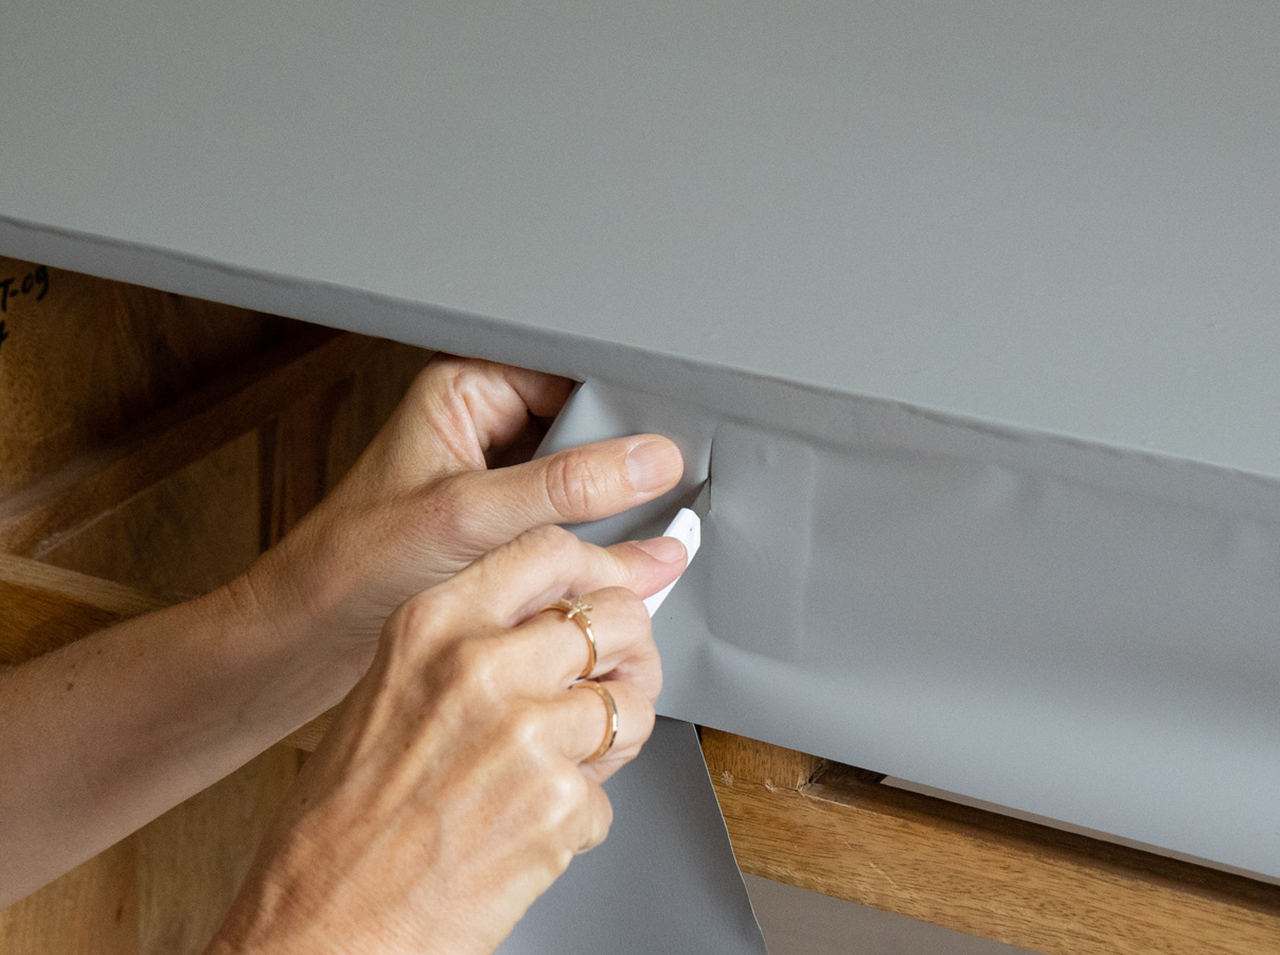
Remove a little of the backing paper, apply the foil to the first surface and use the scraper to press the adhesive foil down firmly.
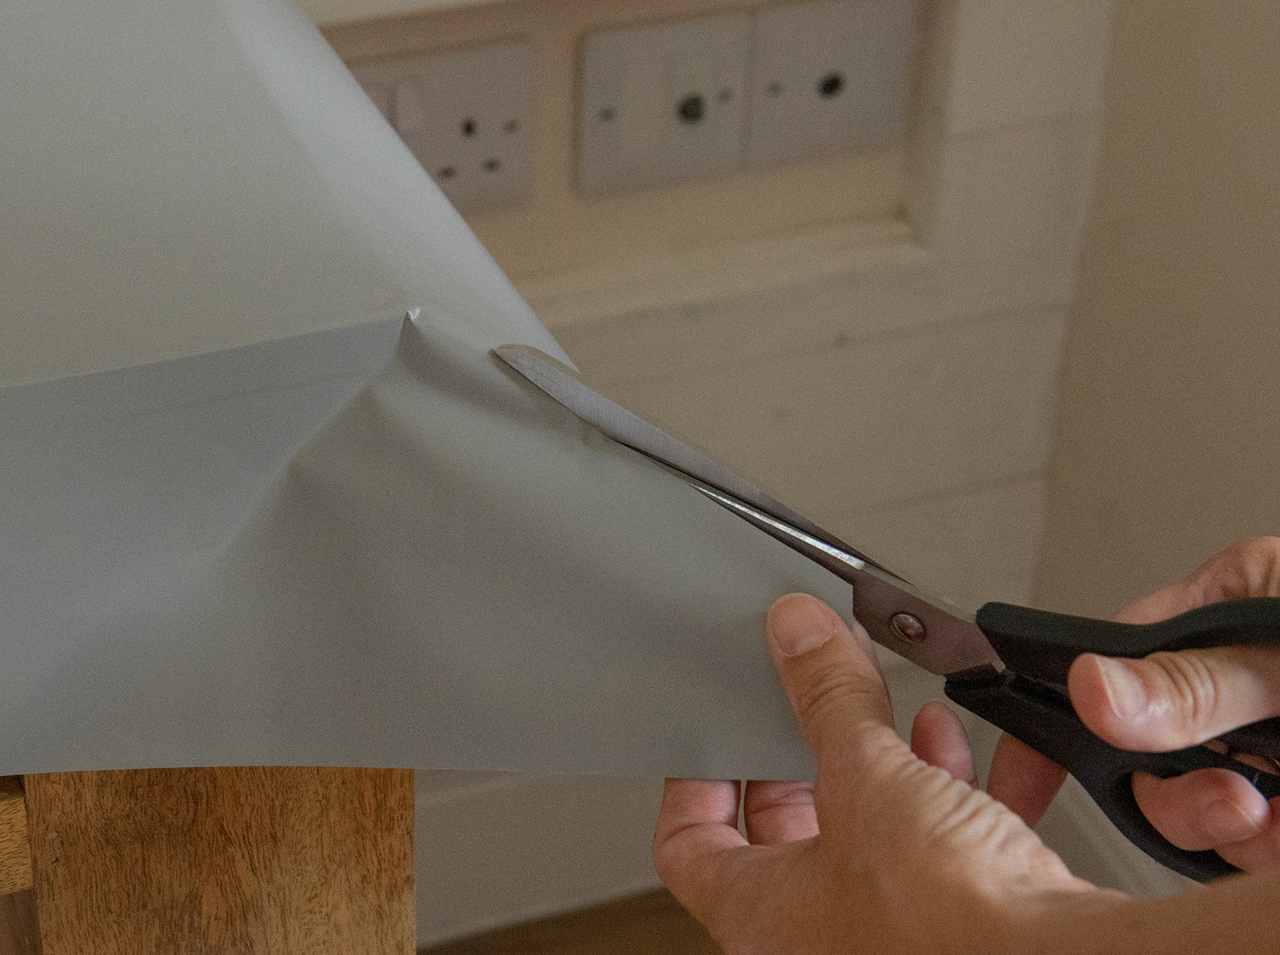 Step 3
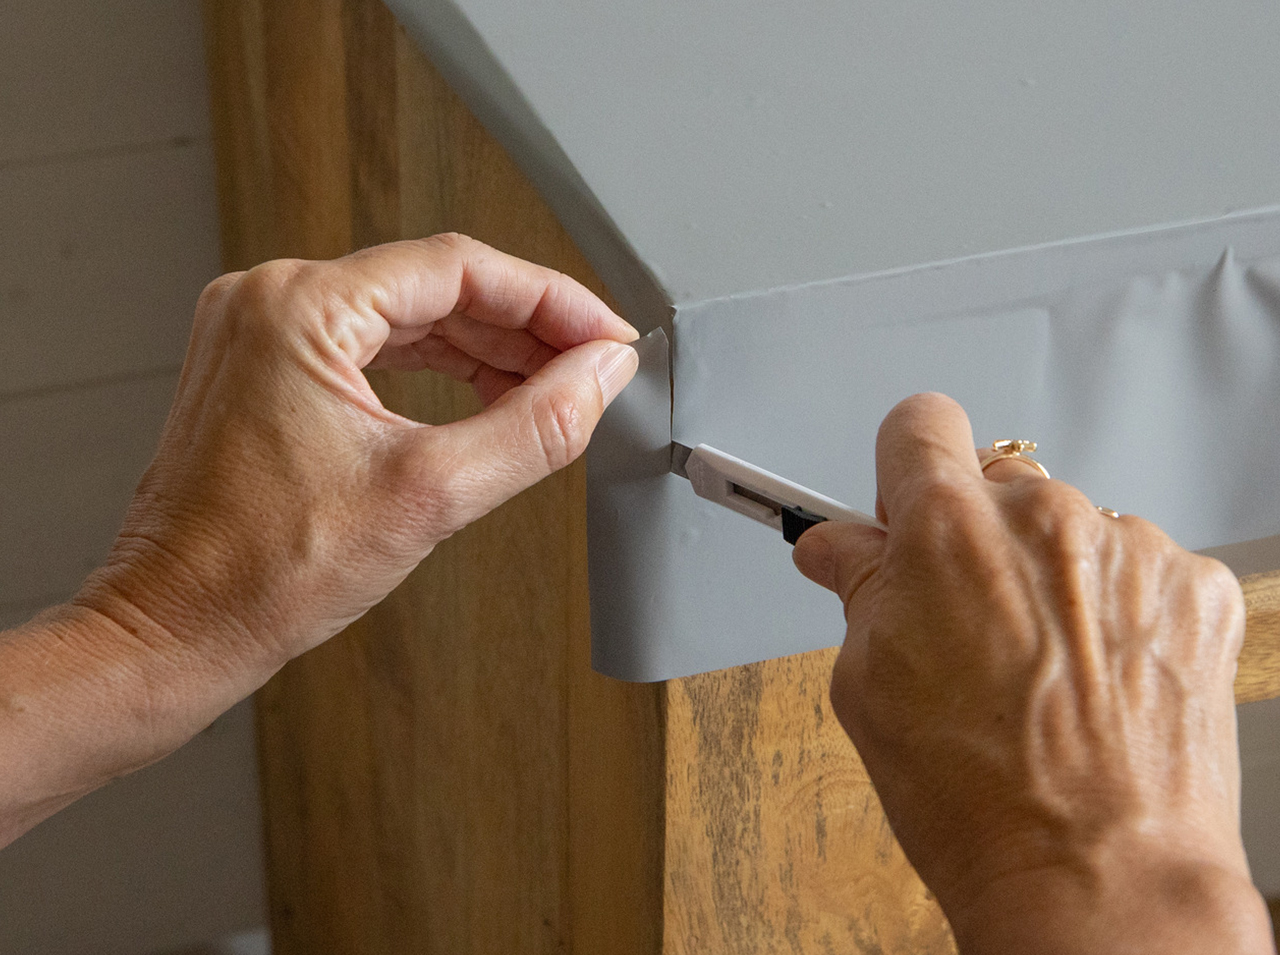
When the surface is completely covered, use scissors to cut the corners diagonally for the corners of the sideboard.
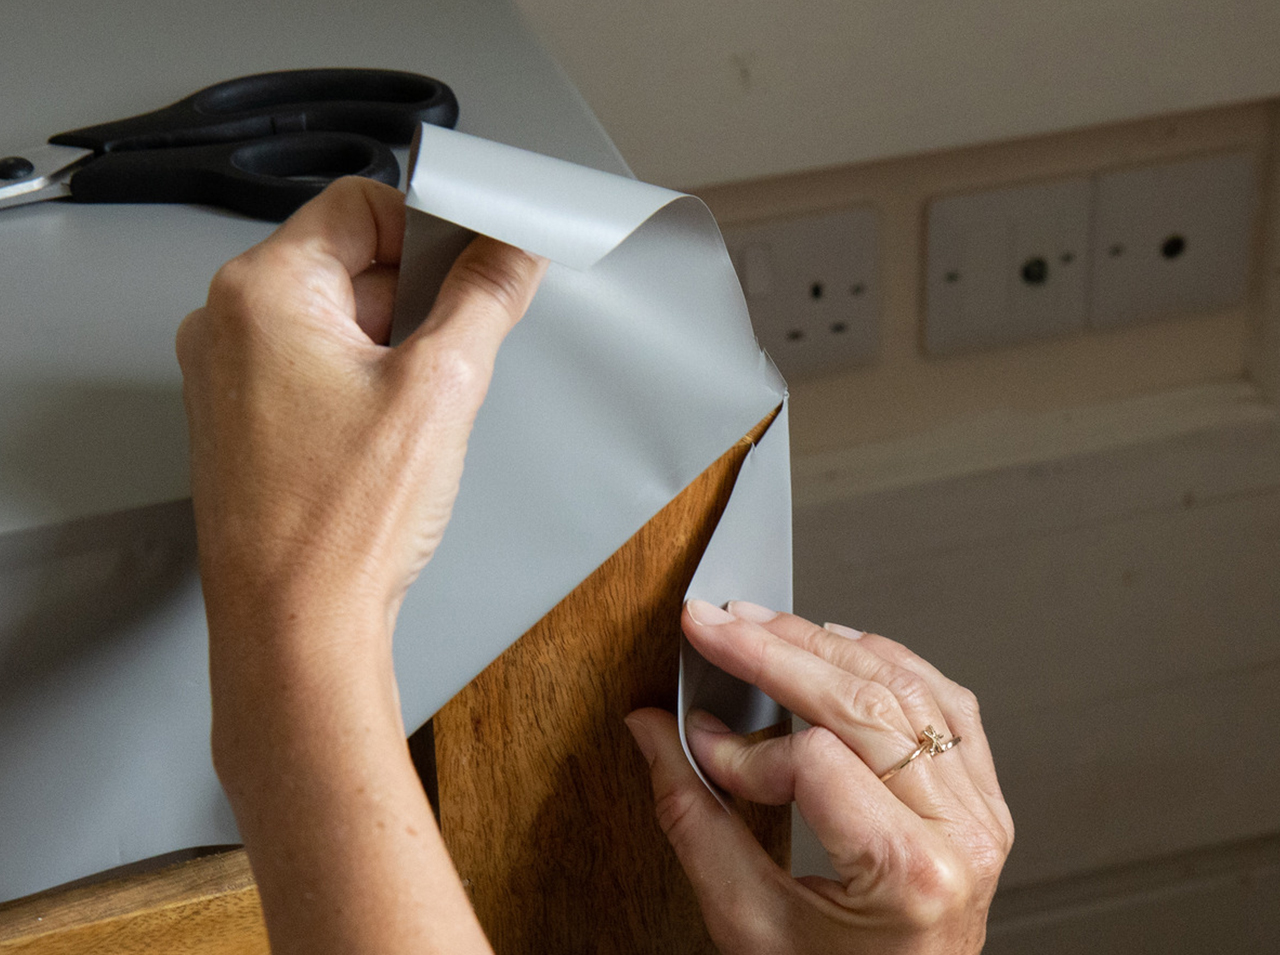 Step 4
Fold the cut foil around the corners.
 Step 5
Use the boxcutter to trim off any excess foil.
 Step 6
Finish covering the front of the sideboard, using the boxcutter to trim the edges of the openings for the drawers.
We did it!
Post A Comment
EXPERT ADVICE
Particularly when covering large surfaces, small bubbles can sometimes form under the film: Carefully prick these with a needle, and smooth out the trapped air with the scraper.
Preparation time
10 min
Execution
30 min
Difficulty level
Beginner
Costs
low
Projects you might like

No Comments